Essential Steps: How to Install Vinyl Windows New Construction
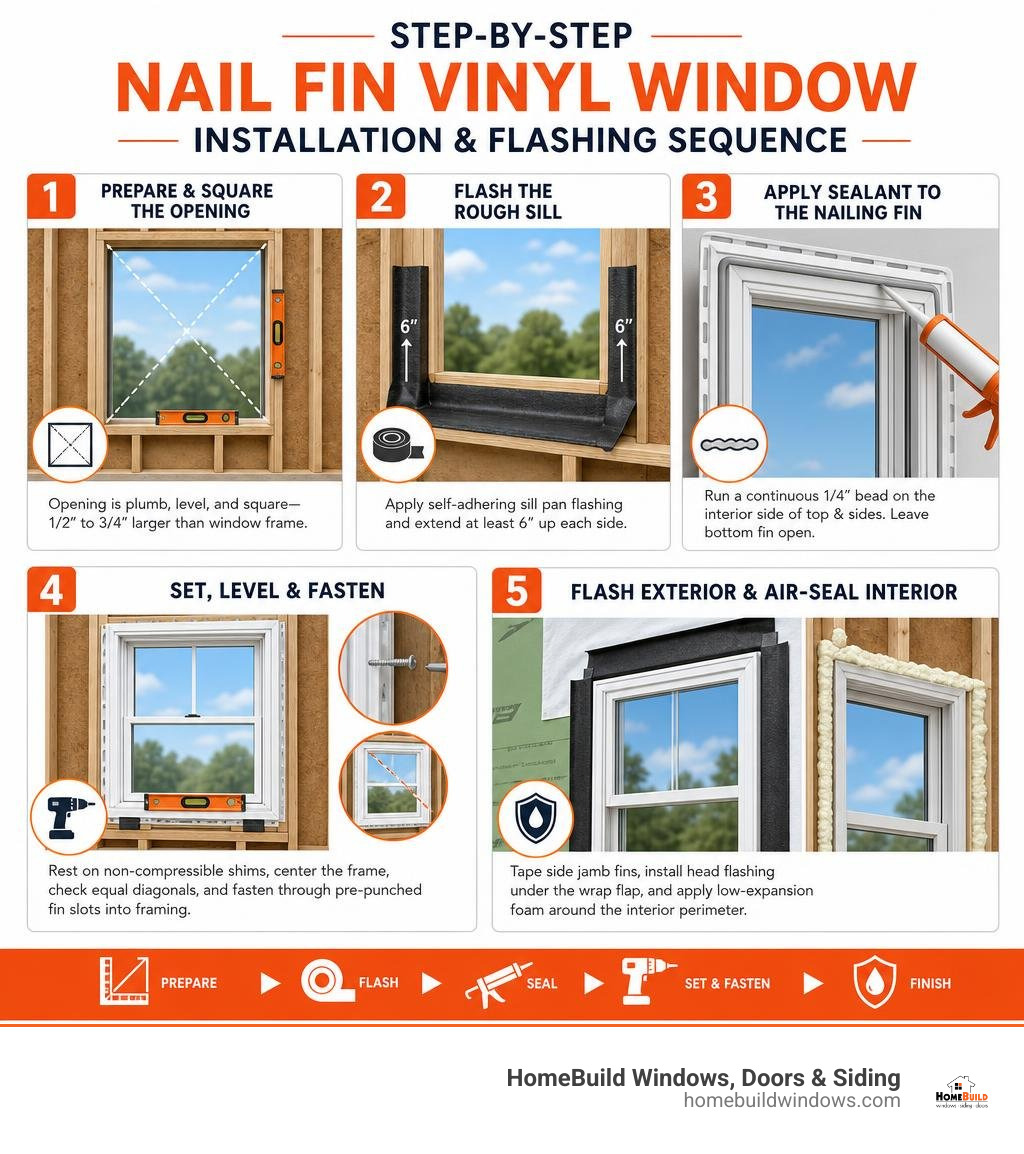
Learning how to install vinyl windows new construction comes down to five critical steps that ensure a weather-tight, airtight fit:
- Prepare and square the opening: Check that the rough opening is plumb, level, and square, with dimensions roughly 1/2″ to 3/4″ larger than the window frame.
- Flash the rough sill: Lay self-adhering sill pan flashing along the bottom plate, extending at least 6 inches up each vertical side jamb.
- Apply sealant to the nailing fin: Run a continuous 1/4-inch bead of ASTM C920 sealant on the interior side of the top and side fins, leaving the bottom fin open so trapped moisture can escape.
- Set, level, and fasten: Rest the window on non-compressible sill shims, center the frame, verify equal diagonal measurements, and drive corrosion-resistant fasteners through pre-punched nail fin slots into framing.
- Flash the exterior and air-seal the interior: Tape the side jamb fins, install head flashing beneath the building wrap flap, and apply low-expansion polyurethane foam around the interior perimeter.
I’m Steve Mlynek, founder of HomeBuild Windows, Doors & Siding, bringing over 20 years of hands-on experience guiding homeowners on how to install vinyl windows new construction across Chicago and the northwest suburbs. As a Pella Platinum Elite and Andersen Premier Certified Contractor, I know that precision at every step protects your home from drafts, leaks, and energy loss for decades to come.
Quick how to install vinyl windows new construction definitions:
Frame Selection and Rough Opening Preparation
Selecting the correct frame profile is the first major decision in any new build or major exterior remodeling project. In modern residential construction, windows generally fall into three distinct frame categories:
- Integral Nailing Fin: The standard choice for standard wood-framed walls sheathed in plywood or OSB. The perimeter flange rests flat against the exterior sheathing, providing a solid anchoring point and an integration flange for the weather-resistive barrier (WRB).
- Block (Box) Frame: Built without an exterior flange, this profile is fastened directly through the jambs into the surrounding structure. It is commonly used for masonry openings, concrete block structures, or pocket retrofit installations.
- Brickmould Casing: Features integrated exterior decorative trim that replicates traditional wood casing. It provides an aesthetic exterior transition while protecting the perimeter joint against exterior weathering.
Before ordering materials or mounting units, homeowners and builders must know how to prepare for a window installation by conducting comprehensive checks on framing dimensions, plumb, level, and structural true.

Preparation Basics: How to Install Vinyl Windows New Construction Opening Sizing
A rough opening (RO) must be framed accurately to receive the window assembly without binding or frame distortion. As a standard rule of thumb:
- Rough Opening Dimensions: The framed opening must measure 1/2″ to 3/4″ larger than the overall width and height of the window frame (or up to 1″ for select large units). This leaves a uniform 1/4″ to 3/8″ expansion gap around the entire frame perimeter.
- Plumb and Level Tolerances: The maximum allowable deviation for level and plumb is 1/16″ for every 2 feet of rough opening height or width, never exceeding 1/8″ total across the span.
- Diagonal Squareness: Measure diagonally from corner to corner in an “X” pattern. For window units 20 square feet and smaller, the maximum allowable difference between diagonal measurements is 1/8″. For larger units exceeding 20 square feet, the maximum difference is 1/4″.
- Sill Slope and Framing Substrate: Ensure the rough sill plate is level horizontally across its width, or slightly sloped outward toward the exterior. It must never tilt back toward the interior living space. When fastening into concrete or CMU blocks, a treated structural wood buck must be securely anchored inside the masonry opening first.
Understanding structural standards, regional wind load tolerances, and municipal codes is critical. You can review the ultimate guide to window replacement standards and permits to ensure all structural framing complies with regional regulations before you begin setting windows.
Step-by-Step: How to Install Vinyl Windows New Construction
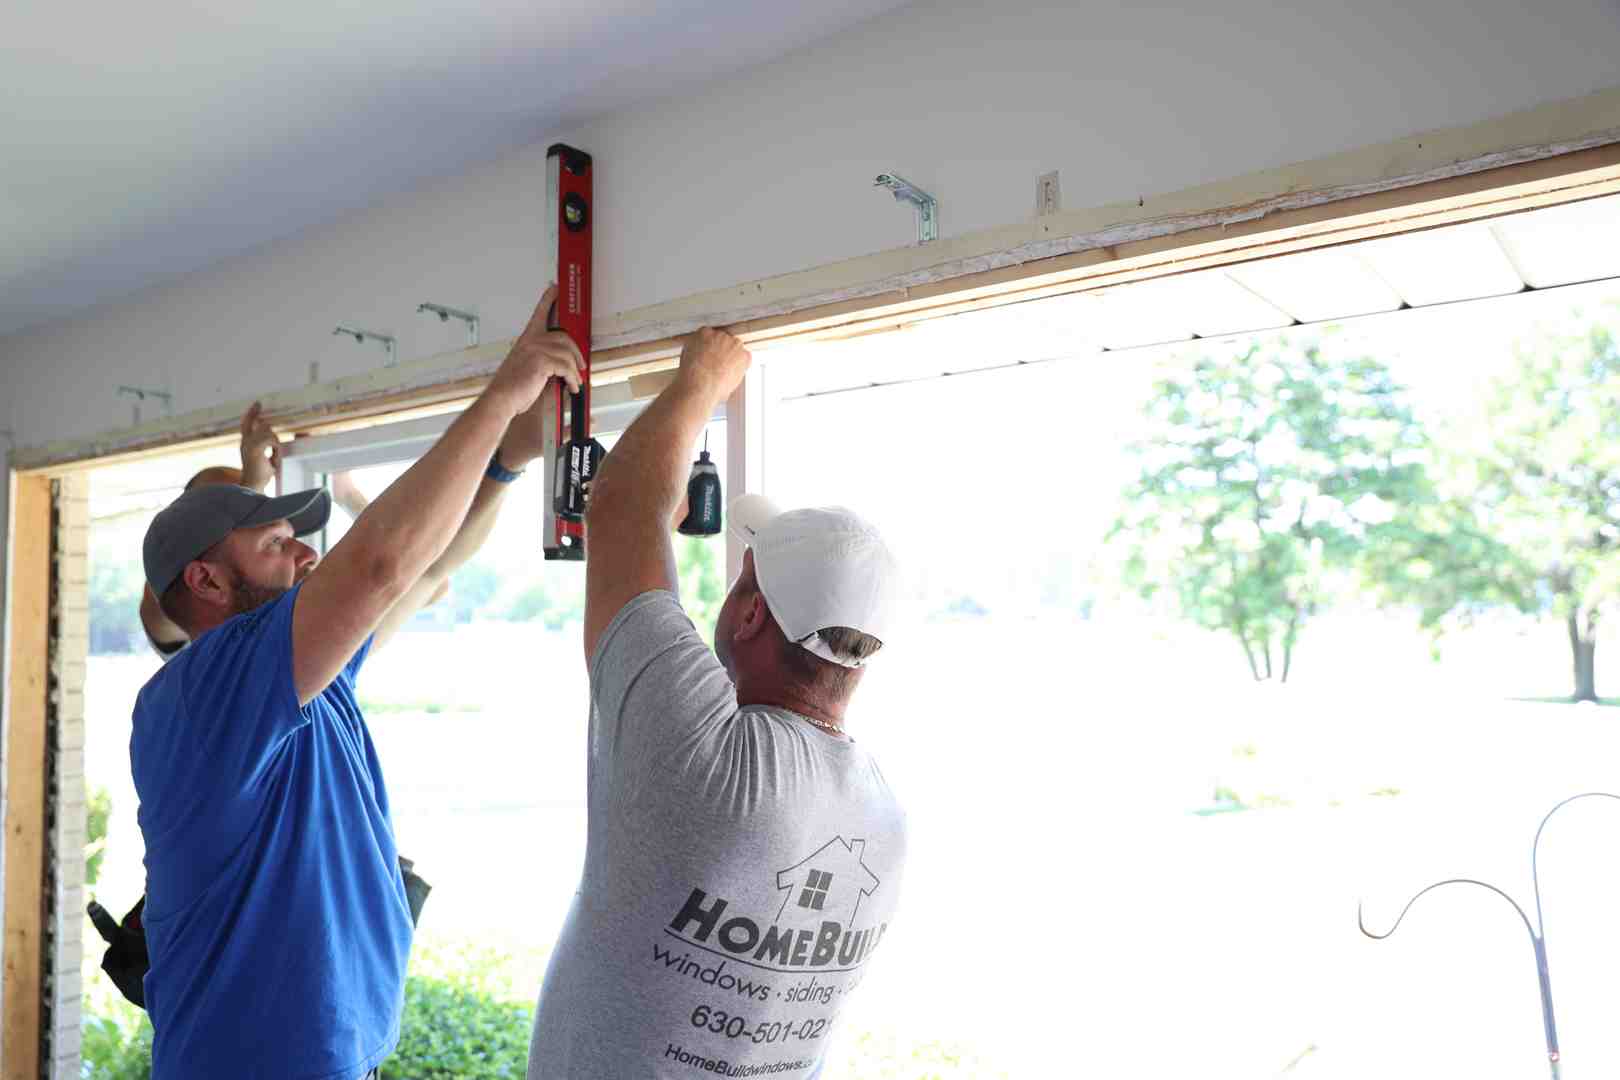
Executing a clean, long-lasting installation requires following manufacturer-approved Installation Instructions and strict weatherproofing guidelines. Over 90% of all windows installed in American homes lack a proper sill pan under them—a mistake that leaves wall cavities vulnerable to hidden water damage.
| Installation Feature | Integral Nail Fin Windows | Block / Box Frame Windows |
|---|---|---|
| Primary Wall Type | Wood stud framing with exterior sheathing (OSB/Plywood) | Masonry, concrete block, or pocket framing |
| Anchoring Method | Fastened through perimeter fin slots into studs | Fastened through side jambs or structural clips |
| Flashing Integration | Taped directly to exterior sheathing / WRB layers | Integrated with wood buck and liquid or perimeter membrane |
| Sealant Location | Back of top and side nailing fins; interior perimeter | Perimeter exterior joint with backer rod; interior perimeter |
| Expansion Clearance | 3/8″ gap between outer frame and exterior cladding | 1/4″ sealant joint backed by closed-cell backer rod |
Flashing and Anchoring: How to Install Vinyl Windows New Construction Perfectly
To establish an impenetrable moisture barrier and achieve structural stability, follow this detailed installation sequence:
- Prepare the Weather-Resistive Barrier (WRB): Cut the housewrap across the opening using a modified I-cut. Fold the side flaps tightly into the rough opening and staple them to the interior framing. At the head, make two 45-degree upward cuts (approx. 6–8 inches long) to create a flap, and tape it upward out of the way.
- Install the Sill Pan Flashing: Apply a wide self-adhered flexible sill flashing membrane (minimum 6 inches wide) across the bottom sill plate. Extend the membrane at least 6 inches up each vertical side jamb and roll it firmly using a J-roller. This catches any incidental water and directs it harmlessly to the building exterior.
- Place Non-Compressible Sill Shims: Set durable, flat shims 1/2″ to 1″ in from each corner and at intermediate points across the sill. For vinyl windows, ensure the maximum spacing between shims does not exceed 18 inches (and place shims directly beneath center meeting rails or mullions) to prevent frame sagging under glass weight.
- Apply Nail Fin Sealant: Apply a continuous 1/4-inch bead of ASTM C920-certified elastomeric sealant along the back interior face of the top and side nailing fins, aligned directly over the pre-punched nail slots. Crucial rule: Do not apply a continuous bead across the bottom fin. Leave a discontinuous bead or leave the bottom fin uncaulked to allow any moisture reaching the sill pan to escape freely, as detailed in How to Install a New Construction Window the Right Way.
- Set and Fasten the Window: With an assistant, lift the window unit, rest it on the sill shims, and press the nailing fins flush against the exterior sheathing. Drive a single corrosion-resistant roofing nail or #8 washer-head screw through a pre-punched slot in one top corner (3″ to 7″ from the edge), penetrating at least 1″ to 1-1/2″ into structural framing.
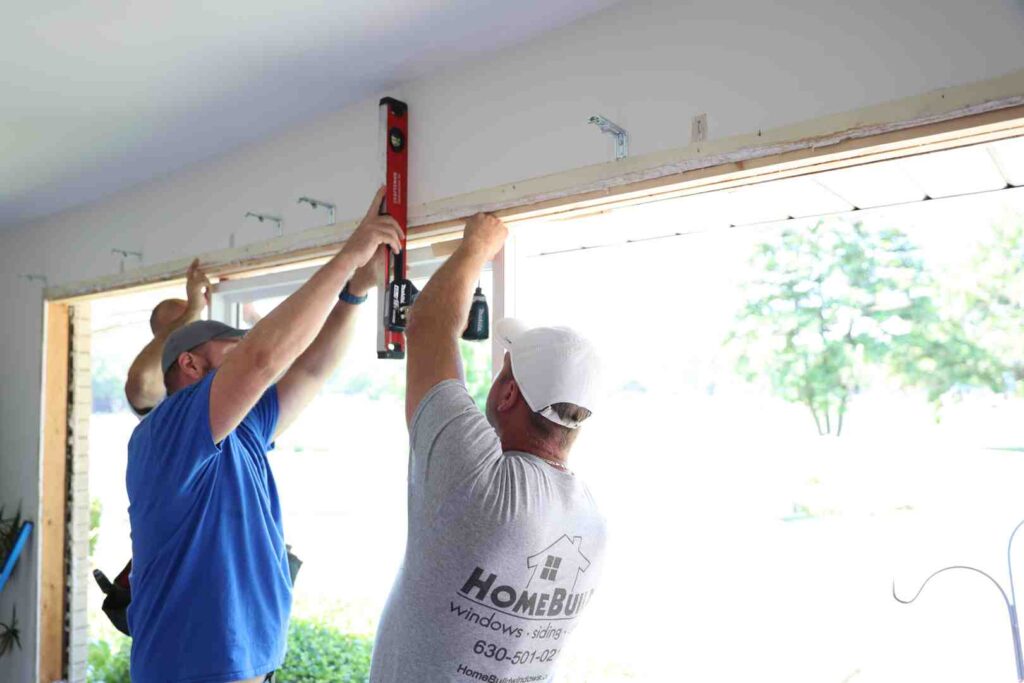
- Verify Plumb, Level, and Reveal: Check the unit with a 4-foot level. Measure diagonals to re-confirm squareness. Open and close the sashes to verify smooth operation, proper lock engagement, and even reveals between sashes and side jambs.
- Complete the Fastener Schedule: Fasten through every other pre-punched slot on the nailing fin (typically every 8 to 12 inches on center, based on local wind load ratings). Never over-drive fasteners, as hammering tightly against vinyl flanges can crack the material or distort the frame.
Weatherproofing Sequence: How to Install Vinyl Windows New Construction with WRB Integration
Water management follows the classic “shingle-lap” (watershed) principle: upper materials must always overlap lower materials so gravity carries water away from framing penetrations.
- Side Jamb Flashing: Apply self-adhered flashing tape (minimum 4 to 6 inches wide) over the vertical side nailing fins. Extend the tape 2 inches above the top frame and 2 inches below the bottom sill flashing. Press firmly with a J-roller to eliminate air bubbles.
- Head Drip Cap and Flashing: Install a rigid metal drip cap over the top window frame if required by local code. Apply head flashing tape directly over the top nailing fin and drip cap up-leg, extending it at least 1 to 2 inches beyond each side vertical flashing tape.
- Fold Down and Seal Housewrap: Release the temporary tape on the top housewrap flap and fold it down over the head flashing tape. Seal the two 45-degree diagonal seams and bottom edge with approved housewrap seam tape.
For additional exterior maintenance recommendations and weather-barrier practices, check out our house window installation tips.
Creating a Continuous Interior Air Seal and Drainage Plane
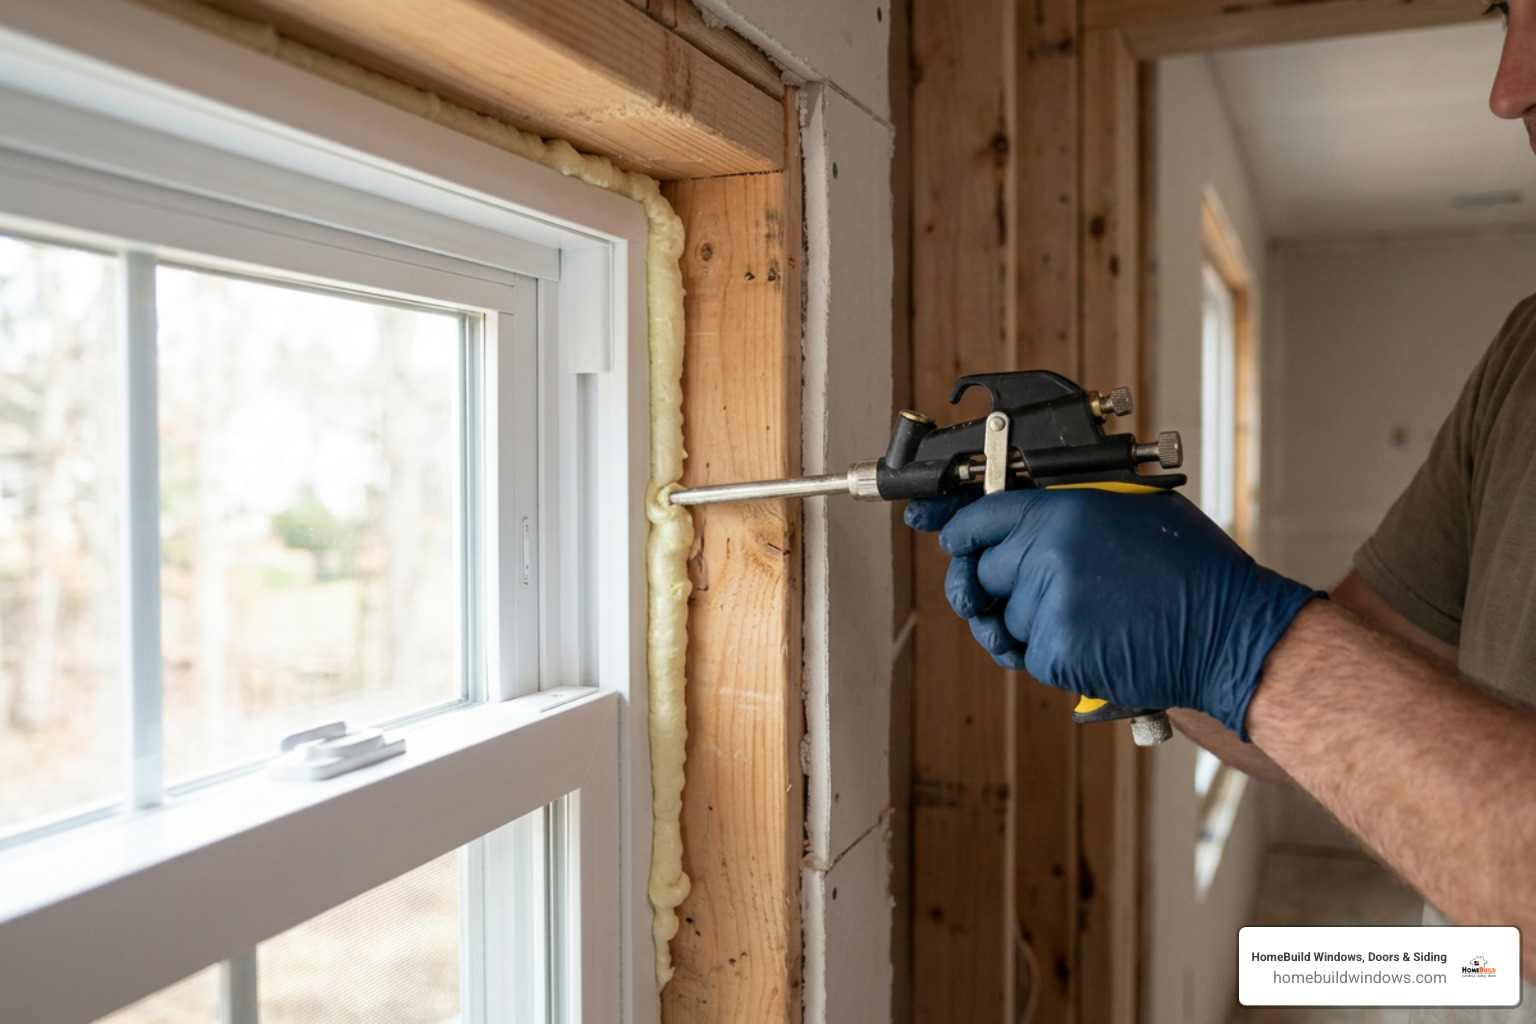
Water management stops external moisture, but proper air sealing keeps cold Chicago winter drafts and summer humidity out of your home.
- Low-Expansion Polyurethane Foam: Fill the interior perimeter gap between the vinyl frame and the wood framing with a continuous 1-inch bead of dedicated low-pressure, low-expansion window and door foam. Never use standard high-expansion or rigid latex foams; aggressive expanding pressure can bow vinyl side jambs, jamming operating sashes.
- Closed-Cell Backer Rod and Sealant: In wider perimeter joints, insert closed-cell foam backer rod slightly recessed from the interior drywall edge, then tool a continuous bead of high-performance interior sealant compliant with ASTM C1193.
- Preserving Weep Holes: On the exterior face of vinyl windows, never apply caulking or trim over exterior sill weep channels. Vinyl windows rely on internal drainage chambers to discharge incidental rainwater that hits the glass surface.
If you are weighing the precision required for flashing against the scope of your remodel, consider can you actually install your own windows to evaluate the benefits of professional equipment and certified crews.
Addressing Complex Wall Assemblies and Exterior Cladding
New residential builds and exterior transformations often incorporate specialty wall assemblies that require specific flashing and support adaptations:
- Continuous Exterior Insulation (Rigid Foam): When walls feature 1-1/2″ to 2″ continuous exterior foam sheathing, window frames cannot hang unsupported off compressible foam. Install heavy-duty structural rough opening support brackets or solid 2x wood extension bucks around the rough opening perimeter to transfer the window’s weight directly into the structural framing studs.
- Masonry and Concrete Wall Openings: For brick or CMU construction, fasten an anchor-bolted treated wood buck inside the masonry rough opening. Apply a liquid-applied flashing membrane or self-adhering membrane across the masonry-to-wood joint before setting the block frame or finned window.
- Brick Veneer Drainage Cavities: When installing vinyl windows in front of brick veneer, maintain a clear 1-inch to 2-inch cavity behind the brick with weep vents at the base. Secure through-wall flashing beneath the sill to catch any moisture draining past the brickwork.
- Cladding Expansion Gaps: Vinyl expands and contracts with seasonal temperature shifts. Always maintain an expansion gap of approximately 3/8″ (minimum 3/16″) between the exterior vinyl frame and exterior siding materials like James Hardie fiber cement, cedar, or vinyl lap siding.
Homeowners planning full exterior renovations can reference our detailed window installation guide to see how window replacements coordinate seamlessly with new siding and entry systems.
Frequently Asked Questions About New Construction Window Installation
Why shouldn’t you caulk the bottom nail fin on a new construction window?
Sealing the bottom nailing fin traps incidental water inside the wall. Even the best window assemblies can experience minor moisture penetration over decades of wind-driven Midwest rain. Leaving the bottom fin uncaulked—and slightly elevated above the sill pan flashing—creates an exit channel that allows any trapped moisture to drain outward harmlessly over the sill flashing.
What is the maximum allowable deviation when squaring a rough opening?
The industry standard allows a maximum diagonal difference of 1/8″ for window openings up to 20 square feet, and no more than 1/4″ for openings larger than 20 square feet. Plumb and level must remain within 1/16″ for every 2 feet of span. Exceeding these tolerances causes the window frame to rack out of square, leading to air drafts, sash binding, and failed weatherstrip contact.
What type of spray foam is safe for vinyl window frames?
Only use low-pressure, low-expansion polyurethane foam specifically formulated for windows and doors. High-pressure expanding foams or standard latex-based foams exert significant curing force that can easily deflect vinyl side jambs inward, preventing the sashes from sliding or locking properly.
Conclusion
Mastering the precise sequence of preparing rough openings, layering sill pan flashings, fastening nailing fins, and air-sealing the perimeter ensures your home stays warm, energy-efficient, and fully protected against moisture damage. HomeBuild Windows, Doors & Siding is a trusted, locally owned contractor with over 20 years of experience partnering with homeowners to deliver dependable exterior remodeling solutions.
We work with industry-leading brands—including Pella, Andersen and ProVia—to upgrade aging, drafty windows, outdated entry doors, worn siding, and residential roofing. As an Elite Platinum Pella® Certified Contractor, Andersen Premier Certified Contractor, recipient of the Angi Super Service Award, Nextdoor Neighborhood Fave, and backed by over 200 positive Google reviews, our fully licensed and insured team guarantees exceptional craftsmanship tailored to harsh Midwest winters.
To explore the ideal energy-efficient styles and high-performance options for your upcoming project, explore our comprehensive replacement window buying guide and contact us today to schedule your free consultation across Chicago and the surrounding northwest suburbs.