

How to Install Siding on a Residential Home
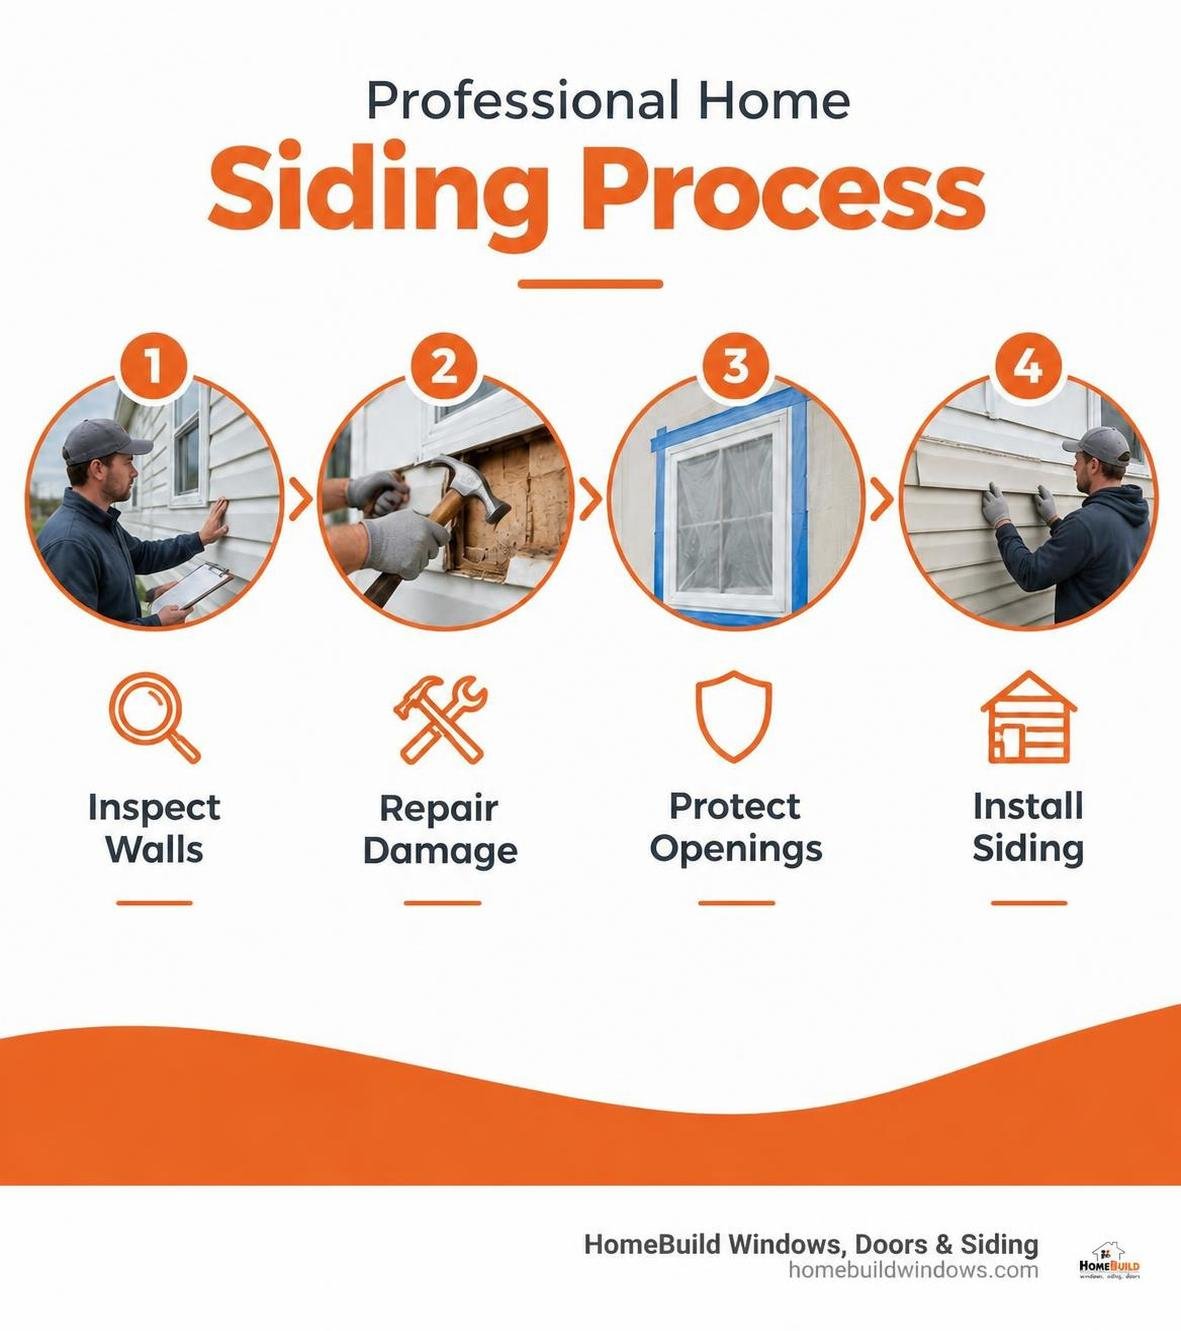
For homeowners researching how to install siding on a mobile home, the process should begin with a professional assessment of the wall beneath the existing siding. A professional checks the existing siding, framing, and signs of moisture damage before deciding what must be repaired or removed. The job then calls for a sound surface, proper flashing and weather protection, level trim, and siding fitted so it can expand and drain.
Chicago-area homes can have older framing, little or no sheathing, and roof edges that need special attention. Those details make a wall inspection especially important before new siding goes on.
I’m Steve Mlynek, founder of HomeBuild Windows, Doors & Siding, a locally owned Chicago-area contractor serving homeowners since 2004. I draw on more than 20 years of exterior installation experience to explain how to install siding on a residential home and where careful planning matters most.
How to install siding on a residential home helpful reading:
Key Differences in Siding and Structural Preparation
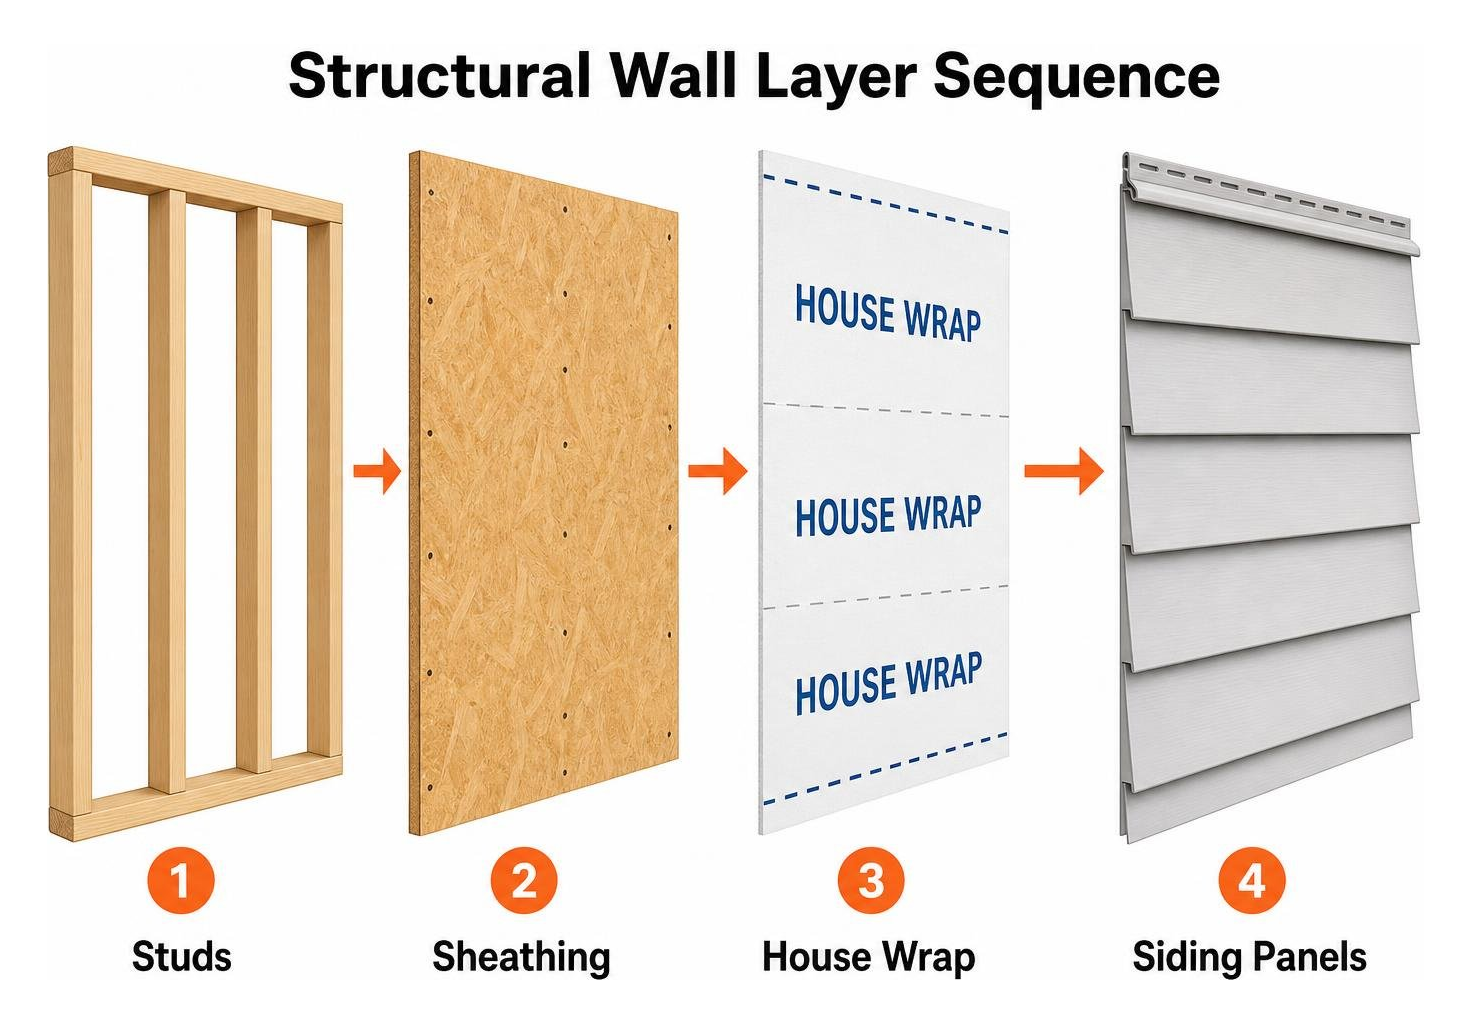
Installing siding on older Chicago-area housing requires a different approach than working on new construction. Understanding how to install siding on a residential home starts with recognizing that traditional site-built Chicago-area residences require a specialized structural approach. Many older residential properties use lightweight wall framing, such as 2×4 stud framing, and were built without standard plywood or OSB exterior sheathing. In these designs, the original cladding often served as both the weather barrier and structural skin.
Before any new cladding is added, contractors conduct a thorough sheathing and framing inspection. If structural backing is absent or compromised, crews install rigid wood sheathing or continuous insulation boards to establish a flat, nail-receptive base. A water-resistive barrier (WRB), such as a high-performance house wrap, is then applied over the substrate with overlapping seams of at least six inches.
Proper vapor management and air-sealing prevent moisture vapor from migrating into wall cavities—an essential defense against humid Midwest summers and harsh, sub-zero winter freeze-thaw cycles. When you plan to protect old walls with modern exterior siding, creating a sound, weather-tight substrate is the non-negotiable first step.
Evaluating Existing Siding vs. Full Tear-Off
Contractors must determine whether to remove the old exterior completely or install new materials directly over existing cladding:
- Direct Overlay: If existing siding panels are structurally sound, without active leaks, and tightly anchored, installing vertical or horizontal furring strips and continuous foam backer board creates an even surface for new panels without exposing the interior framing to the elements.
- Full Tear-Off: If there are indications of soft framing, rot, structural sagging, or long-term moisture intrusion, removing the old cladding is mandatory. A complete tear-off allows crews to replace rotted framing, repair structural studs, upgrade wall cavity insulation, and install brand-new structural sheathing. Industry vinyl siding installation guidance explains why this wall preparation matters before new siding is installed.
Siding Material Options and Wall Load Considerations
Because older structures rely on specific engineering limits, wall weight is a critical factor when selecting replacement materials.
| Siding Material | Average Lifespan | Weight Impact on Frame | Moisture and Maintenance Performance |
|---|---|---|---|
| Traditional Vinyl | 20 to 40 Years | Extremely Lightweight | Excellent moisture shedding; requires no painting; flexible thermal movement |
| Insulated Vinyl | 20 to 40 Years | Lightweight | Added rigid foam increases structural rigidity and boosts wall thermal performance |
| Fiber Cement | 20 to 50 Years | Heavy Wall Load | Exceptional impact resistance; requires structural blocking every 16 inches or less |
| Engineered Wood | 20 to 30 Years | Moderate Weight | Solid impact resistance; must have factory-sealed edges to prevent water absorption |
For structures capable of supporting denser architectural cladding, high-performance fiber cement siding offers unmatched durability against wind and debris. However, when working with lighter framing, premium vinyl profiles remain the industry standard because they deliver long-lasting protection without overloading wall studs.
What Professional Siding Installation Involves
For Chicago-area homeowners considering new siding, professional installation requires systematic layout planning, specialized tooling, and precise fastening techniques to help the building envelope withstand Chicago’s seasonal weather shifts. That planning includes assessing wall condition, moisture control, flashing, and attachment points before crews begin installing new exterior siding materials in place.
Preparing the Structure for New Siding
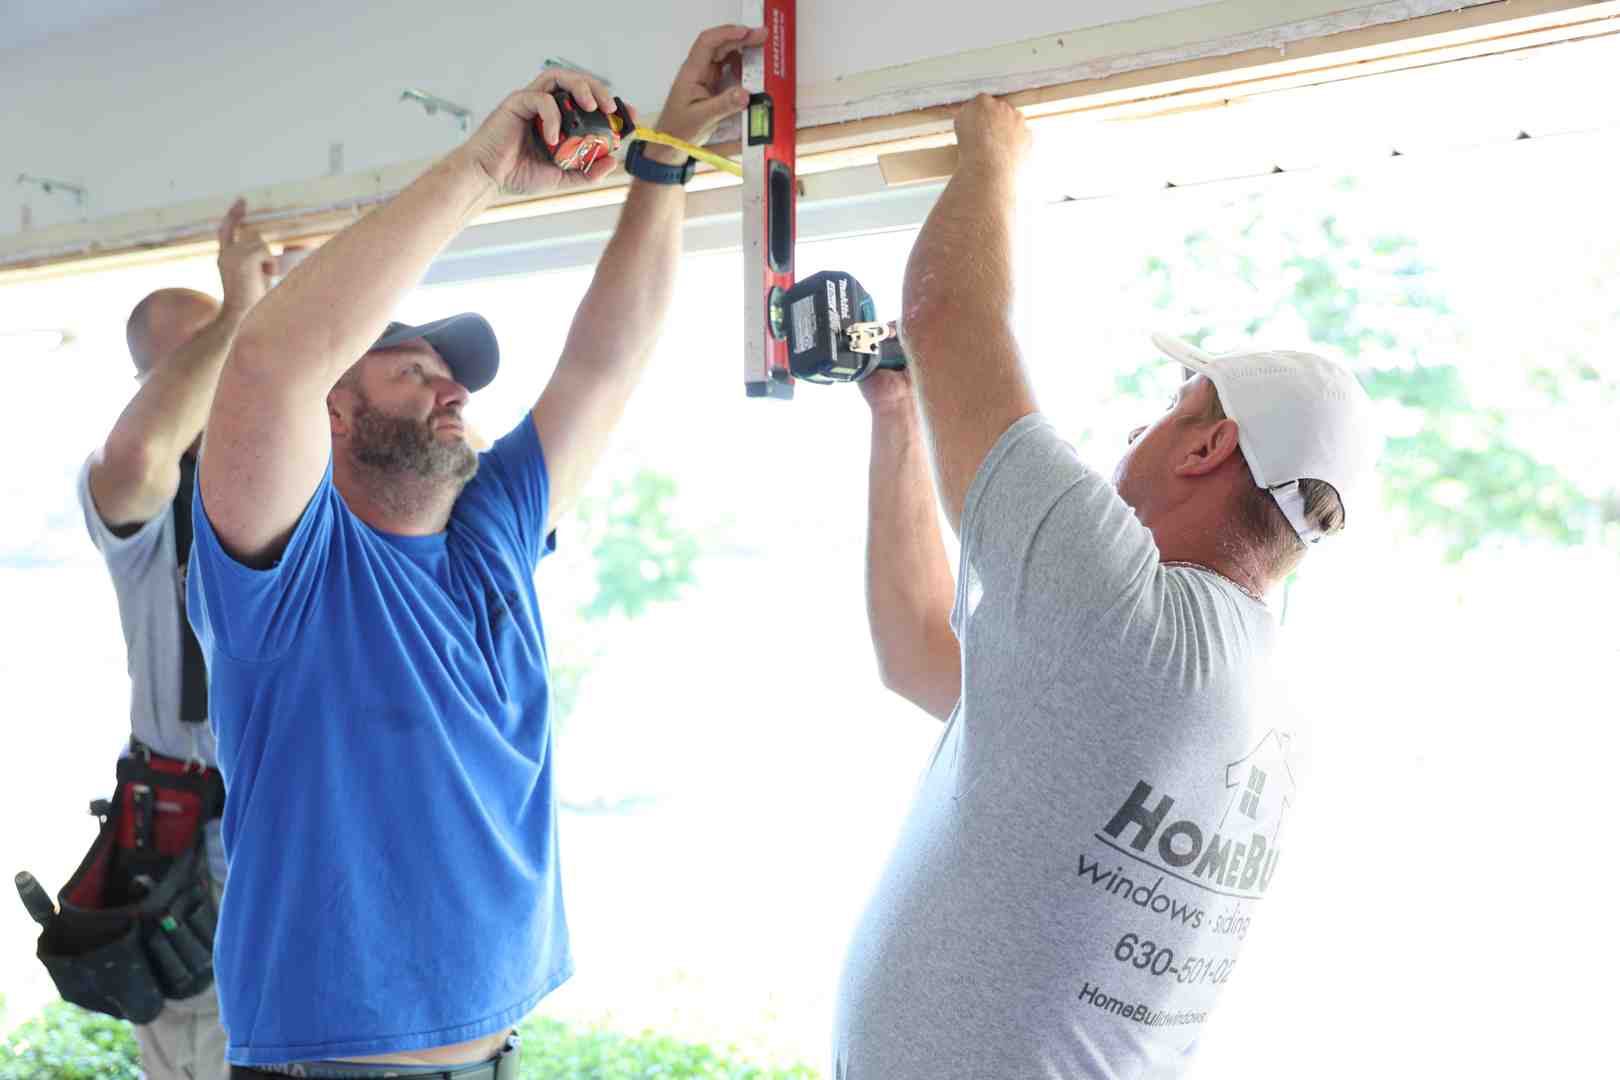
The installation process begins with precise measurements to establish uniform horizontal and vertical reference lines:
- Calculating Area and Layout: Installers calculate total wall square footage (where one square equals 100 square feet) while factoring in window and door cutouts. Extra material is staged to accommodate custom cuts and seam staggering.
- Leveling the Base: Using laser levels and chalk lines, crews establish a continuous level line along the base of the structure.
- Flashing and Base Trim: Installers secure a metal drip cap and starter strip just above the foundation line. This ensures water shedding away from the foundation plate while locking the first course of siding in place.
- Structural Blocking: If heavy panels or non-standard profiles are specified, crews fasten horizontal blocking between studs to reduce spacing to 16 inches or less, ensuring fasteners achieve full structural bite. Reviewing a pro guide to putting up house siding highlights why straight starter strips and secure framing alignment determine the quality of the finished wall.
Professional Installation and Quality Checks
Once base preparation is complete, exterior crews install corner posts, trim channels, and field panels according to strict engineering standards:
- Corner Posts and Channels: Outside and inside corner posts are hung plumb, anchored with corrosion-resistant fasteners every 12 inches to maintain vertical stability.
- Thermal Expansion Spacing: Vinyl expands and contracts significantly between summer heat and winter freezes. Professional installers center nails in the manufactured slots, leaving roughly 1/32-inch clearance between the nail head and panel face so panels expand and contract smoothly without buckling or warping.
- Trim Integration: Installers integrate J-channels around all wall penetrations, plumbing vents, and electrical fixtures to seal edges against driven rain. Selecting certified professional siding installation services ensures every panel is fastened with precision and fully protected against high winds.
Critical Transitions: Rooflines, Foundations, and Window Openings
The most vulnerable points on any home exterior are the transitions where siding meets the roofline, window perimeters, and foundation.
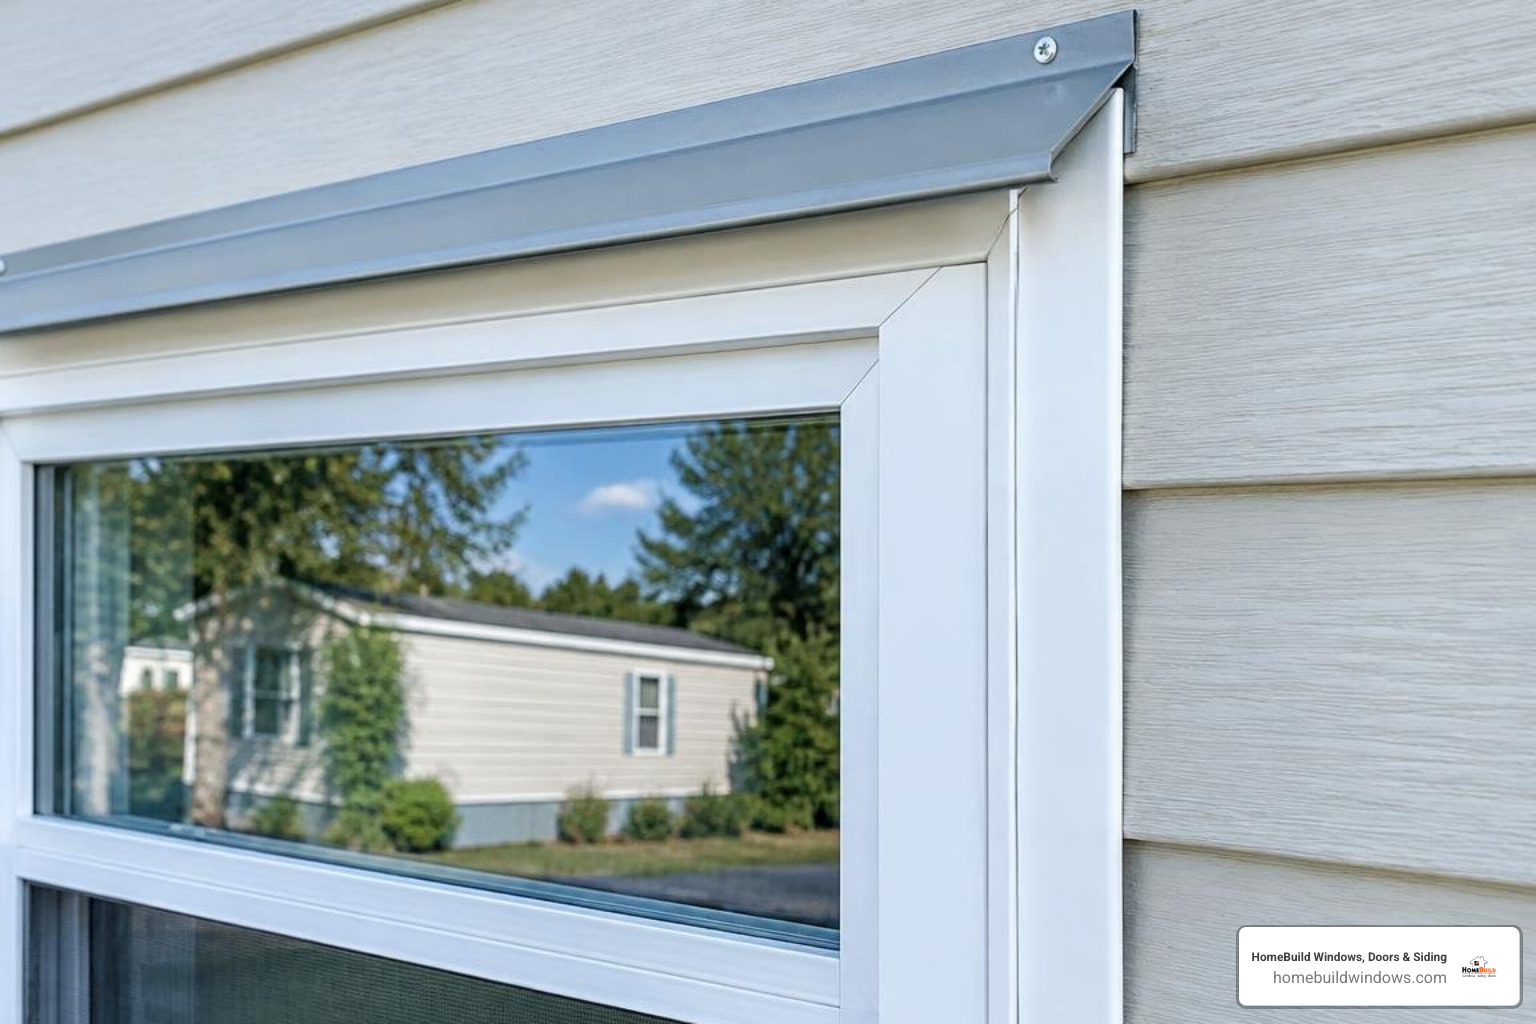
Chicago-area homes frequently feature low-slope or flat roof designs with minimal eave overhang. Without substantial soffit overhangs to shield the wall, the top siding panel must terminate inside a dedicated J-channel or utility trim positioned directly under a sturdy metal drip edge. This prevents wind-driven rain from running down the roof fascia and seeping behind the top siding panels.
At window and door openings, proper flashing integration is paramount:
- Installers create weather-lap flaps in the house wrap around each rough opening.
- Self-adhering flashing tape is applied across the sill, extending up the jambs and across the header in a shingle-lap fashion.
- Windows are set with exterior-grade sealant along side and top nailing flanges, leaving the bottom flange unsealed to allow any trapped moisture to escape.
- When updating walls alongside window replacements, following best practices on how to replace windows in a house with vinyl siding without damaging exterior trim ensures that perimeter flashing remains intact and watertight.
At the bottom of the wall, metal Z-flashing bridges the gap between the siding starter track and the foundation, directing rainwater over the exterior foundation line rather than into the wall assembly.
Frequently Asked Questions About Siding Installation
Can new vinyl siding be installed over existing siding?
Yes, new vinyl siding can be installed over existing siding if the original surface is level, structurally secure, and clear of moisture damage. Installers typically attach continuous foam insulation boards or wood furring strips over the existing panels to create a flat, plumb nailing surface before hanging the new siding.
Does a home need new sheathing before re-siding?
If the existing structure has rotted boards or lacks exterior sheathing entirely—common in older Chicago-area homes built with cladding fastened directly to studs—new OSB or plywood sheathing must be added. Installing solid sheathing provides the necessary structural backing, improves air-sealing, and ensures fasteners hold securely against high winds.
How are rooflines, foundations, and windows protected from moisture?
Moisture protection relies on layered flashing and drainage planes. Installers use metal drip caps along low-slope rooflines, integrated J-channels and self-adhering flashing tape around window flanges, and metal Z-flashing above foundation lines. This ensures water is directed outward and away from wall framing at every transition point.
Conclusion
Upgrading your exterior siding protects your home against weather damage, eliminates drafts, and restores curb appeal. HomeBuild Windows, Doors & Siding is a locally owned Chicago-area contractor serving homeowners since 2004. Every project is installed exclusively by our trained, in-house crews—never subcontractors—and supervised directly on site by company owner Steve Mlynek, who visits every job.
HomeBuild is proud to be an Elite Platinum Pella Certified Contractor, an Andersen Premier Certified Contractor, an Angi Super Service Award 2025 winner, a 2025 Nextdoor Neighborhood Faves winner, and rated 4.9 stars across 220+ Google reviews. Every installation is backed by our 10-year labor warranty along with a complimentary VIP Protection Plan of 1, 2, or 5 years depending on project size; learn more about our complete warranty details.
To explore premium material options and plan your exterior renovation, schedule a free estimate with our team or learn more about our expert siding installation services today. You can also reach our team directly at (224) 580-1405 or (630) 501-0212, or visit our office at 1830 N Winchester Ave, Chicago, IL 60622.