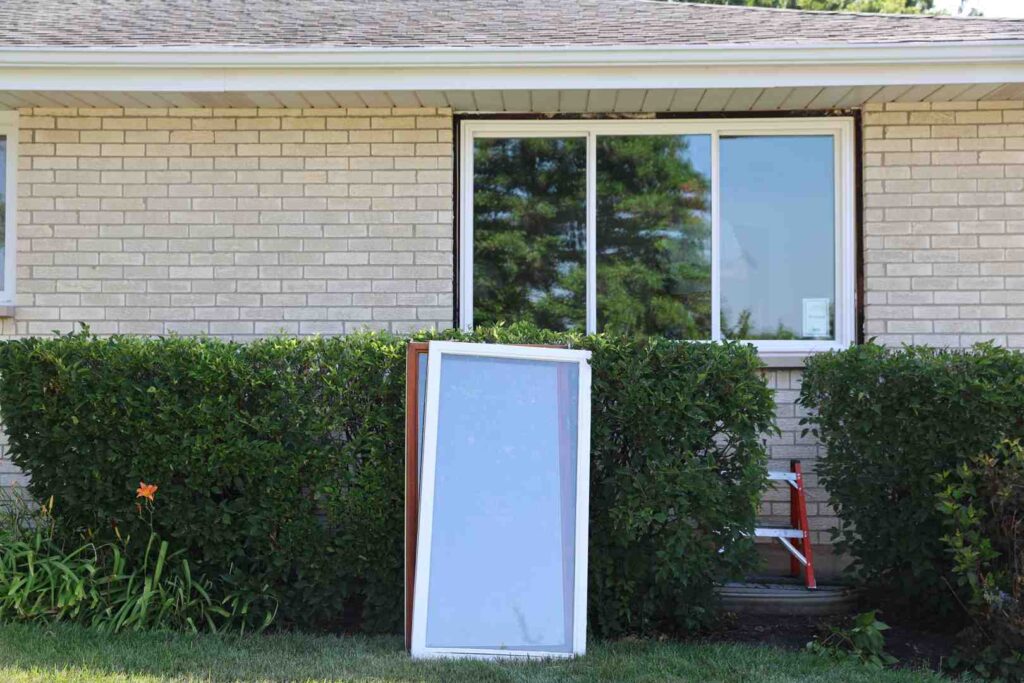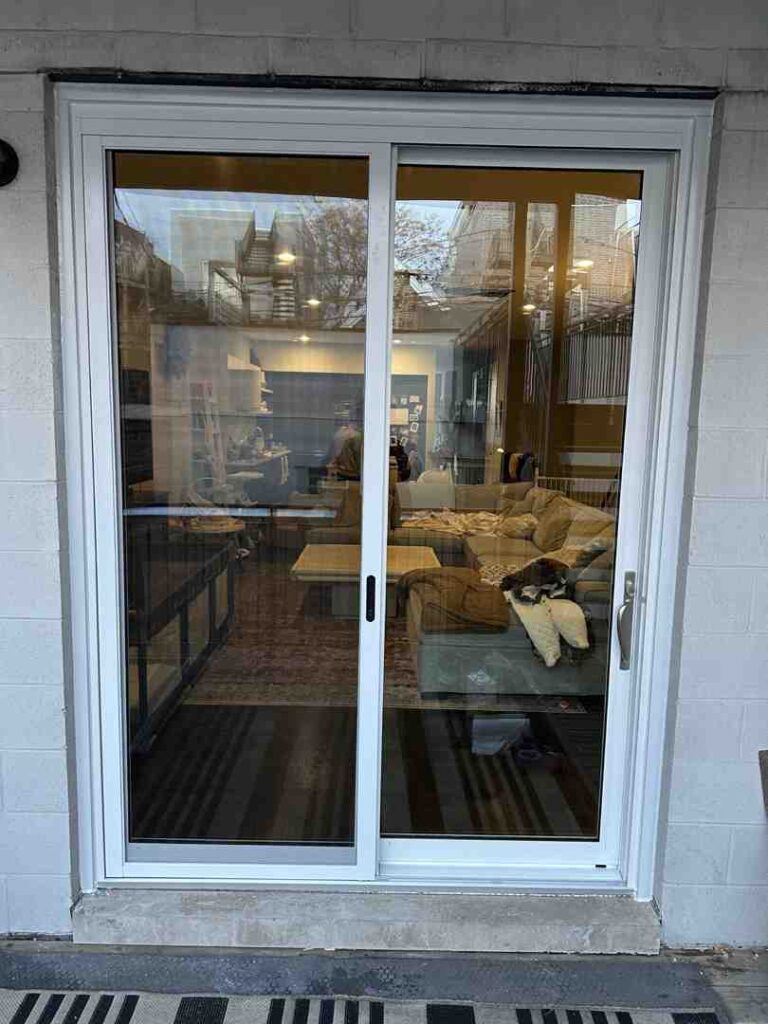



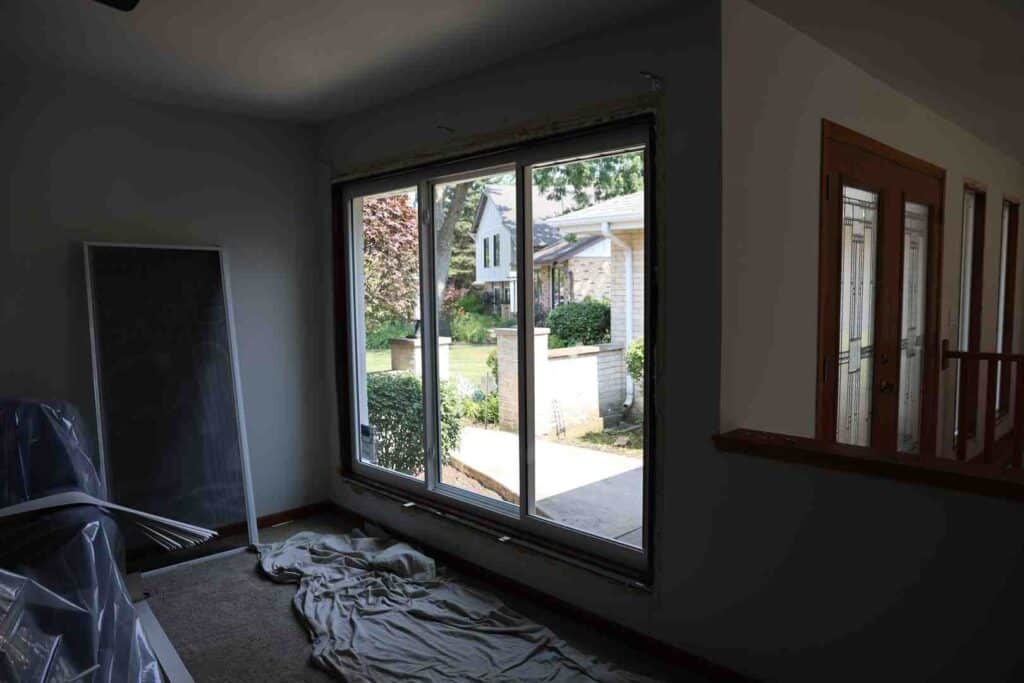
Why Replacing a French Door Is Worth Getting Right
Replacing a French door is one of the most impactful upgrades you can make to your home — but only if it’s done correctly.
Here’s a quick overview of the process:
- Measure the rough opening (width and height inside the studs)
- Choose your replacement type — insert (pocket) or full-frame
- Select your door material — fiberglass, wood, or vinyl
- Remove the old door and prepare the opening
- Install the new pre-hung door unit, shimming and leveling as you go
- Weatherproof with flashing tape, sill pan, and exterior caulk
- Finish with insulation, trim, and hardware
French doors can last 30 to 60 years when properly installed — nearly twice the lifespan of a standard sliding glass door. But a poor installation can lead to drafts, water infiltration, and alignment problems that cost far more to fix later. For Chicago homeowners especially, where winters are brutal and temperature swings are extreme, getting this right the first time matters.
Whether you’re replacing a damaged door, upgrading an outdated patio entrance, or converting a sliding glass door to a hinged French door, this guide walks you through every step.
I’m Steve Mlynek, CEO and founder of HomeBuild Windows, Doors & Siding, and with over 20 years of experience replacing French doors across Chicago and the surrounding northwest suburbs, I’ve seen every installation challenge imaginable. As a Pella Platinum Elite Certified Contractor and Andersen Certified Contractor, my team and I bring the same high standards to every project — so you get results that last.
Handy replacing a french door terms:
French Doors vs. Sliding Patio Doors: Choosing Your Upgrade
When upgrading an existing back patio or deck entrance, homeowners often debate whether to stick with a classic French door or transition to a sliding glass door. Both options offer distinct benefits, but they serve different architectural and lifestyle purposes.
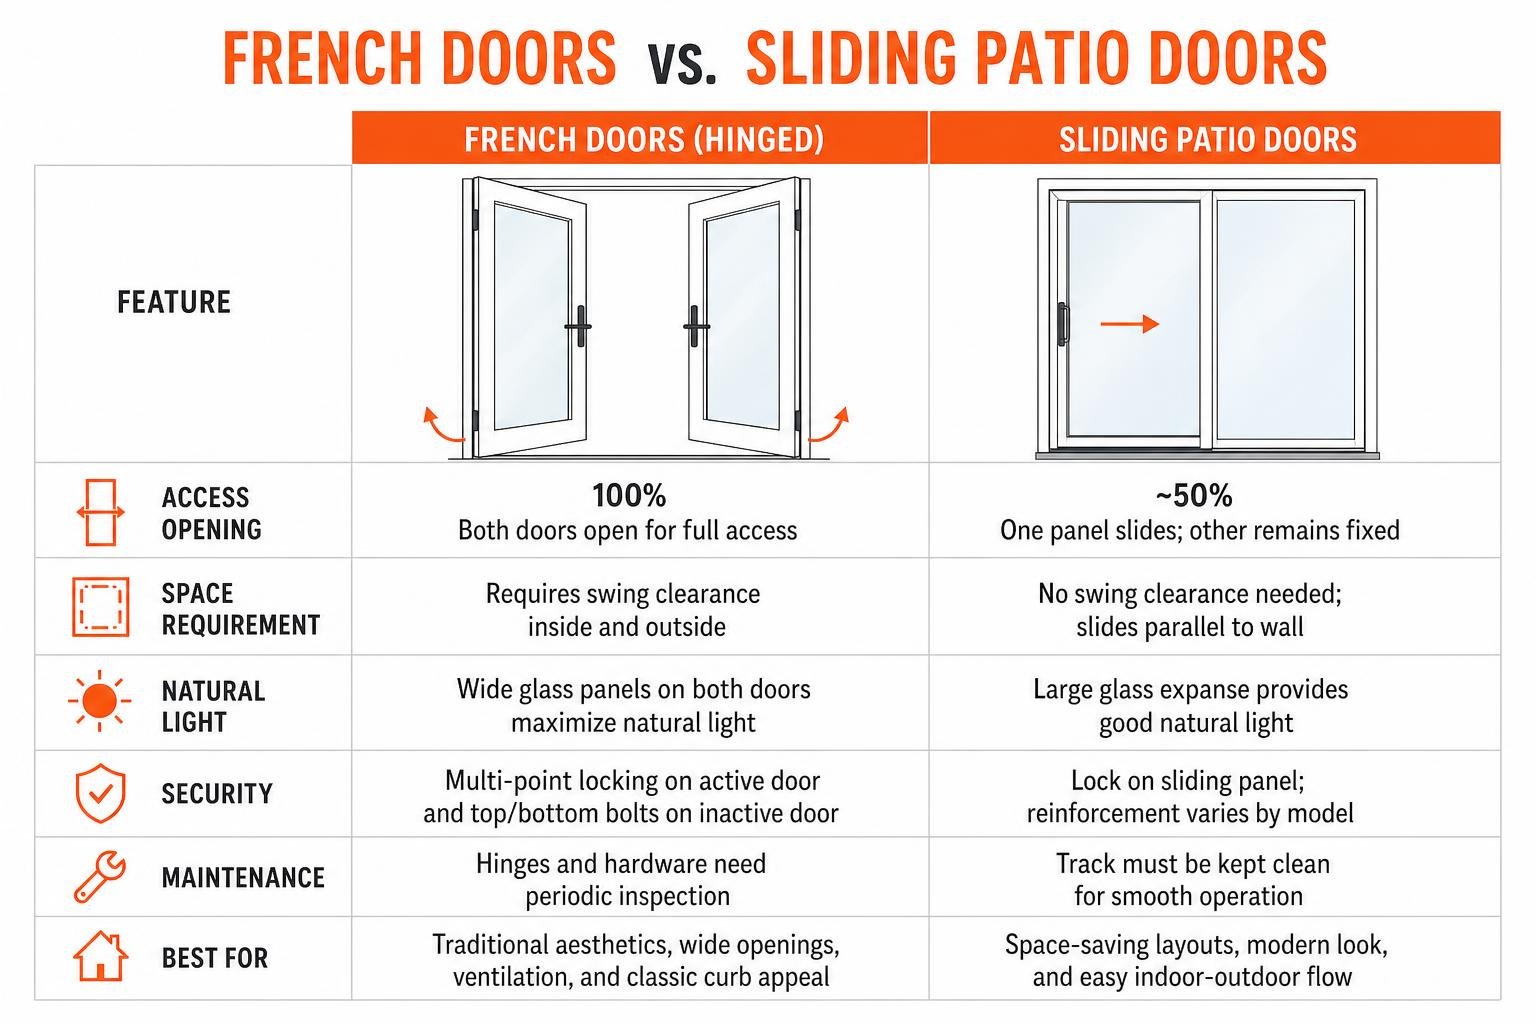
French doors are celebrated for their timeless elegance, wide profiles, and traditional aesthetics. Originating from historical side-by-side casement windows designed by French architects to maximize daylight, they bring a sense of architectural sophistication to any home. A key functional advantage is that both door panels can swing open fully, providing 100% unobstructed access to the opening. This is perfect for hosting summer gatherings, moving large furniture, or enjoying wide-open ventilation.
Sliding glass doors, on the other hand, are the ultimate space-savers. Because they slide along a track parallel to the wall, they require zero interior or exterior swing clearance. This makes them ideal for tighter rooms or patios where furniture layout is a priority. However, sliding doors typically restrict the walkthrough area to roughly half of the total unit width because one panel remains stationary.
| Feature | French Doors (Hinged) | Sliding Patio Doors |
|---|---|---|
| Aesthetics | Classic, traditional, wide rails | Modern, sleek, thin profiles |
| Clear Opening | 100% of the unit width (both doors open) | Roughly 50% of the unit width |
| Clearance Required | 30 to 36 inches of swing space | Zero floor space required |
| Lifespan | 30 to 60 years | 15 to 25 years |
| Natural Light | Excellent (often with decorative grilles) | Maximized due to minimal framing |
| Maintenance | Hinges and weatherstripping checks | Track cleaning and roller lubrication |
If you love the look of a French door but lack the clearance space, a sliding French door hybrid offers the best of both worlds: the wider, traditional profile of a French door with the space-saving operation of a slider. To explore sliding options further, see the ultimate guide to replacing a door with a sliding door and our comprehensive sliding glass door installation guide.
Choosing the Right Materials for Replacing a French Door
The material you choose for replacing a french door directly impacts its long-term durability, maintenance requirements, and energy efficiency — especially in the volatile Midwest climate.
- Fiberglass: This is widely considered the gold standard for exterior doors in Chicago. High-quality fiberglass (such as Marvin’s proprietary Ultrex fiberglass, which is eight times stronger than vinyl) does not rot, corrode, warp, or dent. It handles extreme temperature swings without expanding or contracting, keeping your seals tight through freezing winters and humid summers.
- Wood: Unmatched in natural beauty and customization, wood doors from brands like Pella or Simpson offer premium finishes and custom historic grille patterns. However, wood requires routine painting or staining to protect it from moisture damage, bowing, or splitting.
- Vinyl: A highly practical, low-maintenance, and budget-friendly option. Modern vinyl formulas are engineered to resist fading and do not require refinishing. While not quite as strong as fiberglass, vinyl patio doors offer excellent insulation and value.
Selecting the right material is a crucial step in any door and window replacement project. To learn more about selecting products tailored to your home’s architecture, consult our door replacement near me complete guide.
Planning and Preparing for Replacing a French Door
Proper preparation prevents major headaches mid-project. Before ordering a new door unit, you must verify the structural integrity of your wall and understand how the installation will affect your home’s interior.
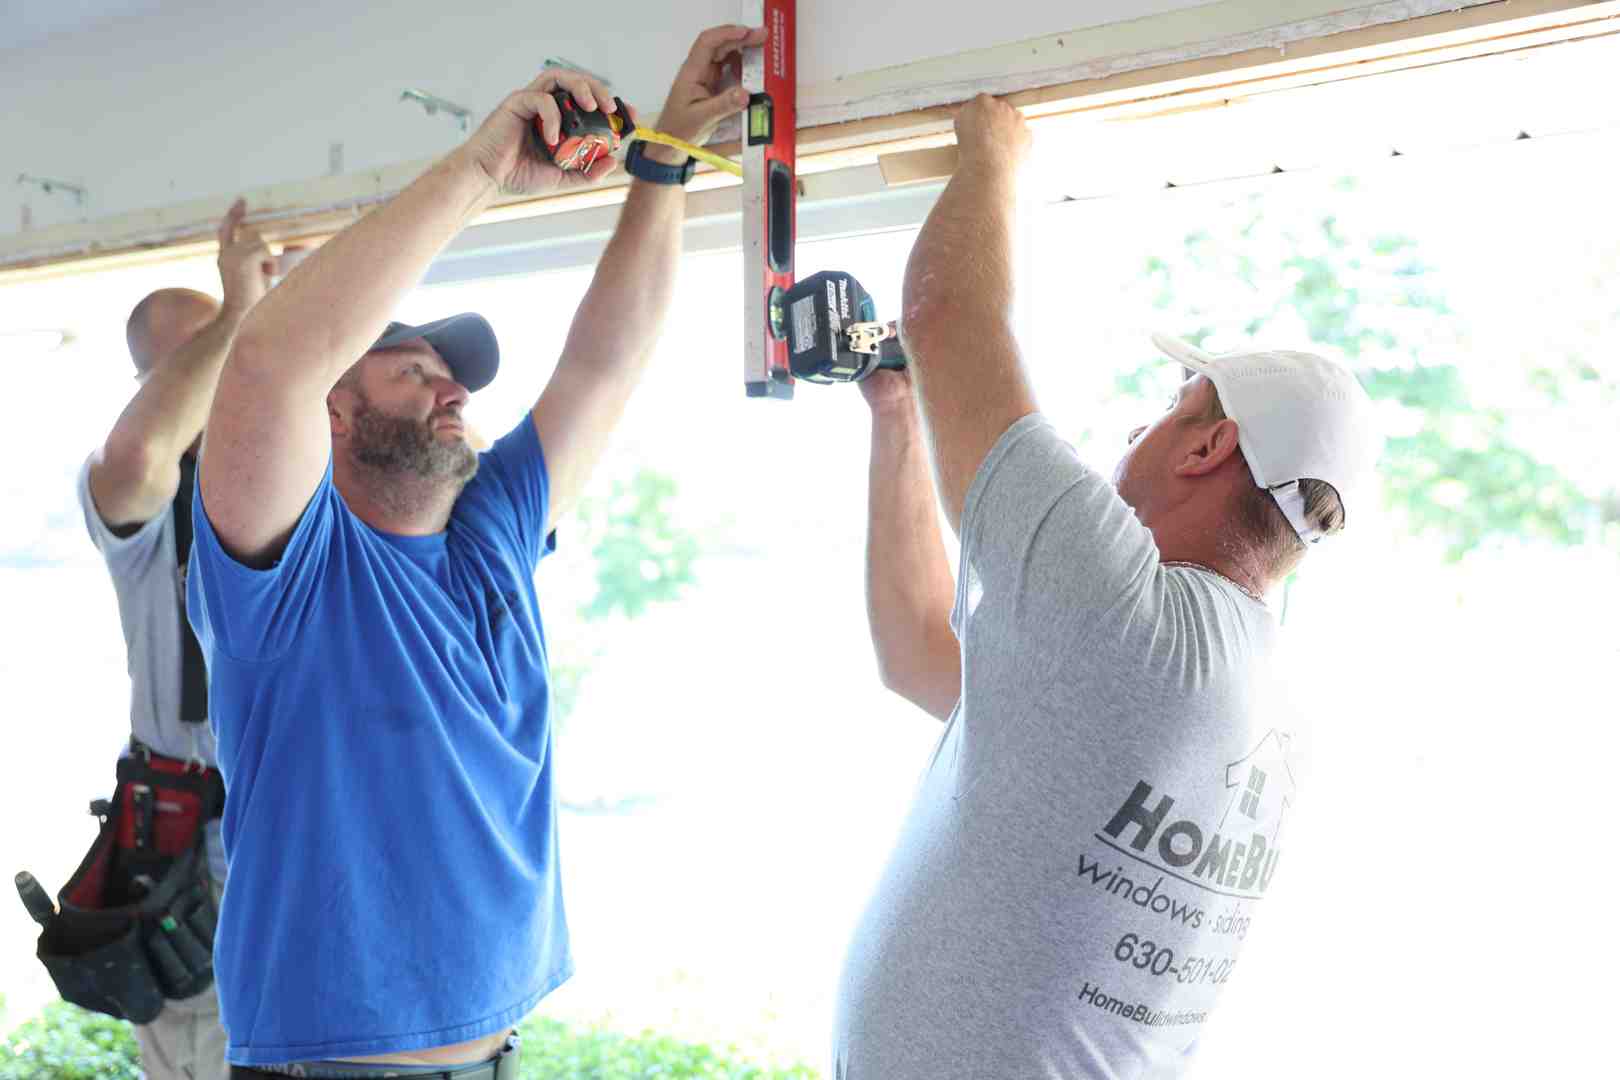
One common mistake is installing a door directly onto the subfloor without checking height clearances. If the door threshold sits too low, the door panels will catch on interior area rugs or thick carpeting when opened. Using a plywood spacer over the subflooring can elevate the door unit just enough to clear rugs while maintaining a tight, weatherproof seal.
Additionally, you must evaluate the wall structure. If you are replacing an existing door of the exact same size, the structural header above the opening is already in place. However, if you are expanding the opening or converting a window, you must verify whether the wall is load-bearing. Cutting into a load-bearing wall without temporary support and a newly engineered header beam can cause structural sagging. For a deeper look at planning these transitions safely, read How to Replace Patio Doors with French Doors | Easy Steps .
Measuring the Rough Opening for Your New Door
To ensure a seamless fit, you must measure the rough opening (RO) — the structural framing inside the wall studs — rather than the old door frame itself.
- Remove the interior trim: Use a pry bar to carefully remove the casing so you can see the jack studs.
- Measure the width: Measure the distance between the inside faces of the studs at the top, middle, and bottom. Record the smallest measurement.
- Measure the height: Measure from the subfloor (not the finished floor) to the underside of the header beam at the left, center, and right. Record the smallest measurement.
- Check for squareness: Measure diagonally from corner to corner. If the two diagonal measurements are within 1/4-inch of each other, the opening is square.
- Check plumb and level: Use a 6-foot level to check that the side studs are plumb and the subfloor sill is level.
Standard rough openings for a 60-inch-wide French door unit are typically 62 inches wide by 82 inches tall. If your opening is non-standard, custom sizing is available from manufacturers like Pella and Marvin, though it requires longer lead times. To understand how these measurements guide the ordering process, refer to our door replacement service complete guide and find local measuring resources through door installations near me.
Step-by-Step French Door Installation Process
Once your new pre-hung French door unit arrives, it is time for the installation. We highly recommend using pre-hung door kits because the frame, hinges, and weatherstripping are pre-aligned at the factory, minimizing the risk of gaps.
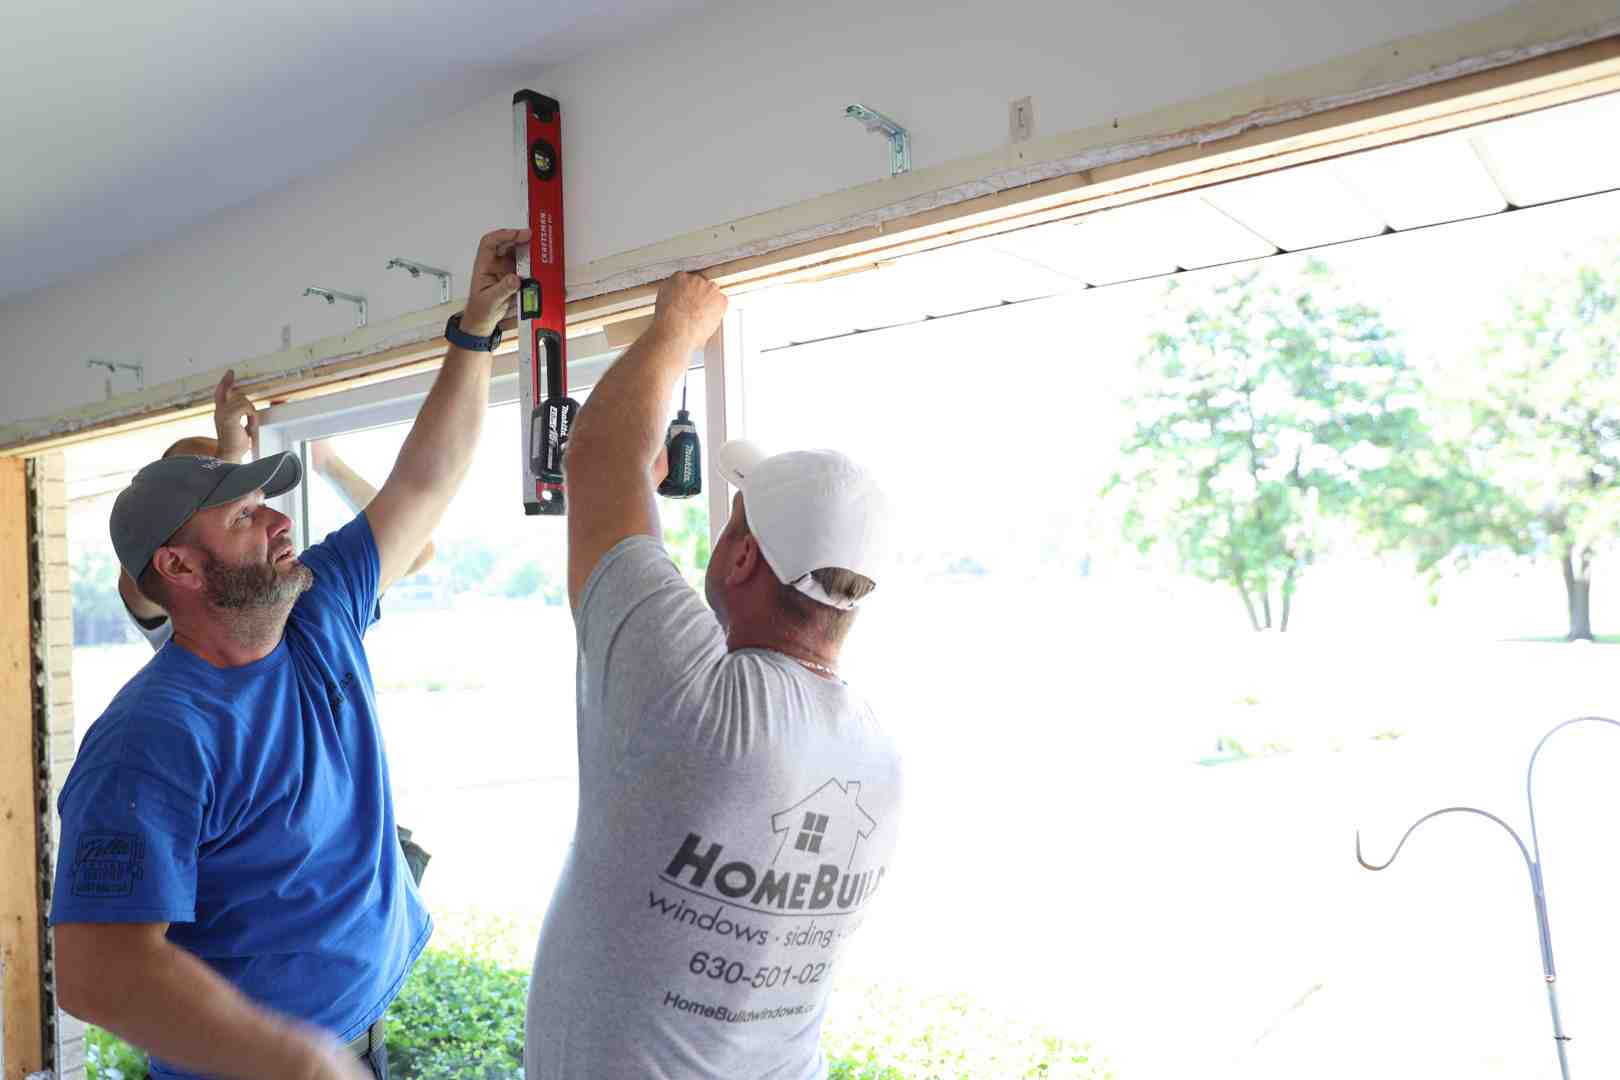
Before lifting the door into place, proper weatherproofing is essential. This is where many DIY projects fail, leading to hidden water rot over time. You must install a sloped sill pan on the subfloor and apply self-adhering flashing tape around the opening, overlapping the pieces like shingles from bottom to top so that water is naturally shed away from the wood framing.
For more information on the structural prep and weatherproofing standards we use on every job, check out our guide on patio french door installation and our door installation and replacement chicago overview.
Step-by-Step Guide to Replacing a French Door
Here is the professional process for removing your old unit and installing a brand-new exterior French door:
Step 1: Remove the Old Door Panels and Frame
- Unscrew and remove the active door panels first.
- If your system has a stationary panel, secure it safely. In many high-quality systems, like the Andersen 400 Series, stationary panels are held by hidden brackets. You may need to cut frame screws flush with the side jamb using a hacksaw blade to avoid tearing the weatherstripping on the new unit. For details on handling specific older models, see the Service Guide – Patio Doors – Replacement of Stationary Panel — 400 Series – Frenchwood® Hinged Inswing – 0004297 .
- Pry away the exterior brickmould or trim, cut the old fasteners, and remove the outer frame from the opening.
Step 2: Prep and Seal the Opening
- Clean the rough opening of all old sealant, insulation, and debris. Inspect the wood for any signs of mold or rot, replacing damaged studs if necessary.
- Verify the sill is level. Apply three thick beads of high-quality exterior silicone caulk across the subfloor where the sill pan and door threshold will sit.
Step 3: Set and Shim the New Frame
- With a helper, lift the pre-hung door frame into the opening, bottom-first, then tilt the top into place.
- Temporarily secure the frame using shims placed behind the hinge locations.
- Check the frame with a level. Insert shims on the sides and top to ensure the frame is perfectly plumb, level, and square. Adjust the shims until the gap (reveal) between the door panels and the frame is completely uniform.
Step 4: Secure the Frame and Install Hardware
- Anchor the frame to the wall studs using heavy-duty wood screws (typically 3-inch or longer) driven through the hinge plates on the hinge jamb.
- Install the active door hardware, handle set, and a multi-point locking system. Multi-point locks secure the door at the top, middle, and bottom, pulling the door tight against the weatherstripping to prevent winter drafts.
Step 5: Insulate and Finish
- Fill the cavity between the door frame and the wall studs with low-expansion spray foam insulation. Do not use high-expansion foam, as it can bow the door frame and cause the doors to bind.
- Apply a continuous bead of exterior-grade polyurethane caulk around the outer perimeter where the door frame meets your home’s siding.
- Reinstall your interior trim and exterior casing.
For professional installation support in local neighborhoods, you can trust the experienced team at HomeBuild Windows, Doors & Siding to handle your project with precision and care.
How to Replace a Broken Glass Pane in a French Door
If your French door frame is in excellent condition but a single pane of glass is cracked, foggy, or broken, you do not need to replace the entire door unit. Replacing a single pane is a highly practical, precise repair.
First, determine if your door has True Divided Lites (TDL) or Simulated Divided Lites (SDL). TDL doors feature individual, separate panes of glass separated by physical wood or composite muntins. SDL doors use a single large sheet of glass with a decorative grid adhered to the surface.
To replace a pane in a TDL door:
- Safety First: Wear safety glasses and cut-resistant gloves. Apply painter’s tape in an “X” over the cracked glass to prevent loose shards from falling.
- Remove Glazing Beads: Carefully pry away the wood glazing beads or score old putty around the broken pane using a utility knife. Label each bead’s position for easy reassembly.
- Clean the Rabbet: Scrape away all old silicone, glazing tape, and debris from the wood channel (rabbet). Sand rough spots and apply a thin coat of primer to exposed wood to prevent moisture absorption.
- Measure and Order Glass: Measure the opening and subtract 1/8-inch on all sides to allow for natural wood expansion. Specify tempered safety glass for exterior doors.
- Install the Glass: Place small rubber setting blocks in the bottom of the frame. Apply a thin bead of neutral-cure silicone sealant in the rabbet, seat the new glass pane onto the setting blocks, and press gently.
- Secure and Cure: Reinstall the glazing beads or apply fresh glazing compound. Wipe away excess silicone and allow it to cure for 24 to 48 hours before operating the door.
Frequently Asked Questions About Patio Door Replacement
Can I replace a sliding glass door with French doors?
Yes, you can absolutely replace a sliding glass door with French doors. Since sliding doors already have a structural header in place, the conversion is highly feasible. The main consideration is swing clearance. You must ensure you have 30 to 36 inches of clear floor space inside (for inswing doors) or outside (for outswing doors) so the panels can operate without hitting furniture or deck railings. For homeowners in the northwest suburbs looking to make this transition, professional installation ensures a seamless fit and long-lasting performance.
What maintenance is required for French doors after installation?
To ensure your French doors operate smoothly through Chicago’s seasonal weather changes, we recommend biannual maintenance in the spring and fall:
- Lubricate Hinges: Apply a light silicone spray or light oil to the hinges to prevent squeaks and ease operation.
- Inspect Weatherstripping: Check for worn, torn, or flattened seals that let in cold air, and replace them immediately.
- Clean Glass and Frames: Use a non-abrasive glass cleaner and microfiber cloth. Avoid harsh chemicals on finished wood or fiberglass frames.
- Tighten Hardware: Check and tighten any loose screws on the hinges, handle sets, and strike plates.
If you ever experience alignment issues or stickiness due to seasonal shifting, professional adjustments can quickly restore performance. HomeBuild Windows, Doors & Siding provides expert support to keep your doors operating flawlessly year-round.
Do I need a permit to replace my patio doors in the Chicago area?
For a direct, like-for-like replacement where the rough opening size is not altered, most municipalities in the Chicago area do not require a building permit. However, if you are widening the opening, cutting into a load-bearing wall, or converting a window into a door, you will typically need to obtain a structural permit from your local building department.
Whether you reside in Crystal Lake or Des Plaines, local building codes must be strictly followed. Working with an experienced local contractor like HomeBuild ensures your project complies with all municipal regulations and standards.
Conclusion
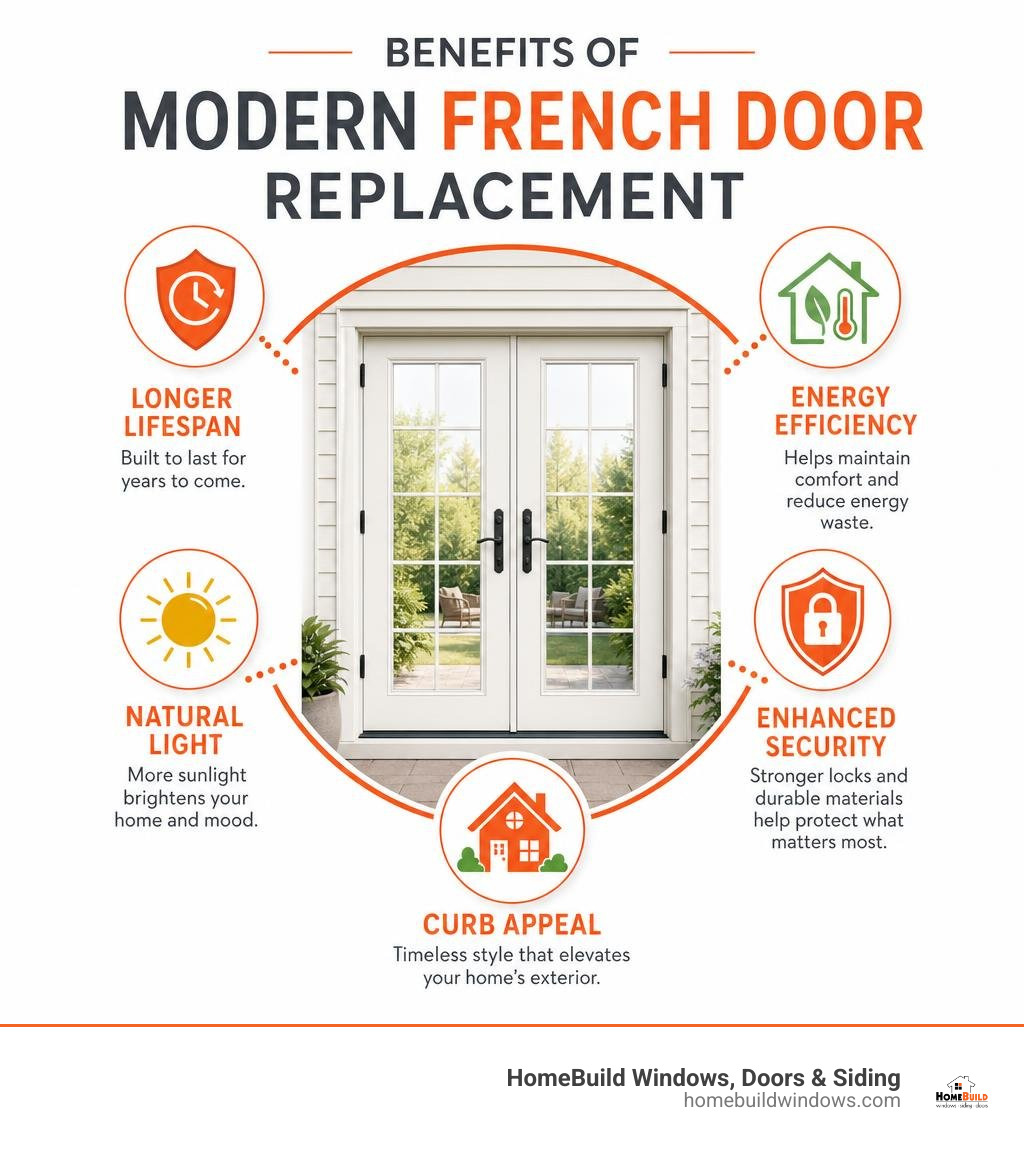
Replacing a French door is a fantastic way to flood your home with natural light, improve energy efficiency, and elevate your home’s security. Because a patio door faces the full brunt of Chicago’s heavy winds, snow, and summer humidity, professional installation is the best way to protect your investment and ensure flawless performance for decades to come.
At HomeBuild Windows, Doors & Siding, we specialize in high-performance exterior remodeling. As an Elite Platinum Pella® Certified Contractor and an Andersen Certified Contractor, we bring unmatched expertise, owner-supervised accountability, and exceptional craftsmanship to every home in the Chicago area and northwest suburbs.
Ready to upgrade your home’s comfort and curb appeal? Contact us today to schedule your free consultation!
- Explore our full range of services: window and door replacement chicago
- Plan your project with our french door replacement guide
- Get in touch: https://homebuildwindows.com/window-and-door-replacement-chicago/