

How to Hang a Storm Door in Morton Grove
Proper storm door installation starts with structural alignment. Achieving an airtight, durable fit requires verifying that the exterior brickmold is square, choosing the right hinge orientation to prevent handle collisions, and balancing closer tension against seasonal wind pressure. A well-fitted storm door shields the main entryway from rain, snow, and lake-effect drafts while improving energy efficiency.
In Morton Grove and across Chicagoland, exterior entryways endure severe freeze-thaw cycles and humid summers that cause standard door frames to expand and contract. Because of these demanding conditions, professional storm door hanging in Morton Grove accounts for frame movement, ensuring the door seals tightly without binding or leaving drafty perimeter gaps.
I’m Steve Mlynek, founder of HomeBuild Windows, Doors & Siding, and I’ve led door installation projects in the Chicago area for over 20 years. When evaluating storm door hanging Morton Grove homeowners count on, understanding the structural requirements and professional installation standards ensures your entryway performs reliably through every season.
Essential Preparation and Mounting Surface Specifications
Hanging an exterior door in our region requires careful preparation because Chicagoland weather is notoriously demanding. Between sub-zero winter blasts off Lake Michigan, humid summer heatwaves, and relentless freeze-thaw cycles, an improperly secured storm door frame will quickly shift out of square. Understanding the exterior storm door hanging process begins with confirming that your home’s exterior trim can structurally support the unit.
Whether you live in a classic brick bungalow, a mid-century split-level, or a suburban colonial in Morton Grove, you must ensure the existing brickmold or exterior casing is structurally sound. Rot, soft wood, or loose fasteners will prevent the storm door from anchoring properly. A professional installer checks these mounting surfaces before any hardware is attached, which is why expert storm door hanging in Morton Grove starts with a detailed assessment of the entryway rather than a rushed installation.
Pre-Installation Measuring and Storm Door Hanging Morton Grove Prep
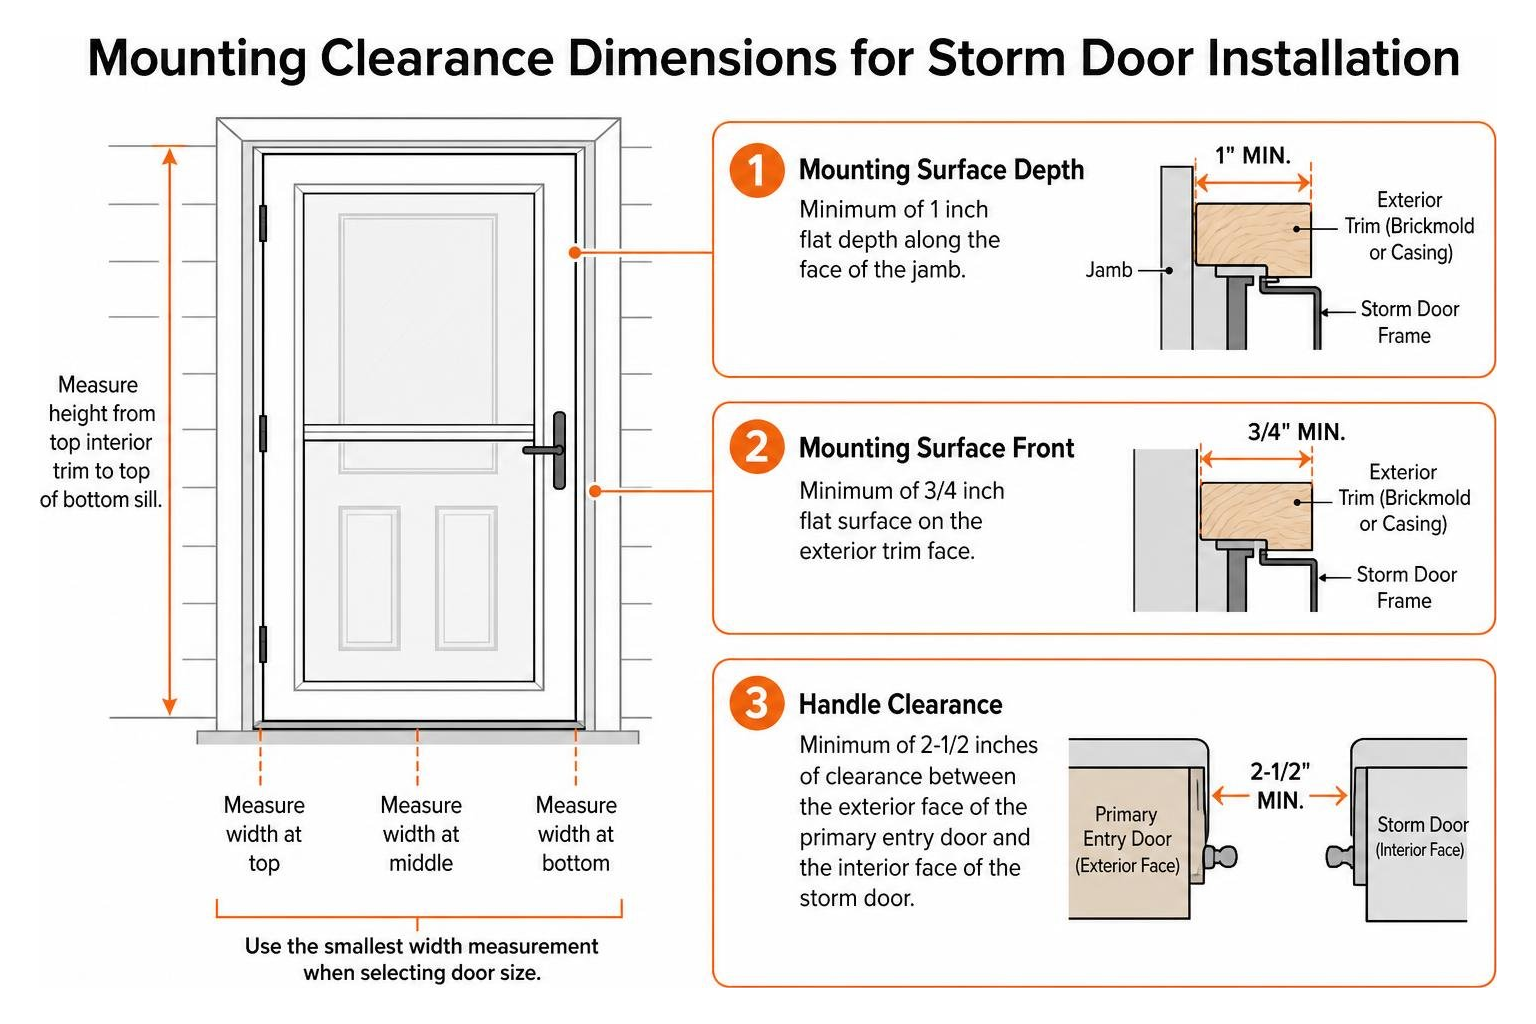
Accurate measurements prevent costly sizing mistakes. You must measure the width of your entryway opening in three distinct locations: across the top, the middle, and the bottom, measuring from the inside face of the exterior brickmold trim. Always record the smallest width measurement when choosing your door size. For height, measure vertically from the top interior trim down to the top surface of the bottom sill.
Standard storm door sizes correspond to specific opening dimensions:
| Nominal Door Size | Minimum Opening Width | Maximum Opening Width | Standard Opening Height |
|---|---|---|---|
| 32″ x 81″ | 31-7/8″ | 32-3/8″ | 80″ to 81″ |
| 36″ x 81″ | 35-7/8″ | 36-3/8″ | 80″ to 81″ |
Beyond the rough opening size, you must confirm three critical mounting clearances on your home’s exterior door frame:
- Mounting Surface Depth: Minimum of 1 inch flat depth along the face of the jamb.
- Mounting Surface Front: Minimum of 3/4 inch flat surface on the exterior trim face.
- Handle Clearance: Minimum of 2-1/2 inches of clearance between the exterior face of the primary entry door and the interior face of the storm door to prevent handle collision.
Determining Hinge Swing and Frame Alignment
Determining whether you need a left-hinged or right-hinged door depends on your entry door layout. As a rule, storm doors typically hinge on the same side as your main entry door so both swing open together smoothly. Stand outside facing your front entry: if the hinges are on the left, you need a left-hand swing; if on the right, you need a right-hand swing. Always confirm that your exterior lighting, railings, and hardware will not collide.
Manufacturer instruction manuals often utilize color-coded pathways—such as blue-highlighted instructions for left-hinge configurations and green-highlighted steps for right-hinge setups—to prevent reversing the top and bottom rails. You can review detailed manufacturer specifications in this Installation Guide to verify proper frame alignment before proceeding.
If your doorway width falls between 33 inches and 36 inches on an oversized opening, a specialized hinge rail shim is necessary. Applying this shim directly behind the hinge rail compensates for excess width, ensuring the latch mechanism aligns perfectly without allowing the door to sag over time.
What Professional Storm Door Hanging Involves for Morton Grove Residences
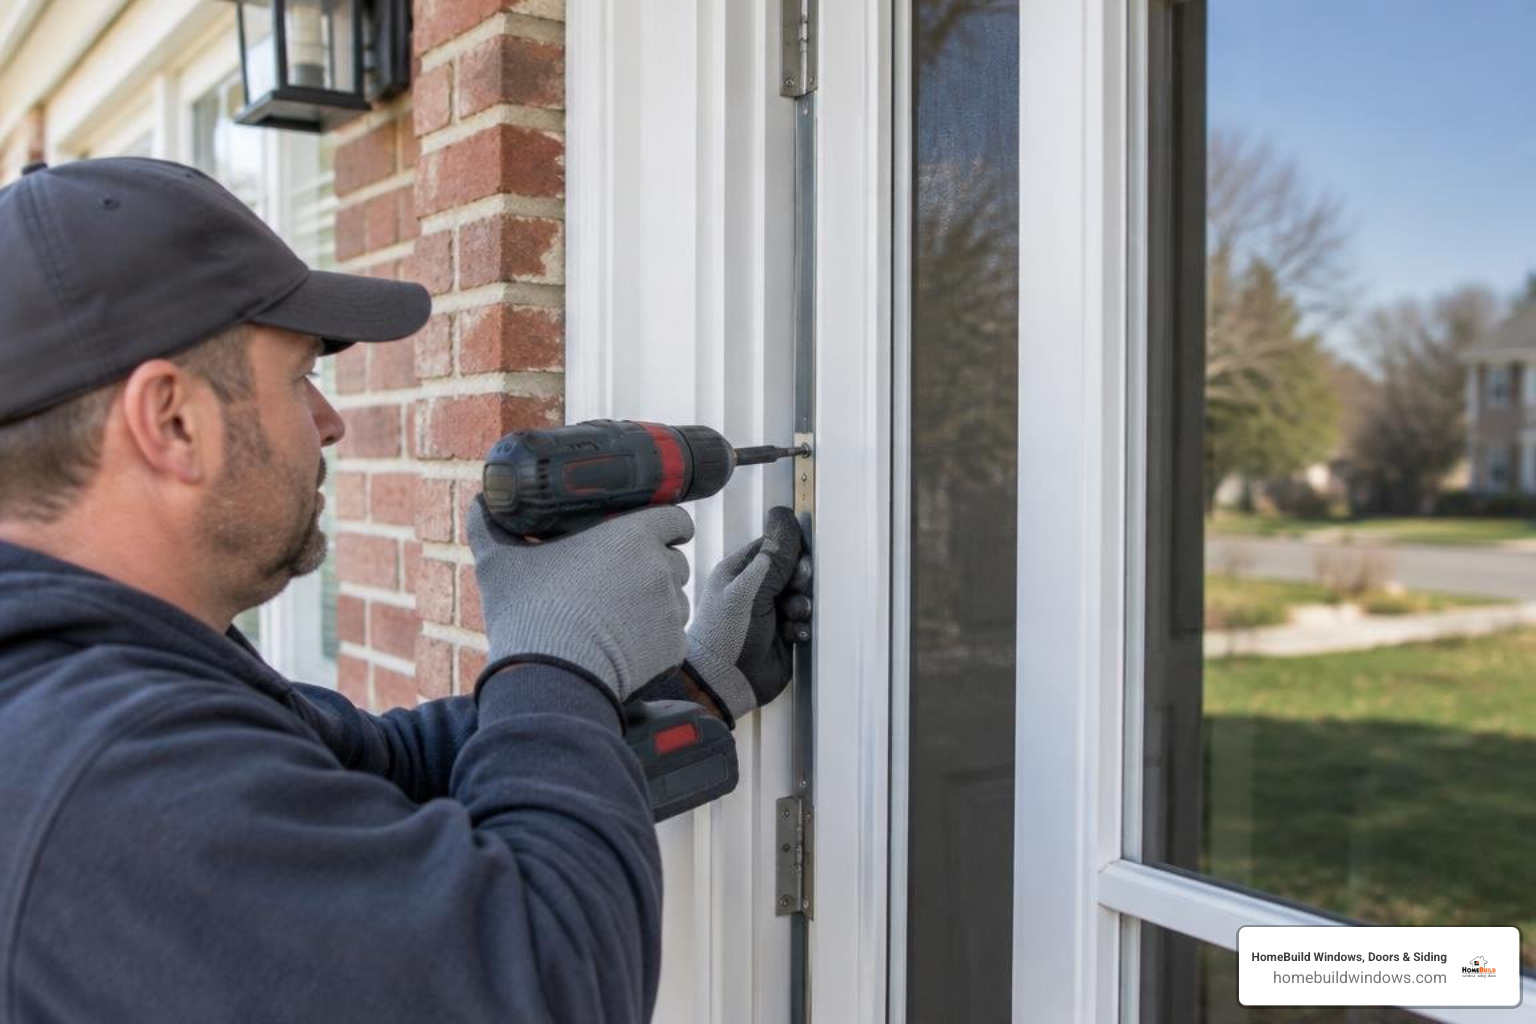
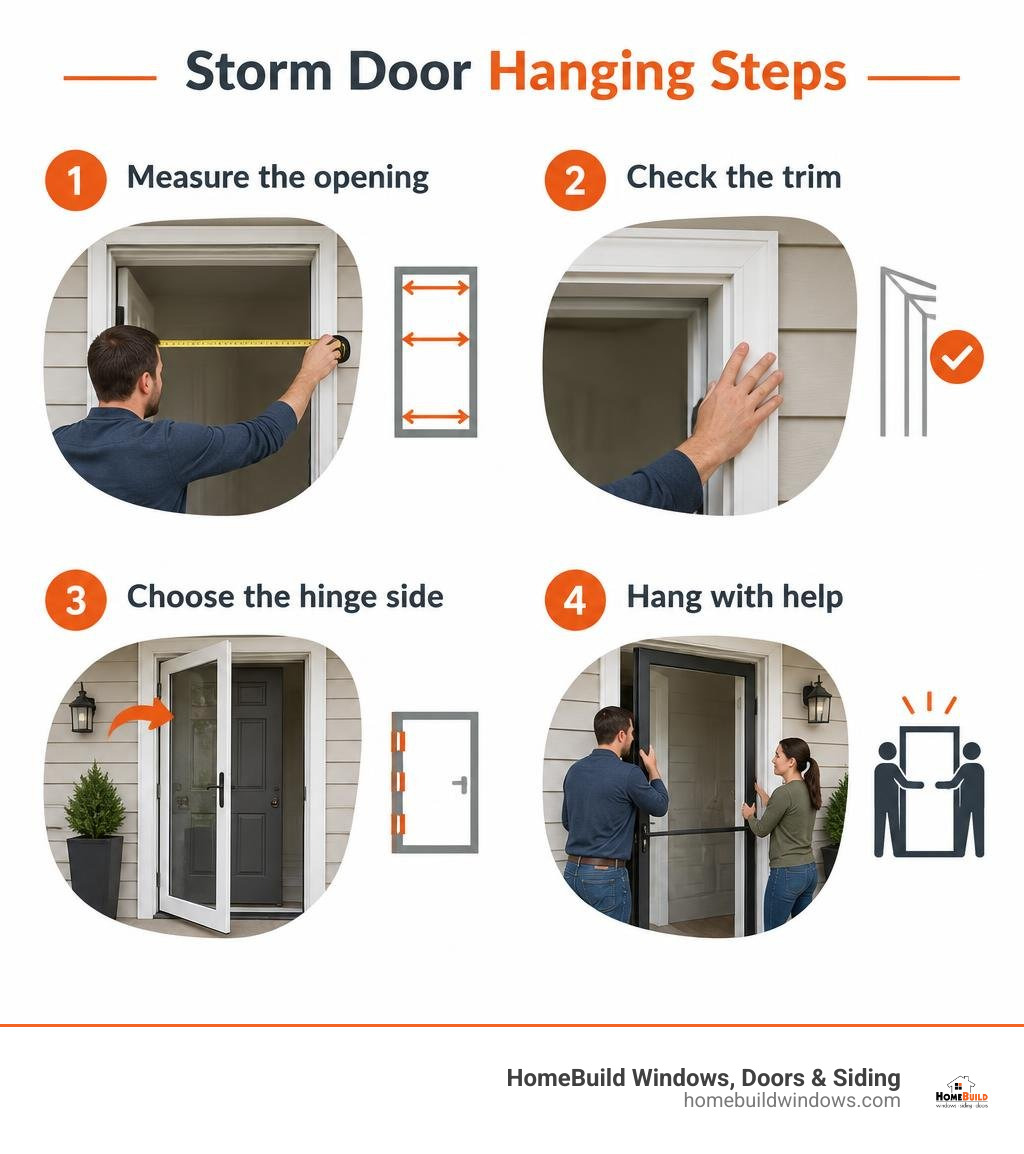
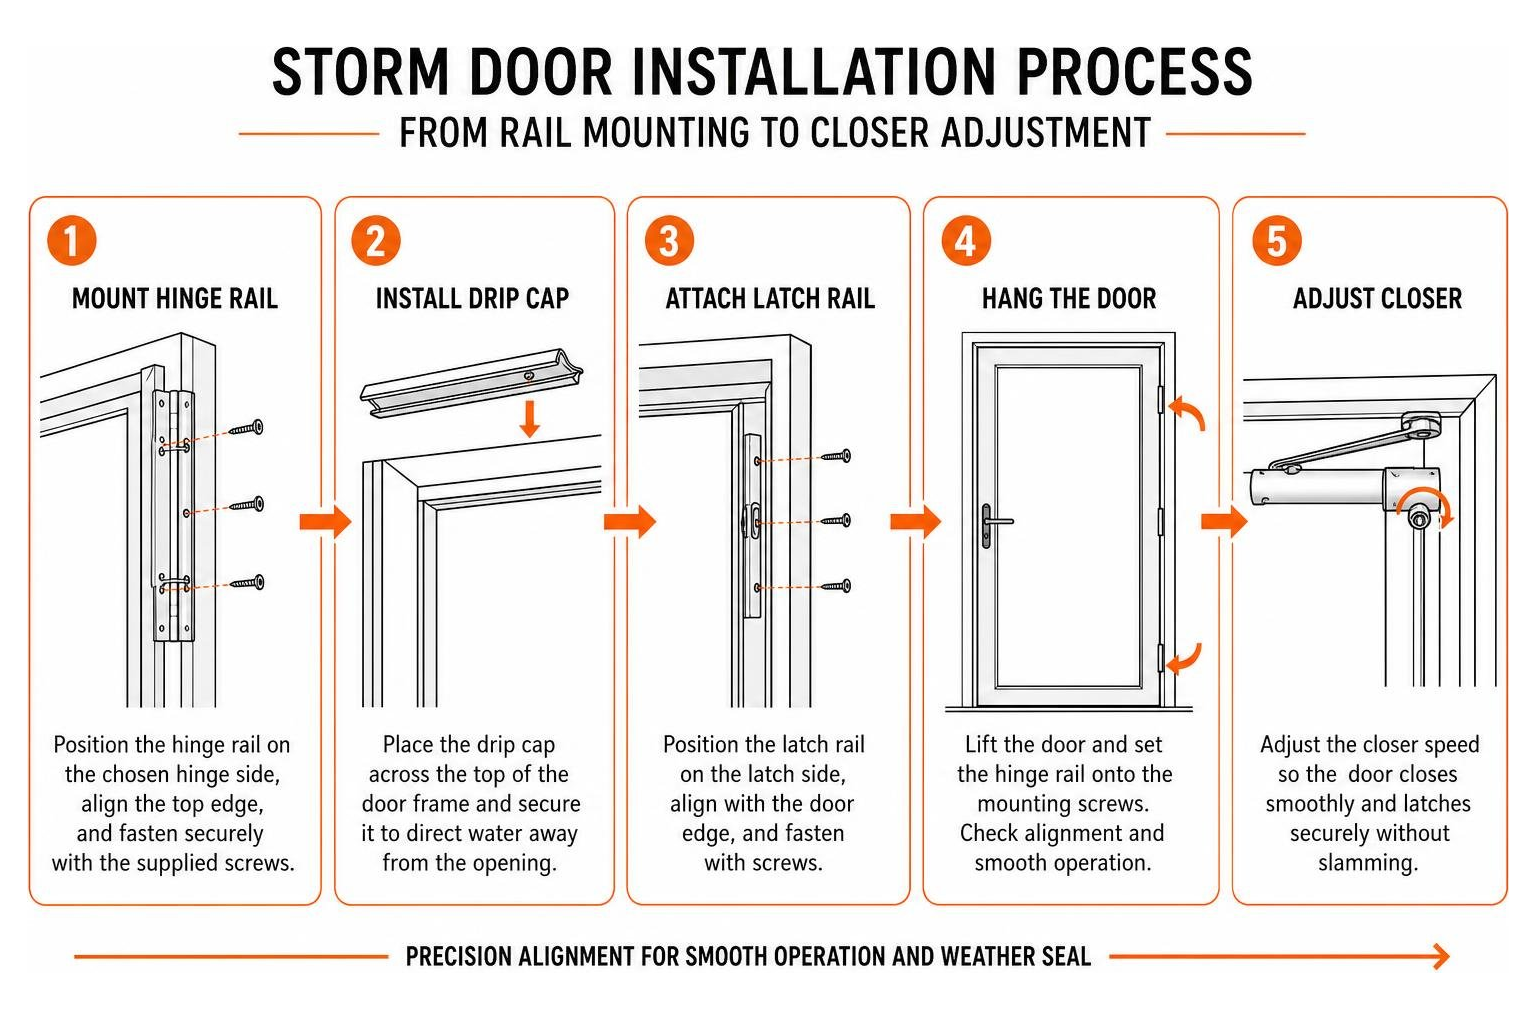
When undertaking storm door hanging in Morton Grove, precision alignment keeps cold winter drafts outside while preserving natural ventilation during warm summers. To understand the primary milestones of the installation, review the standard sequence below:
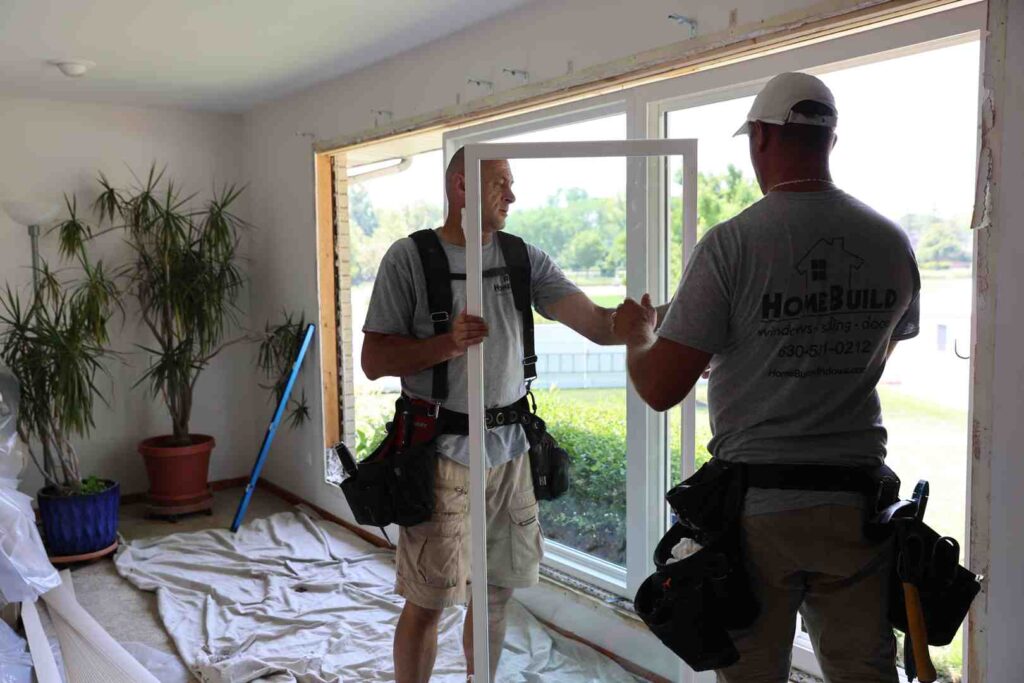
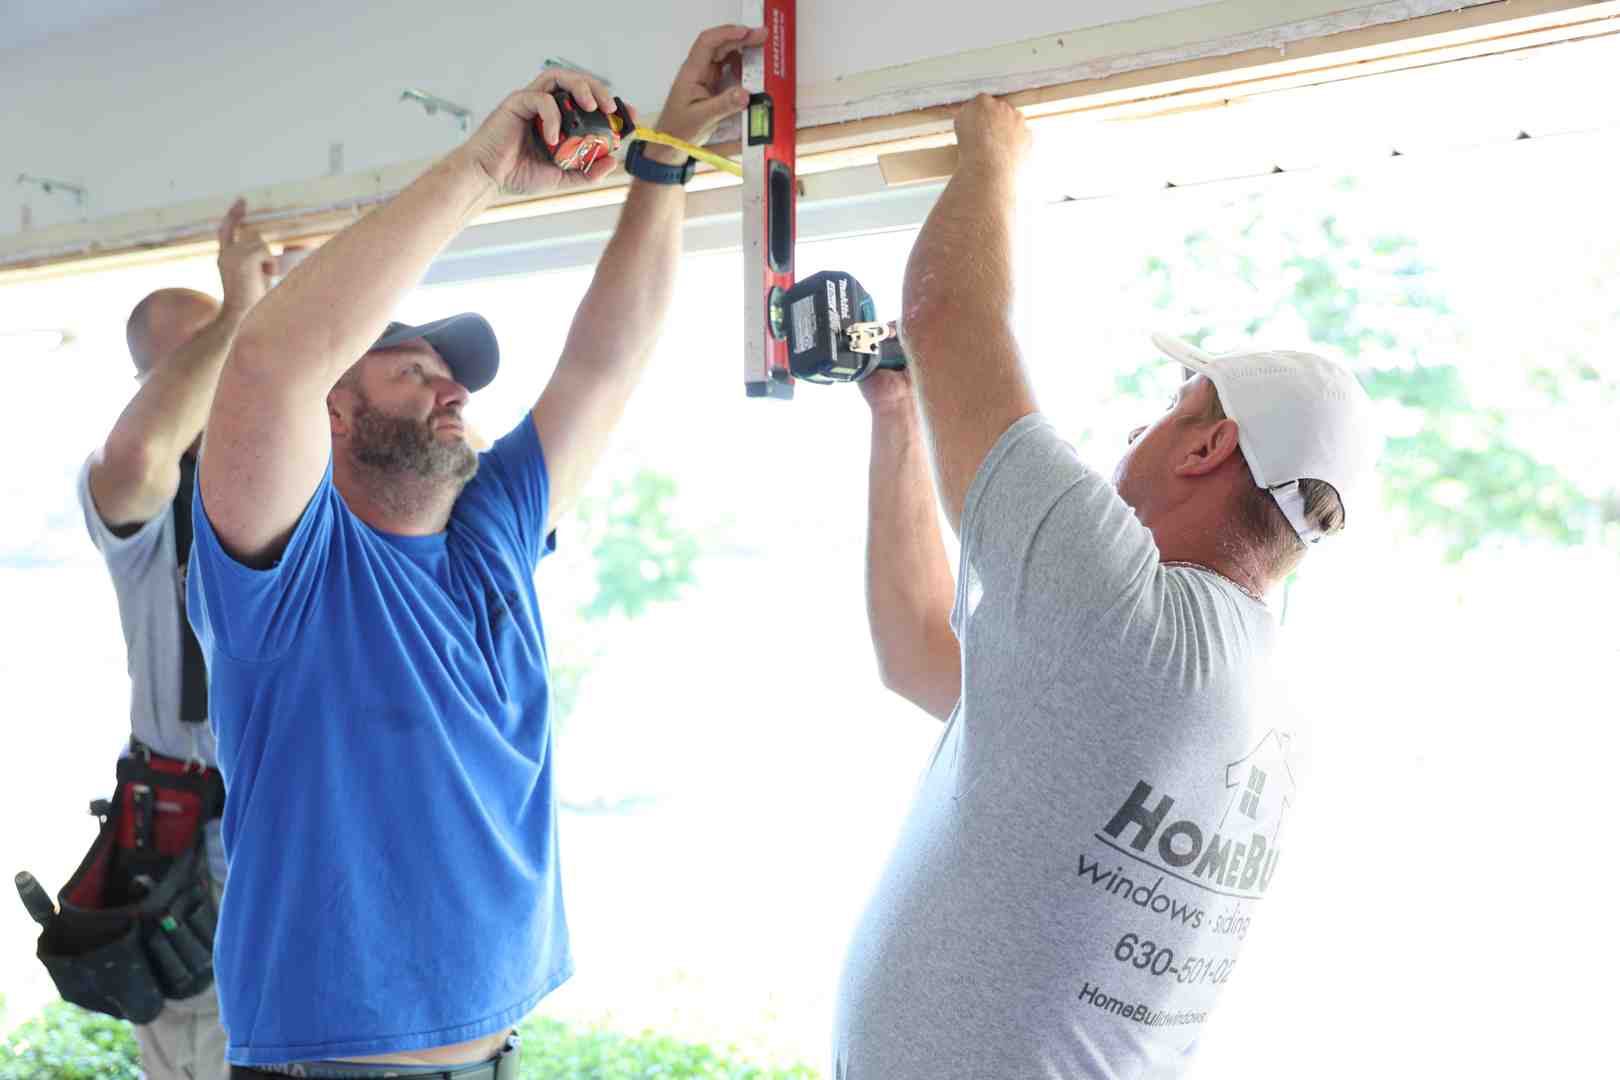
Professional storm door installation requires specialized tools and technical know-how to ensure seamless operation. Rather than risking split trim or an out-of-square frame, certified installers manage the exact tolerances required for heavy-duty aluminum and composite storm doors.
Securing the Hinge Rail, Drip Cap, and Latch Rail
The mounting process requires strict adherence to manufacturer reveal tolerances to prevent binding:
- Hinge Rail Alignment: The hinge rail must be secured squarely to the door panel and anchored into structural framing using corrosion-resistant fasteners. Installers pre-drill pilot holes to prevent splitting aging exterior casing on older Chicago-area homes.
- Drip Cap Positioning: Mounted along the header trim, the top rain cap deflects driving rain and melting snow away from the threshold. It must maintain a uniform 1/8-inch reveal above the door panel to prevent scraping.
- Latch Rail Calibration: The latch-side Z-bar requires an exact 3/16-inch operating clearance from top to bottom. This precise spacing allows weatherstripping to compress evenly without causing latch failure or air leaks.
- Finishing Touches: Installers smooth weatherstripping into factory channels, snap cosmetic screw covers in place, and deburr bottom rail edges for clean, safe operation, as outlined in manufacturer references like the Pella Storm Door Documentation.
Closer Calibration and Threshold Expander Setup
A critical part of storm door hanging is setting up the bottom expander channel and hydraulic or pneumatic closers to withstand suburban wind gusts:
- Bottom Expander Channel: The sweep fin is calibrated so it lightly contacts the threshold across the entire opening width. Over-compression causes friction and premature wear, while insufficient contact allows drafts and snow intrusion.
- Closer Tension and Speed: Pneumatic closer cylinders must be balanced so the door closes smoothly and latches firmly without slamming violently. Professional installers fine-tune the tension screw to ensure a secure latch against high-performance weatherstripping even during blustery winter storms.
For severe winter seasons, balancing closer speed ensures a tight barrier against lake-effect drafts without putting undue stress on the frame. If you prefer to avoid the heavy lifting and precise alignment work, partnering with a Pella certified contractor ensures the entire assembly is installed correctly from day one.
Long-Term Maintenance, Hardware Care, and Warranty Protection
A high-performance storm door from leading manufacturers like Pella, Andersen, or ProVia delivers decades of protection when properly maintained.
Follow these straightforward maintenance practices:
- Glass Care: Clean full-view and self-storing glass panels using mild soap and water or a non-abrasive household glass cleaner. Avoid harsh ammonia-based chemicals, abrasive scouring pads, or razor blades, which can scratch factory glass coatings.
- Painted Aluminum & Woodcore Finishes: Wash the exterior frame with warm water and a mild dish soap solution twice a year to remove urban grime, road salt dust, and environmental residue.
- Solid Brass and Decorative Hardware: Clean metal handles with warm water and a soft microfiber cloth. Do not apply abrasive metal polishes or industrial solvents, as these remove the factory protective clear coat and accelerate tarnishing.
- Weatherstrip & Sweep Care: Inspect the bottom sweep fins and side weatherstripping each autumn. Clear away trapped dirt, leaves, or road grit to maintain an airtight seal against winter temperatures.
Leading manufacturers back their quality craftsmanship with substantial warranties. For example, Pella provides a 20-year limited warranty covering storm door frame materials and workmanship for original homeowners, while other heavy-duty frame finishes often carry 10-year protective coverage. Keep your original sales receipt, proof of purchase, and serial number tag (usually found on the interior hinge rail) accessible in the event you ever need to file a warranty claim.
Frequently Asked Questions About Storm Door Hanging
How do I know if my door opening requires a hinge rail shim?
Measure the width of your entryway opening across the top, middle, and bottom. If your rough opening width measures between 33 inches and 36 inches on a standard nominal door width, a hinge rail shim is necessary. The shim fills excess space behind the hinge rail, ensuring that the latch side maintains the required 3/16-inch operating clearance and preventing the door panel from sagging under its own weight.
Why does my storm door bind or slam, and how do I adjust it?
A binding storm door is typically caused by an out-of-square door frame, over-tightened hinge screws, or an expander sweep set too low against the sill. Check that the reveal along the top and sides is a consistent 1/8-inch to 3/16-inch. If the door slams or fails to latch, adjust the screw located on the end of the pneumatic closer cylinder. Turn it clockwise to reduce closing speed, or counter-clockwise to allow enough momentum for the door to latch securely.
What are the proper cleaning methods for storm door glass and brass hardware?
Wash glass panels with a mixture of mild dish soap and warm water or standard ammonia-free glass cleaner, wiping with a clean microfiber cloth. For brass handles and decorative locksets, use only warm water and a soft cloth; never use abrasive cleaning compounds or harsh chemical sprays, as they can strip the factory clear coat and cause metal oxidation.
Conclusion
A properly fitted storm door adds vital protection against Chicago’s freeze-thaw cycles, fierce winds, and heavy precipitation while significantly boosting your home’s curb appeal and energy efficiency.
HomeBuild Windows, Doors & Siding is a locally owned, licensed, and insured contractor proudly serving Morton Grove and the greater Chicago area since 2004. With over 20 years of dedicated service, every project is personally owner-supervised by Steve Mlynek to guarantee top-tier craftsmanship. As an Elite Platinum Pella Certified Contractor and Andersen Certified Contractor, we also install premium ProVia entry systems, backed by our Angi Super Service Award 2025, 2025 Nextdoor Neighborhood Faves Winner recognition, and a 4.9-star rating across 200+ Google reviews.
To explore top-tier entry upgrades and learn more about storm door installation solutions, visit us at 1830 N Winchester Ave, Chicago, IL 60622, or contact us online to schedule your free estimate.