


What Matters Most in Sliding Glass Door Installation
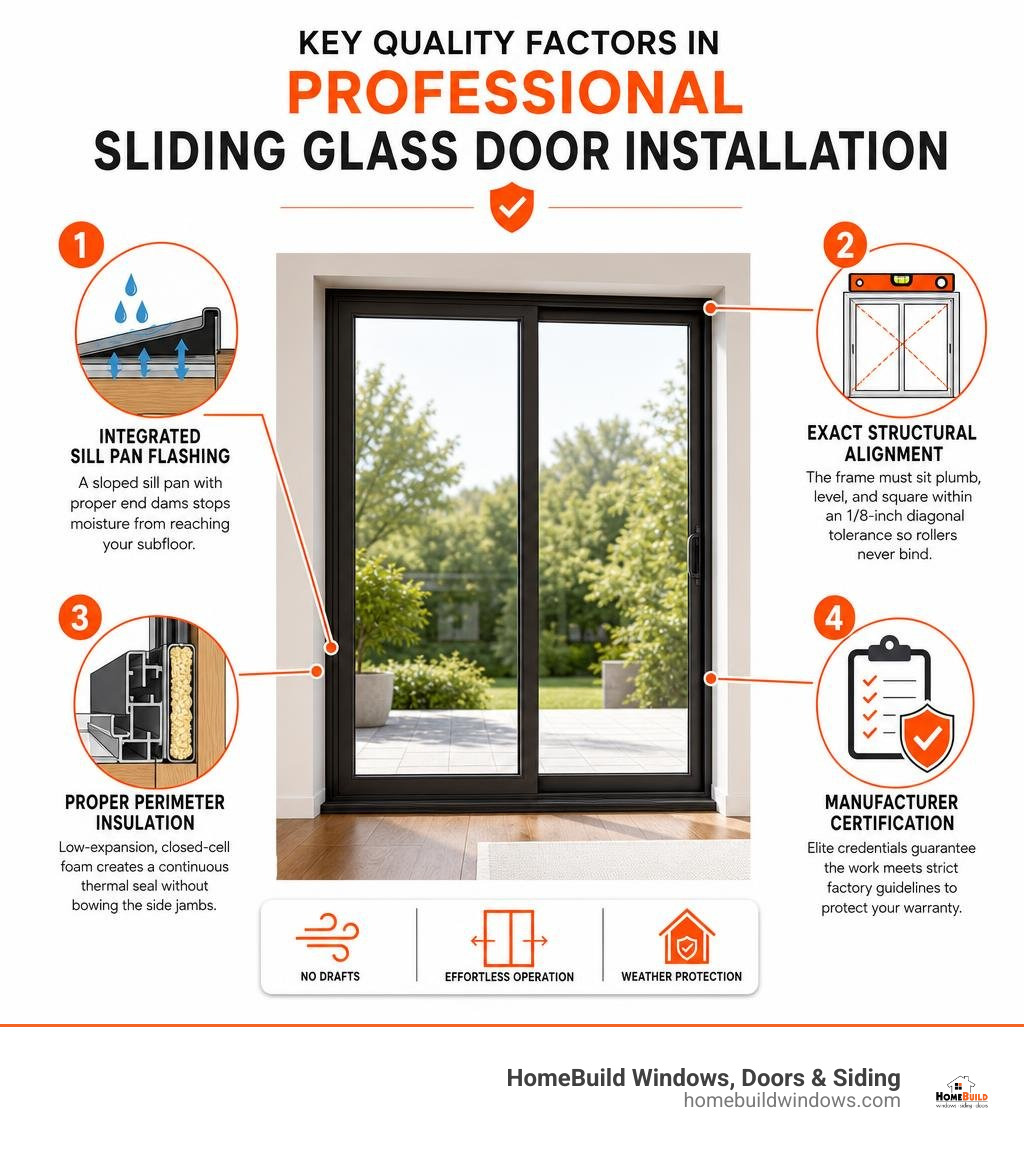
Evaluating a sliding glass door installation comes down to three non-negotiable standards: precision framing, seamless water management, and certified craftsmanship. A top-tier installation eliminates drafts, ensures effortless daily operation, and protects your home against harsh seasonal weather.
When choosing a contractor, look for these key performance markers:
- Integrated sill pan flashing: A sloped sill pan with proper end dams stops moisture from reaching your subfloor.
- Exact structural alignment: The frame must sit plumb, level, and square within an 1/8-inch diagonal tolerance so rollers never bind.
- Proper perimeter insulation: Low-expansion, closed-cell foam creates a continuous thermal seal without bowing the side jambs.
- Manufacturer certification: Elite credentials guarantee the work meets strict factory guidelines to protect your product warranty.
I’m Steve Mlynek, founder of HomeBuild, with over 20 years of exterior remodeling experience specializing in sliding glass door installation throughout Chicago and the northwest suburbs. As an Andersen Certified Contractor and Platinum Elite Pella installer, I guide homeowners through choosing reliable, high-performance door solutions built to last.
Simple guide to sliding glass door installation:
Frame Types and Opening Prep for Sliding Glass Door Installation
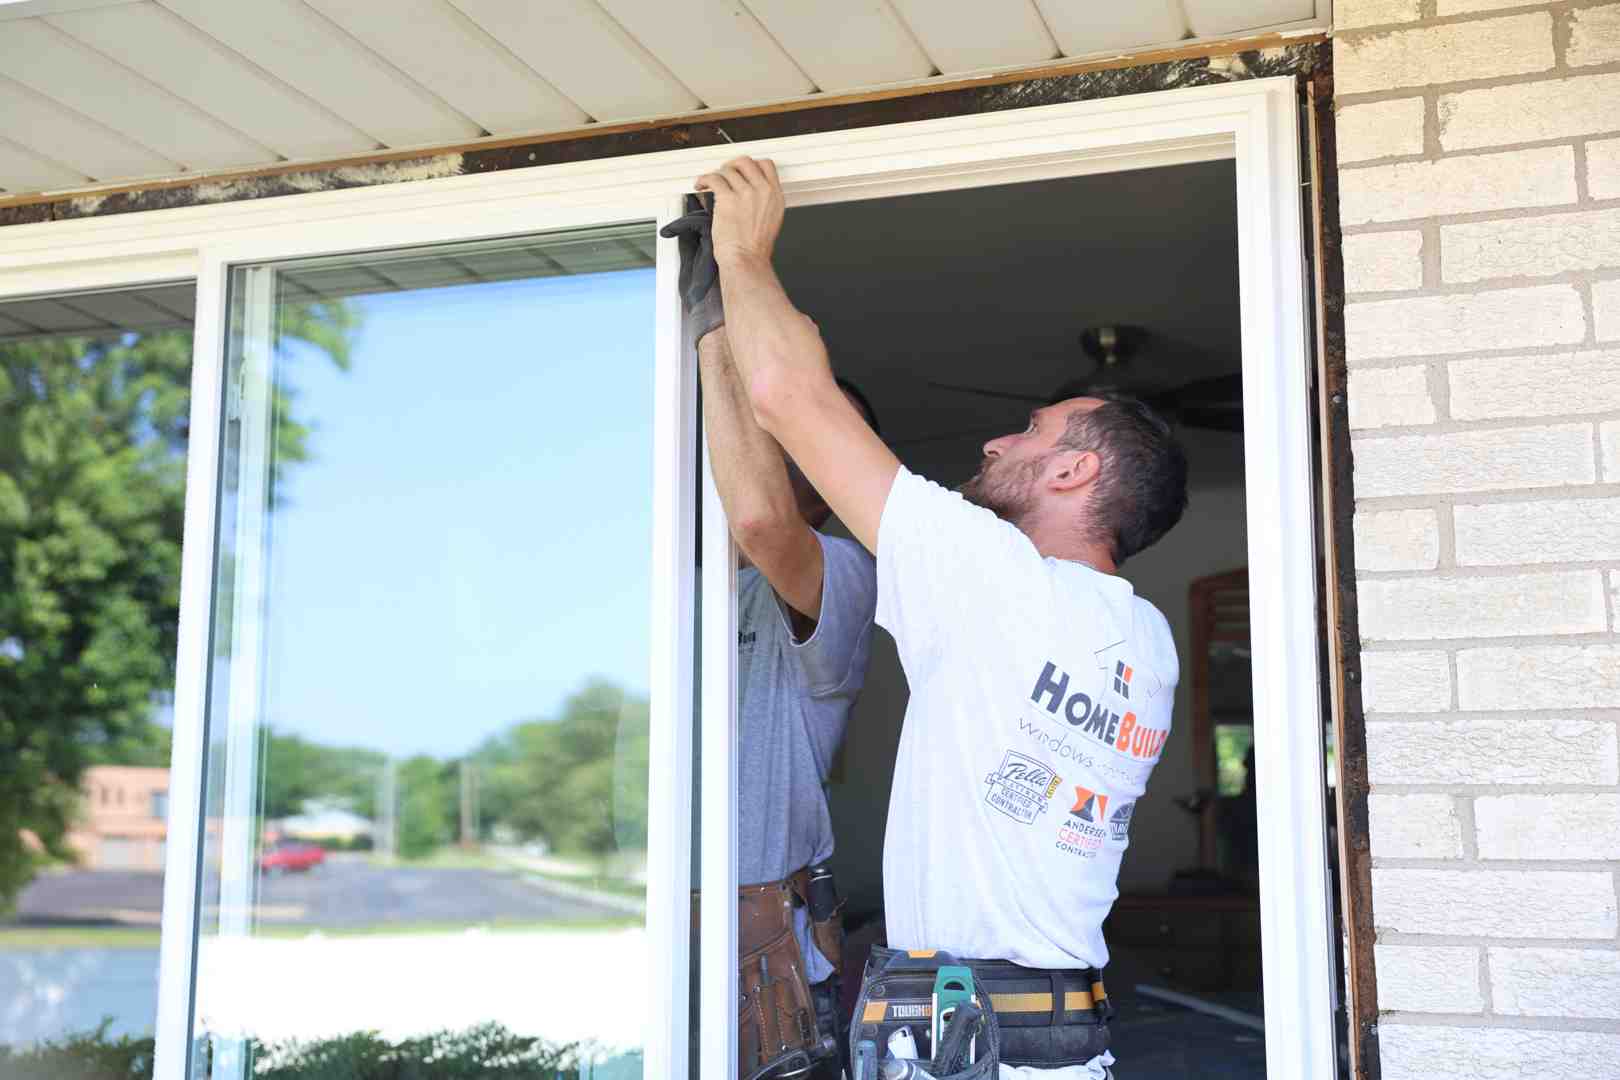
Achieving a durable, draft-free entryway begins long before setting the door into place. The structural condition of the rough opening and the frame style selected dictate how well the door performs against harsh Midwest winters. When upgrading your home’s exterior with the best patio door replacement Northwest Suburbs has to offer, evaluating wall framing thickness, header load deflection, and moisture barriers is essential.

Nail Fin, Box Frame, and Flush Flange Options
Sliding patio door frames are engineered with specific mounting profiles tailored to distinct wall construction types:
- Nail Fin (Nailing Flange): Features an exterior perimeter fin that fastens flat against the exterior wall sheathing. This configuration is standard for new construction or full-frame tear-outs where exterior siding or trim is removed. The fin integrates directly with the weather-resistant barrier (WRB) using high-performance flashing tape.
- Block Frame (Box Frame): Built without exterior fins, box frames are designed for pocket replacements or direct fastening into masonry, concrete openings, or existing wood frames. Fasteners are driven directly through pre-drilled side jambs into structural framing or masonry anchors.
- Flush Flange: Often utilized in stucco or masonry retrofits with existing wood bucks. A flat exterior trim lip overlaps the existing opening, concealing the joint and providing a clean exterior finish without disturbing adjacent exterior siding or stucco layers.
Accurate Sizing for Sliding Glass Door Installation
Precision measuring prevents structural binding and operational failure. Standard nominal door sizes (such as a 72-inch by 80-inch unit) typically have actual unit dimensions of approximately 70.5 inches by 79.5 inches. The rough framing opening must be between 3/4-inch and 1-inch wider and taller than the actual outer door assembly to allow adequate space for a sloped sill pan, structural composite shims, and closed-cell insulating foam.
Industry guidelines highlighted in How To Install a Sliding Glass Door – This Old House emphasize that opening diagonals must be checked with a 6-foot level and tape measure. Rough opening squareness should stay within a strict 1/8-inch tolerance. If a rough opening exceeds these parameters or if structural header sag is present, the framing must be leveled and squared prior to setting the new door frame.
Critical Steps in Professional Weatherproofing and Assembly
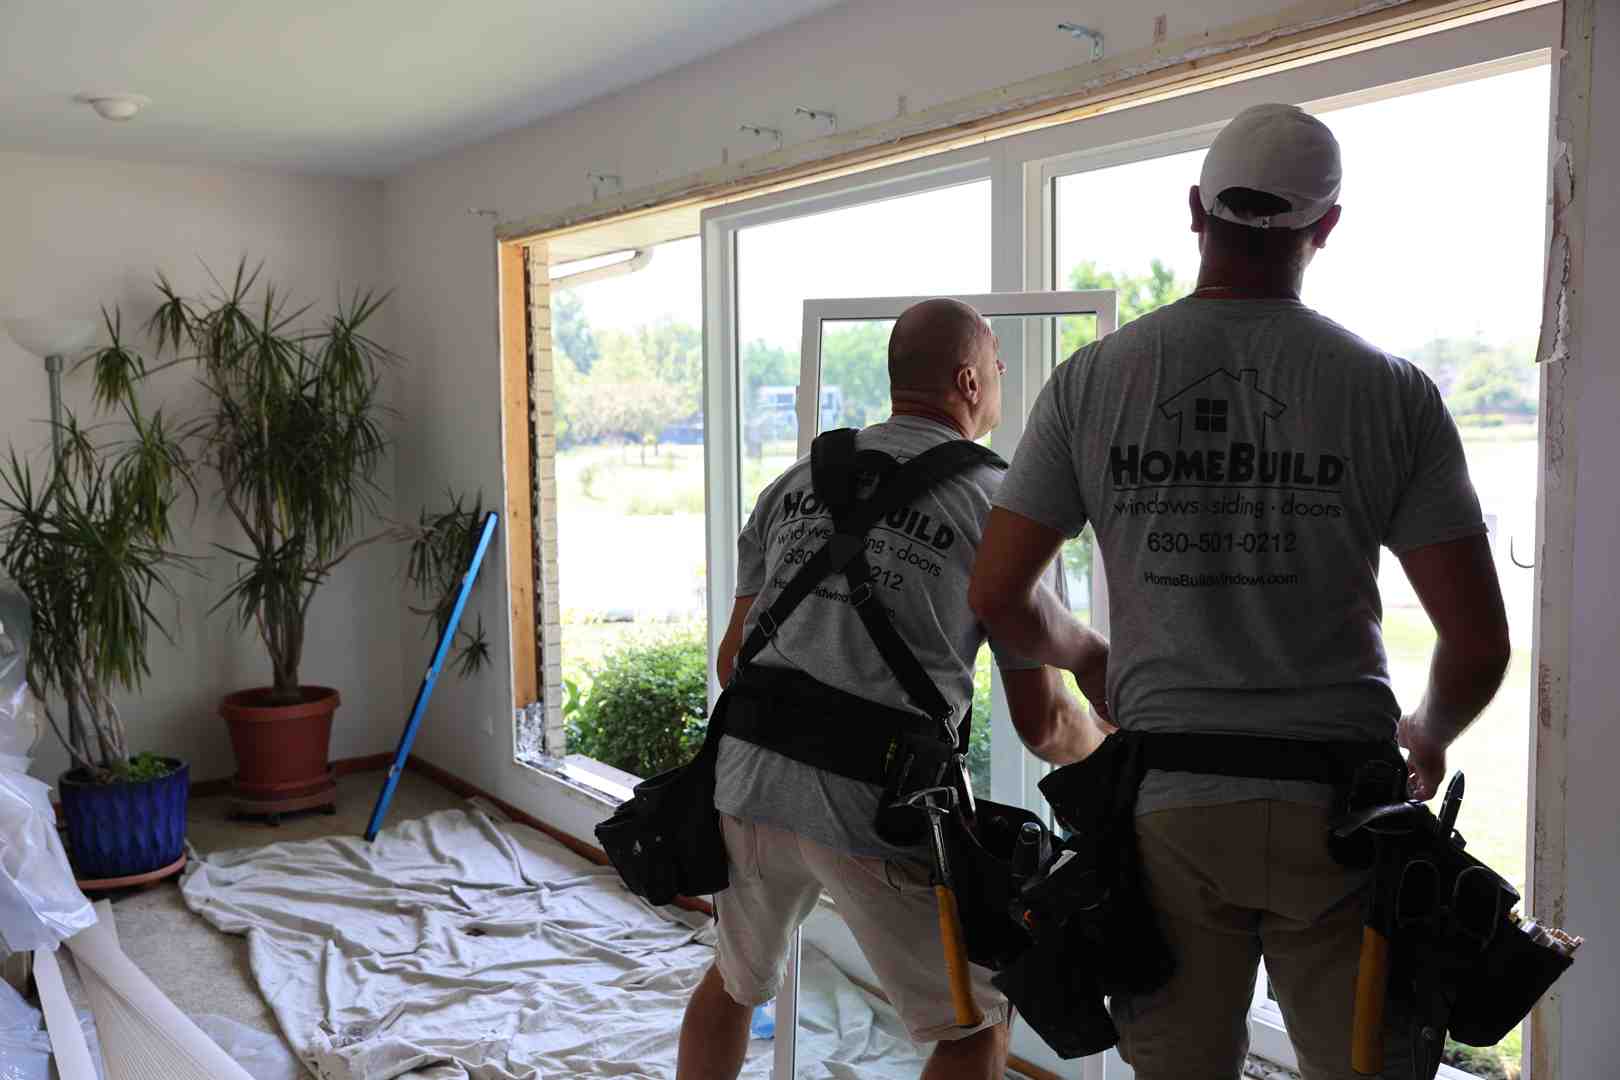
Water management is the single most important factor in exterior door longevity. Wind-driven rain and melting snow in Chicago can quickly penetrate microscopic gaps in the wall envelope if flashing protocols are compromised. We follow proven techniques like those detailed in How to Install a Patio Door: 5 Methods That Guarantee Results to ensure absolute structural protection.
Sill Pan Flashing and Subfloor Leveling
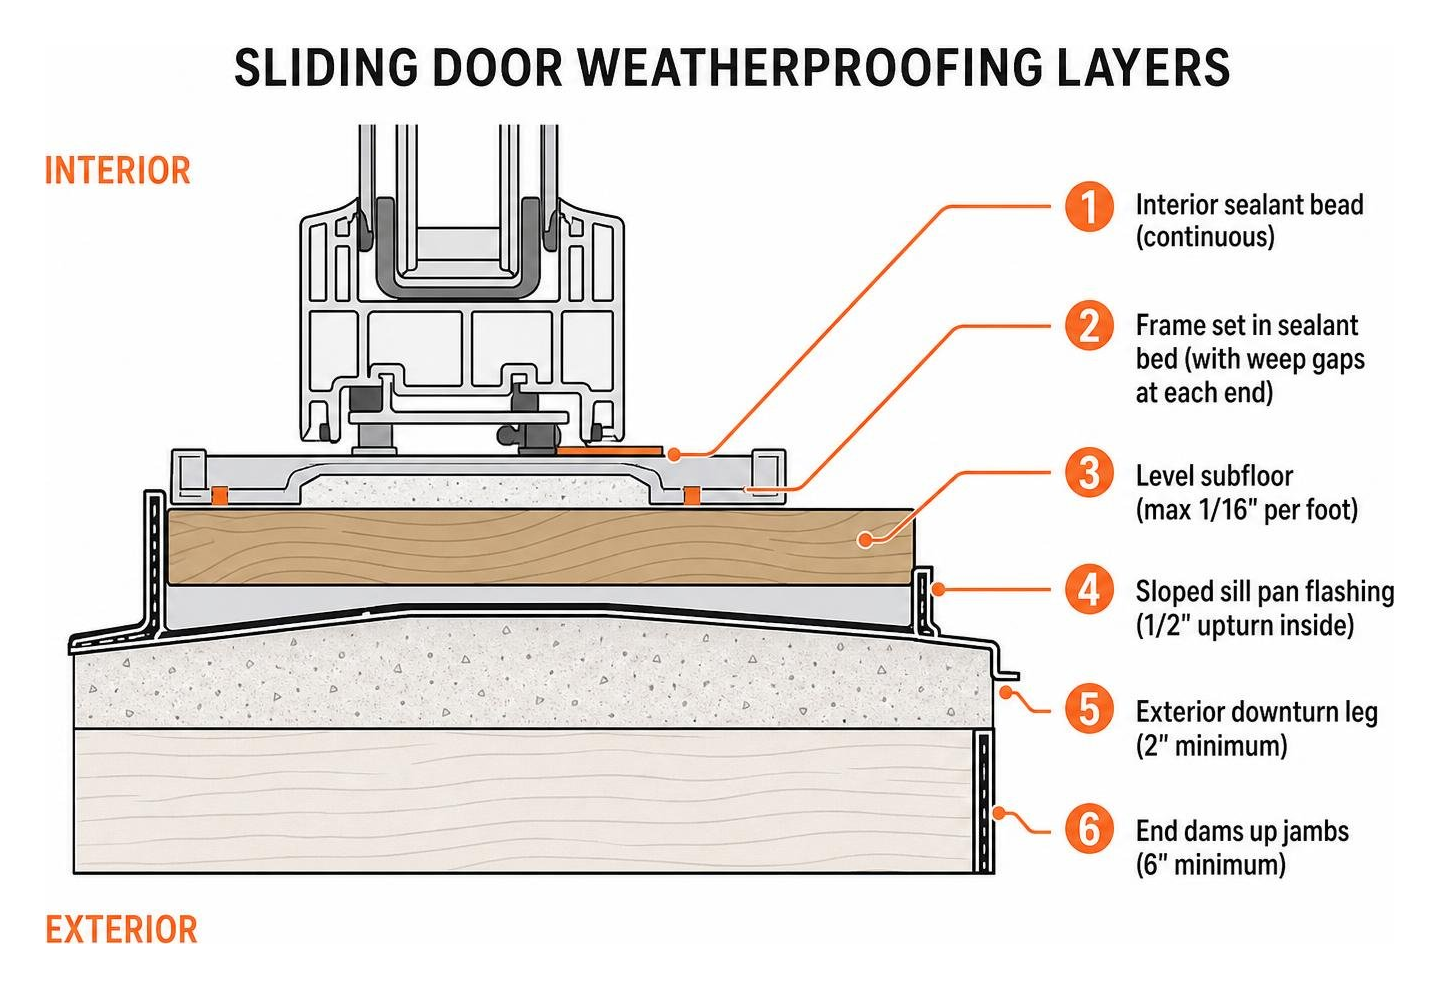
Before anchoring the frame, the subfloor threshold must be thoroughly inspected, cleaned, and leveled. The threshold must not vary more than 1/16-inch per foot across the entire opening width. On concrete substrates, damaged areas should be repaired with fast-setting hydraulic cement to establish a flat, solid foundation.
Next, a sloped rigid or self-adhering flexible sill pan flashing is installed across the bottom opening. The sill pan features a 1/2-inch upturned interior leg and a 2-inch exterior downturn leg, complete with sealed end dams extending at least 6 inches up each side jamb. When bedding the frame sill into the opening, continuous 3/8-inch beads of high-grade silicone sealant are applied under the track, leaving 2-inch drainage weep gaps near each end so incidental moisture can escape freely to the exterior. For more DIY-focused techniques, see How to Install a Sliding Patio Door (DIY Step-by-Step) – Selene Builds Things .
Panel Fitting and Roller Calibration in Sliding Glass Door Installation
Once the outer frame is secured with corrosion-resistant screws into structural framing members, the glass panels are systematically installed:
- Stationary (Fixed) Panel Placement: The fixed panel is set into the exterior track, seated firmly into the fixed jamb pocket, and secured with structural retaining brackets.
- Active (Operating) Sliding Panel Insertion: The sliding panel is lifted top-first into the interior head track channel, then swung inward over the bottom roller track.
- Manual Roller Calibration: Using a manual #3 Phillips screwdriver (never a high-speed drill, which can strip internal adjustment gears), the lower tandem steel rollers are adjusted clockwise to raise the panel or counterclockwise to lower it. Rollers should be calibrated until reveals along the side jamb are perfectly uniform and the bottom rail clears the track sill by 1/8-inch to 3/8-inch.
- Air Sealing: Low-expansion, closed-cell polyurethane foam with an insulation value of at least R-5 per inch is applied between the rough opening and door jambs from the interior. This prevents drafts and thermal bridging without applying outward pressure that could bow the jambs.
Why Homeowners Choose Professional Installers Over DIY
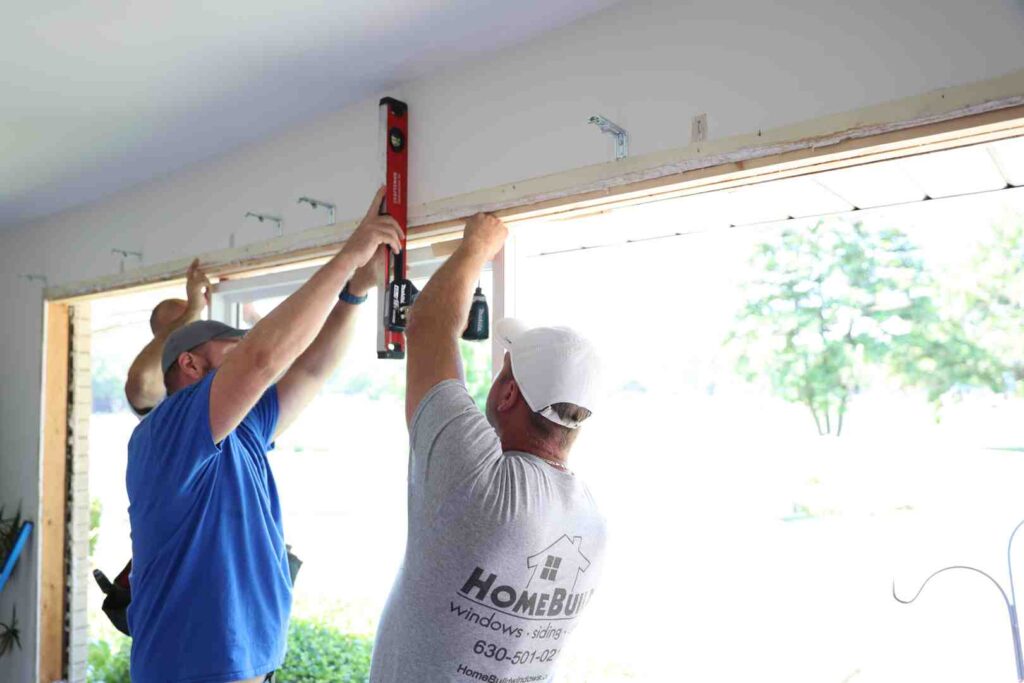
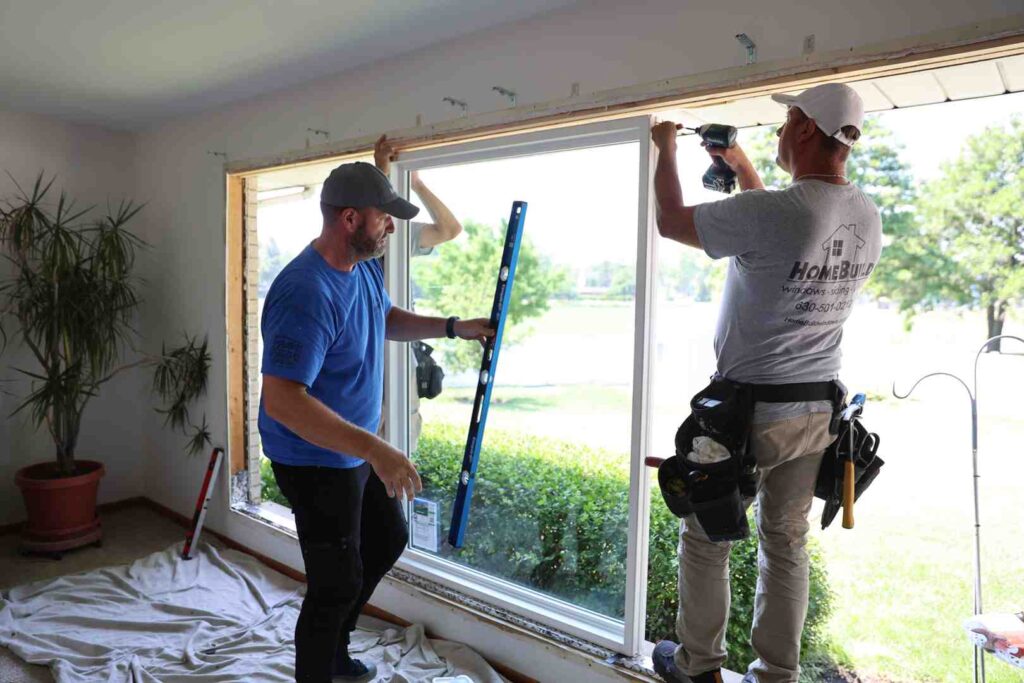
Installing an expansive patio door system involves heavy tempered glass, delicate weather seals, and exact structural requirements. While some basic home projects make fun weekend activities, large patio door replacements require seasoned expertise.
| Project Factor | DIY Installation | Professional Installation (HomeBuild) |
|---|---|---|
| Crew & Safety Requirements | High physical risk; glass panels weigh 100+ lbs | Fully equipped multi-person crew with industrial suction grips |
| Structural Squareness | High risk of binding, sticking, and latch misalignment | Guaranteed plumb, level, and square within 1/8″ diagonal tolerances |
| Thermal & Moisture Envelope | Potential for draft leaks, hidden dry rot, and water intrusion | AAMA-compliant flashing, sloped sill pans, and R-5 closed-cell foam |
| Building Code Compliance | Navigating municipal permits and safety glass codes alone | Full compliance with local municipal codes and inspections |
| Warranty Coverage | Self-installed units may void manufacturer warranties | Full factory warranty protection backed by certified installers |
Homeowners looking for high efficiency and lasting performance often find that working with certified specialists is the easiest way to find patio door installers who get every detail right the first time.
How to Maintain and Adjust Sliding Patio Doors
Routine care ensures your patio door continues to glide smoothly year after year. Dirt, pet hair, and garden debris accumulate in bottom tracks over time, causing friction on the rollers.
- Track Cleaning: Vacuum the bottom aluminum sill track quarterly using a brush attachment. Wipe the metal rails with a damp cloth to remove built-up grime.
- Proper Lubrication: Apply a dry silicone spray along the track and roller mechanisms once a year. Avoid thick petroleum-based grease, which attracts dirt and creates abrasive sludge.
- Roller Alignment: If the active panel begins to drag or feels heavy to push, locate the adjustment holes at the bottom of the side frame. Insert a screwdriver to raise or lower the internal roller height until the panel glides effortlessly.
- Hardware and Lock Inspection: Verify that the interior handle, multi-point lock mortise, and strike plate engage cleanly. If the latch sticks or fails to lock securely, follow this DIY Guide to Replacing Your Sliding Patio Door Handle and Lock to adjust strike plate tension. Adding an auxiliary foot lock near the bottom rail provides extra forced-entry resistance and peace of mind.
Frequently Asked Questions About Patio Door Replacement
Do I need a municipal building permit to replace a sliding glass door?
Permit rules depend on local municipal building departments in Chicago and the surrounding suburbs. Direct replacements that maintain the existing rough opening size without modifying exterior wall framing often follow expedited permitting paths. However, if you are enlarging the opening, altering a load-bearing header, or turning a window into a full door opening, a municipal building permit and subsequent building inspections are mandatory to verify safety glass and structural compliance.
How long does a standard patio door replacement take?
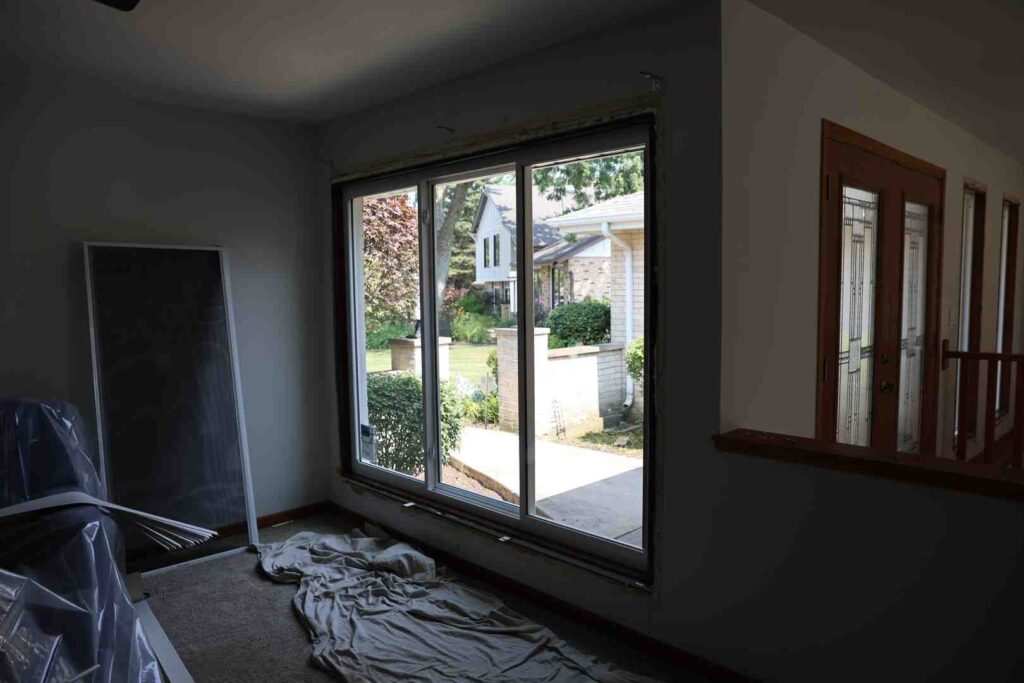
A standard, same-size patio door replacement performed by our professional installation crew is typically completed within a single day (roughly 4 to 8 hours). This timeframe includes removing the old door assembly, inspecting and prepping the subfloor, setting and weatherproofing the new frame, calibrating the operating panels, applying low-expansion foam insulation, and finishing the interior and exterior trim. Projects involving extensive structural rot repair or opening modifications may require additional time.
Can one person complete a patio door installation alone?
A sliding patio door installation should never be attempted by a single person. Modern double-pane and triple-pane tempered glass panels often weigh between 100 and 150 pounds each. Transporting, dry-fitting, and setting the assembled frame into wet sealant beds requires at least two—and often three—experienced individuals to prevent personal injury, dropped glass, and warped framing.
Conclusion
A high-performance sliding patio door transforms your living space by maximizing natural light, enhancing outdoor access, and delivering dependable thermal insulation against extreme Midwest temperature swings. Ensuring your entryway performs flawlessly for decades requires rigorous weatherproofing, exact structural alignment, and proven installation practices.
At HomeBuild Windows, Doors & Siding, we take pride in delivering exterior solutions tailored to homes across Chicago and the northwest suburbs. As an Elite Platinum Pella® Certified Contractor and Andersen Certified Contractor, our licensed and insured team brings decades of field expertise, backed by our Angi Super Service Award, Nextdoor Neighborhood Faves recognition, and over 200 positive Google reviews.
Contact our specialists today to schedule a consultation and receive a free estimate on your upcoming window and door replacement Chicago project.