


Why Basement Window Replacement Is Worth Your Attention
Basement window replacement is one of the most impactful — and most overlooked — upgrades a Chicago-area homeowner can make.
Here’s a quick summary of what you need to know:
- Standard replacement windows fit into your existing opening and are the most straightforward option
- Egress windows are larger, code-required windows for finished basements with sleeping areas
- Vinyl frames with double-pane, argon-filled glass are the top choice for cold Midwest winters
- Professional installation protects your foundation, ensures a weathertight seal, and keeps you code-compliant
- Typical lead time is 4–5 weeks for both standard and custom-sized windows
Old basement windows are rarely just an eyesore. A rusted steel frame or cracked single-pane window can quietly drain your home’s energy efficiency, let moisture into your foundation, and even create a safety hazard. According to Department of Energy data, poorly sealed basement openings can account for 15–25% of a home’s total heat loss — a real problem during Chicago winters.
Beyond energy costs, there’s the safety angle. If your basement has a finished bedroom or living space, building code likely requires an egress window — a large enough opening for someone to escape in an emergency. Many older Chicago-area homes simply don’t have them.
The good news? Whether you need a simple like-for-like swap or a full egress upgrade, the process is straightforward when you know what to expect.
I’m Steve Mlynek, CEO and founder of HomeBuild Windows, Doors & Siding, and with over 20 years of experience in basement window replacement and exterior home improvement across Chicago and the northwest suburbs, I’ve seen how the right window — properly installed — transforms a damp, drafty basement into a comfortable, efficient living space. Let’s walk through everything you need to know to do it right.
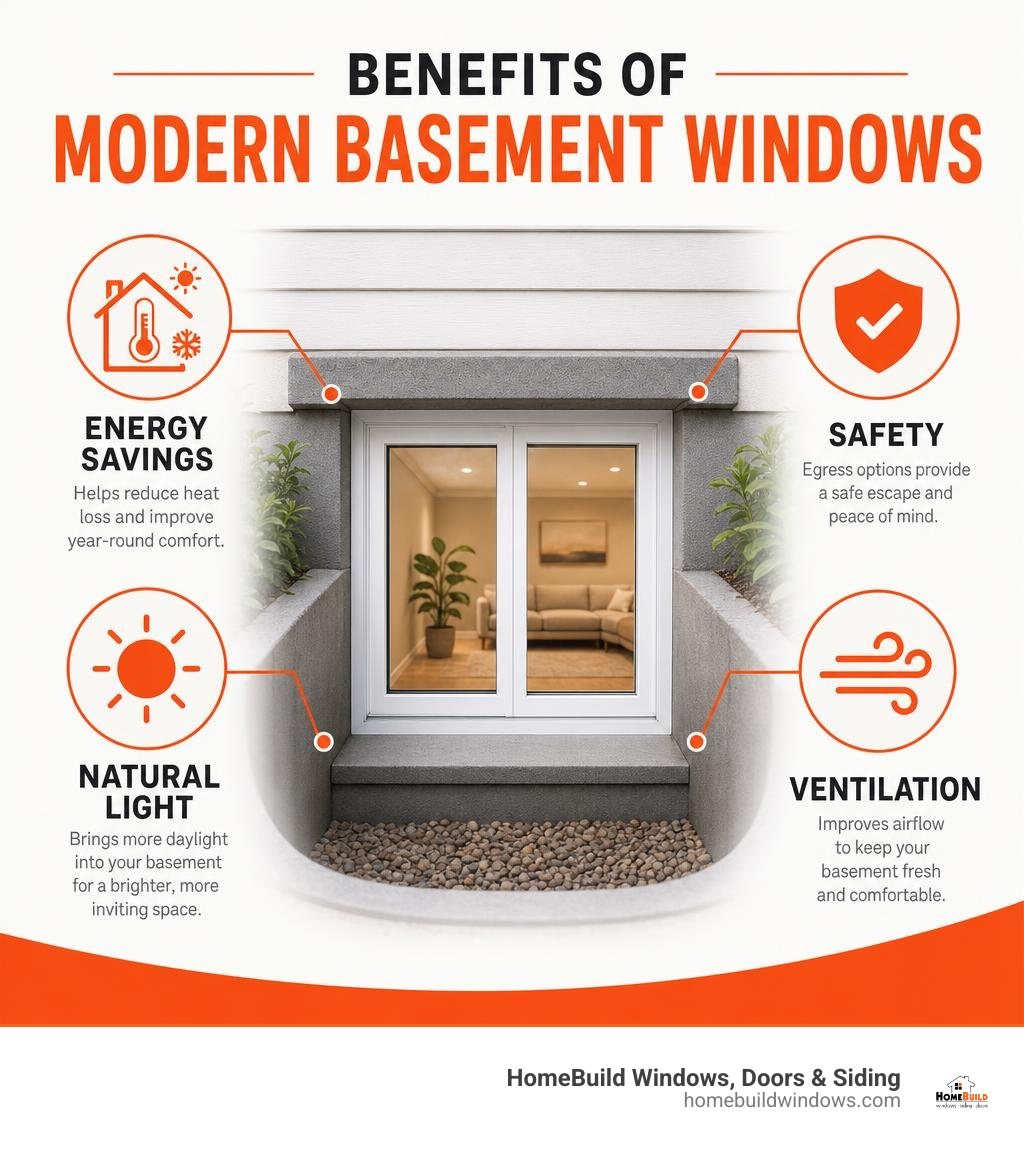
Basement window replacement terms simplified:
Understanding Your Options for Basement Window Replacement
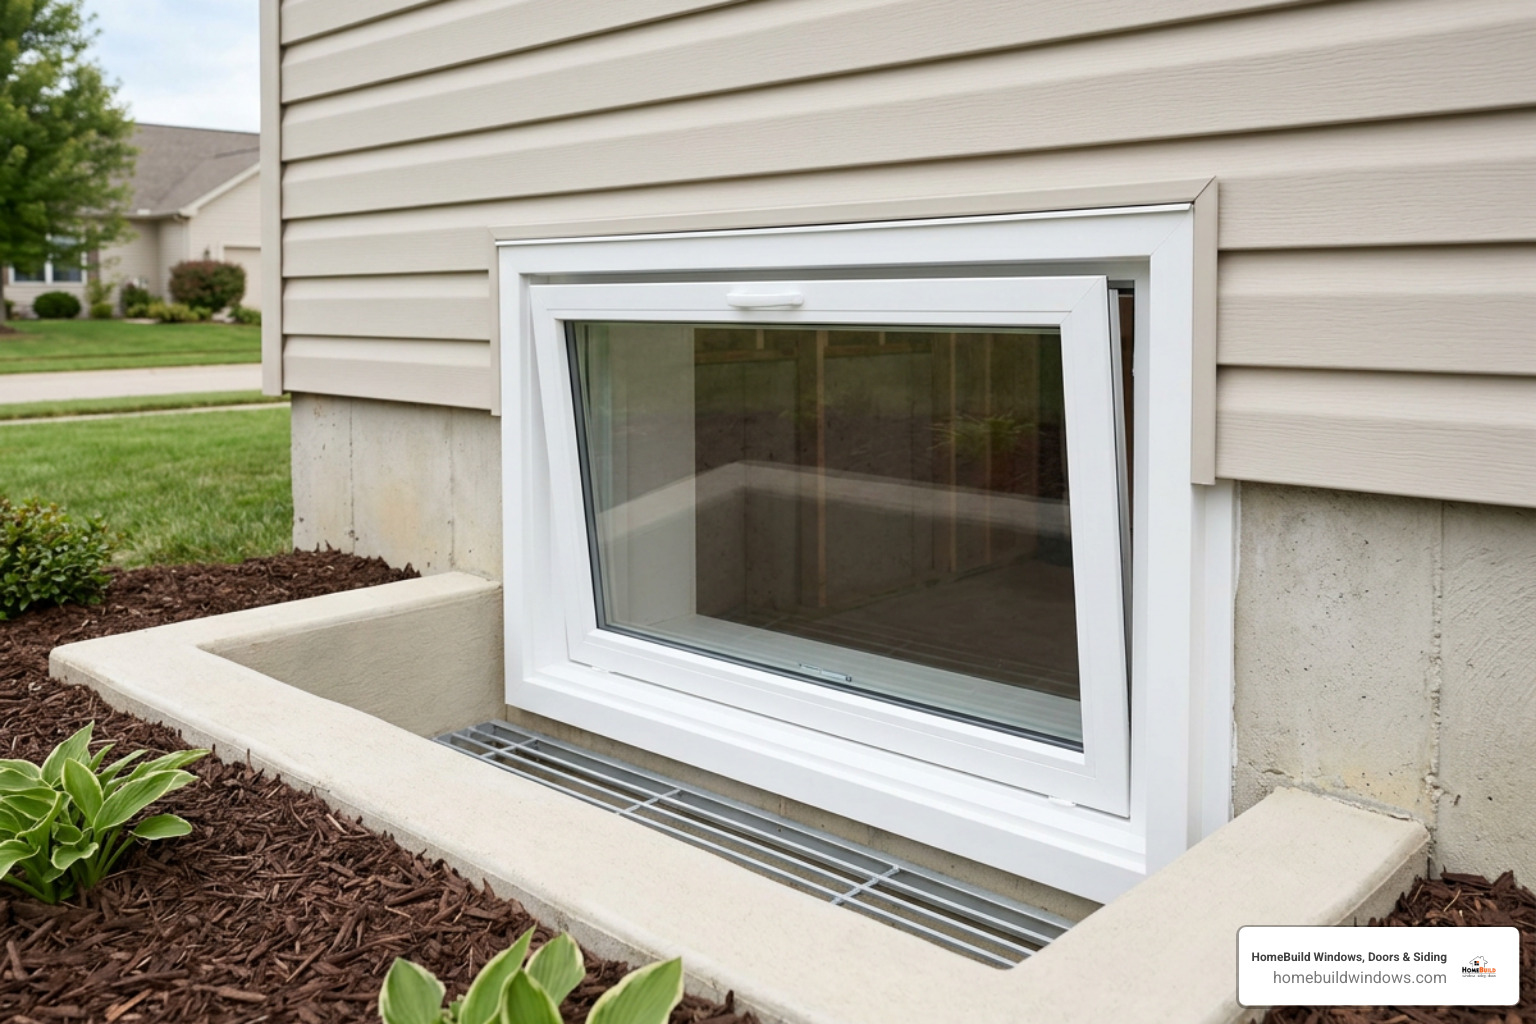
When you begin looking at a basement window replacement project, the sheer variety of window styles can feel overwhelming. Basements present unique challenges because they are partially or fully below grade. This means they are highly exposed to ground moisture, rising dampness, and localized drafts. Selecting the right window style and frame material is crucial to ensuring your basement stays dry, warm, and secure.
Let’s break down the most common basement window styles we install throughout the Chicagoland area:
- Hopper Windows: These are the classic choice for basements. Hinging at the bottom and tilting inward from the top, hopper windows are fantastic for ventilation because they direct fresh air upward, preventing direct drafts. They also utilize gravity to help create a tight, compression-style seal when closed.
- Sliding (Gliding) Windows: Sliding windows open horizontally along a track. They are incredibly easy to operate and work beautifully in spaces with limited vertical clearance. However, because they rely on weatherstripping rather than a compression seal, they can sometimes be slightly more drafty than casement or awning styles if not professionally fitted.
- Casement Windows: Hinging on one side and swinging outward like a door, casement windows maximize both natural light and ventilation. When the wind blows against a casement window, it actually pushes the sash tighter into the frame, creating an exceptionally tight seal. This makes them a highly energy-efficient option.
- Glass Block Windows: Known for their heavy-duty security and ultimate privacy, glass block windows are a popular retro choice. They are thick, highly secure, and virtually maintenance-free. The downside? Traditional glass blocks do not open at all, meaning you sacrifice ventilation unless you opt for a style with a small built-in venting hopper.
To help you visualize how these styles perform, we’ve put together a quick comparison table:
| Window Style | Ventilation Performance | Security Level | Natural Light | Best Suited For |
|---|---|---|---|---|
| Hopper | Excellent | High | Moderate | Unfinished basements, utility rooms |
| Sliding | Moderate | Moderate | High | Family rooms, low-clearance walls |
| Casement | Superior | High | High | Finished basements, egress rooms |
| Glass Block | None (unless vented) | Ultimate | Moderate | Bathrooms, street-facing walls |
When it comes to frame materials, we strongly steer our homeowners toward modern vinyl or advanced composites like Fibrex® material (engineered by Andersen). Older Chicago homes often feature steel or wood frames. Steel frames inevitably rust when in direct contact with damp concrete, leading to structural binding and glass cracks. Wood frames, on the other hand, are highly susceptible to rot, warping, and termite damage.
By upgrading to high-quality vinyl or composite frames from trusted manufacturers like Pella, Marvin, or Alside, you get a material that is completely immune to moisture, never requires painting, and provides superior insulation.
Selecting the Right Style for Ventilation and Security
For basements with limited above-ground wall space, awning windows are another great option. Hinging at the top and opening outward, they act like a tiny umbrella, allowing you to keep the window open for fresh air even during a light summer rain.
Security is a primary concern for basement windows because of their ground-level location. Modern replacements address this with heavy-duty multi-point security locks and durable frames that resist prying. We also highly recommend upgrading to tempered glass, which is four times stronger than standard glass and crumbles into dull safety pebbles instead of sharp shards if broken.
For high-performance sliding utility windows, products like the 32 in. x 14 in. Universal/Reversible Insulated Glass Window Sliding White Vinyl Basement Replacement Window offer an excellent balance of dual-pane insulation, sturdy vinyl construction, and integrated insect screens to keep pests out while letting fresh air in.
Energy Efficiency Features for Cold Midwest Winters
Our winters in the North-West Suburbs are famously brutal. Because concrete is a highly conductive material, cold temperatures easily transfer from the surrounding soil through your basement walls and into your home. A single-pane utility window acts like an open thermal highway, letting precious heat escape.
To combat this, look for the following energy-efficient features:
- Double-Pane or Triple-Pane Glass: Multiple panes of glass trap insulating air pockets between them, drastically reducing thermal transfer.
- Argon Gas Fill: This dense, non-toxic gas is sealed between the glass panes to provide far better insulation than plain air.
- Low-E (Low-Emissivity) Coating: A microscopic metallic layer applied to the glass reflects heat back into your home during winter and blocks solar heat in the summer.
- Thermal Breaks: Insulating barriers built inside the vinyl or composite frame that prevent cold temperatures from conducting through the frame material.
Choosing windows with a low U-factor (which measures how well a window prevents heat from escaping) ensures your basement stays warm and cozy. For a deeper dive into choosing the right glass and frame technologies, check out our comprehensive energy-efficient windows guide.
Egress Windows: Safety Codes and Structural Requirements
If you plan to convert your basement into a livable space — such as a family room, home office, or especially a bedroom — you must address egress requirements. An egress window is a specially sized window designed to act as an emergency escape or rescue opening.
According to the International Residential Code (IRC) and local Chicago municipal guidelines, any finished basement bedroom must have at least one operable egress window. The specifications are very strict:
- Minimum net clear opening: 5.7 square feet (to allow a fully equipped firefighter to enter).
- Minimum net clear opening height: 24 inches.
- Minimum net clear opening width: 20 inches.
- Maximum sill height: 44 inches from the finished basement floor.
Additionally, if the window is below ground level, it must be paired with a compliant window well that allows the window to open fully, complete with a permanent ladder or steps if the well is deeper than 44 inches. While standard basement windows are small and tucked high on the wall, egress windows are much larger, transforming dark basements into bright, safe, and legally compliant living spaces.
Standard Sizes and How to Measure for a Basement Window Replacement
Before ordering a replacement window, precise measurements are mandatory. For a standard insert replacement, the goal is to measure the “rough opening” — the actual concrete or masonry opening, not the existing window frame.
Because concrete foundations can settle or shift, concrete openings are rarely perfectly square. Always measure the width and height in three different places (left, middle, right for height; top, middle, bottom for width). Use the smallest of the three measurements, and subtract about 1/4 inch to 1/2 inch to allow room for squaring, shimming, and insulation.
Additionally, we must inspect the “buck frame.” The buck is the wood or steel frame cast directly into the concrete foundation that holds the window. If the buck is rotted, warped, or rusted, it must be completely removed and replaced with a pressure-treated wood buck before the new window can be anchored. For more details on measuring and selecting window profiles, see our window replacement guide.
Retrofit Replacement vs. Cutting New Foundation Openings
There is a significant structural difference between a standard retrofit replacement and installing a brand-new window opening.
A retrofit replacement involves removing the old window sash and frame and sliding a new, custom-sized vinyl window into the existing opening. It is a clean, non-invasive process that maintains the structural integrity of your foundation.
However, if you are upgrading to a code-compliant egress window, the existing opening is almost always too small. This requires cutting into your concrete foundation.
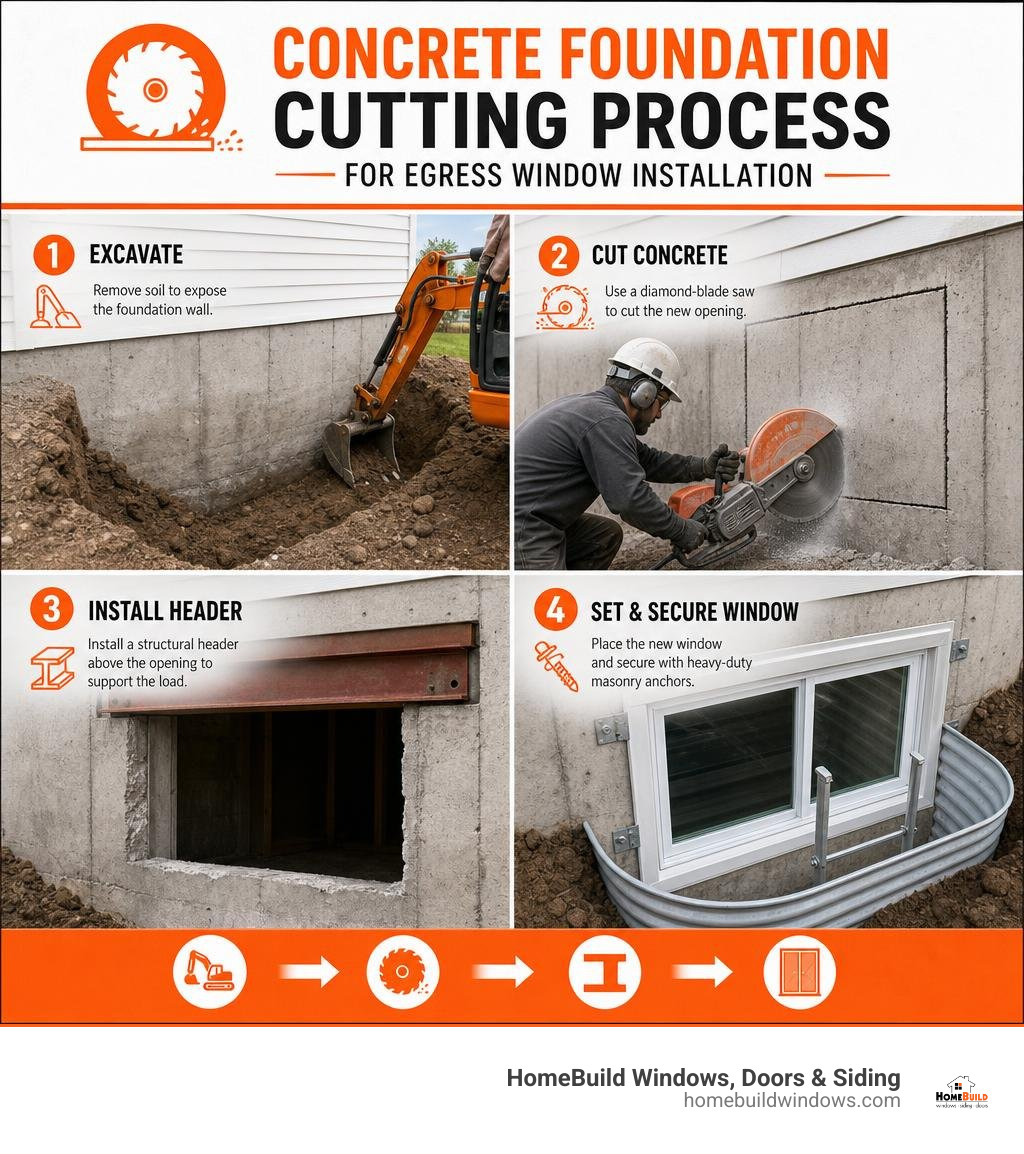
This highly technical process involves:
- Excavating the soil outside the foundation wall.
- Using a heavy-duty diamond-blade saw to cut through thick concrete.
- Installing a structural header above the new, larger opening to support the weight of the home above.
- Securing the new frame with heavy-duty masonry anchors.
Because cutting into a foundation wall can compromise the structural integrity of your entire home if done incorrectly, this is a task that should always be left to experienced professionals. You can learn more about structural considerations in our detailed window installation guide.
The Step-by-Step Process of Replacing a Basement Window in Concrete
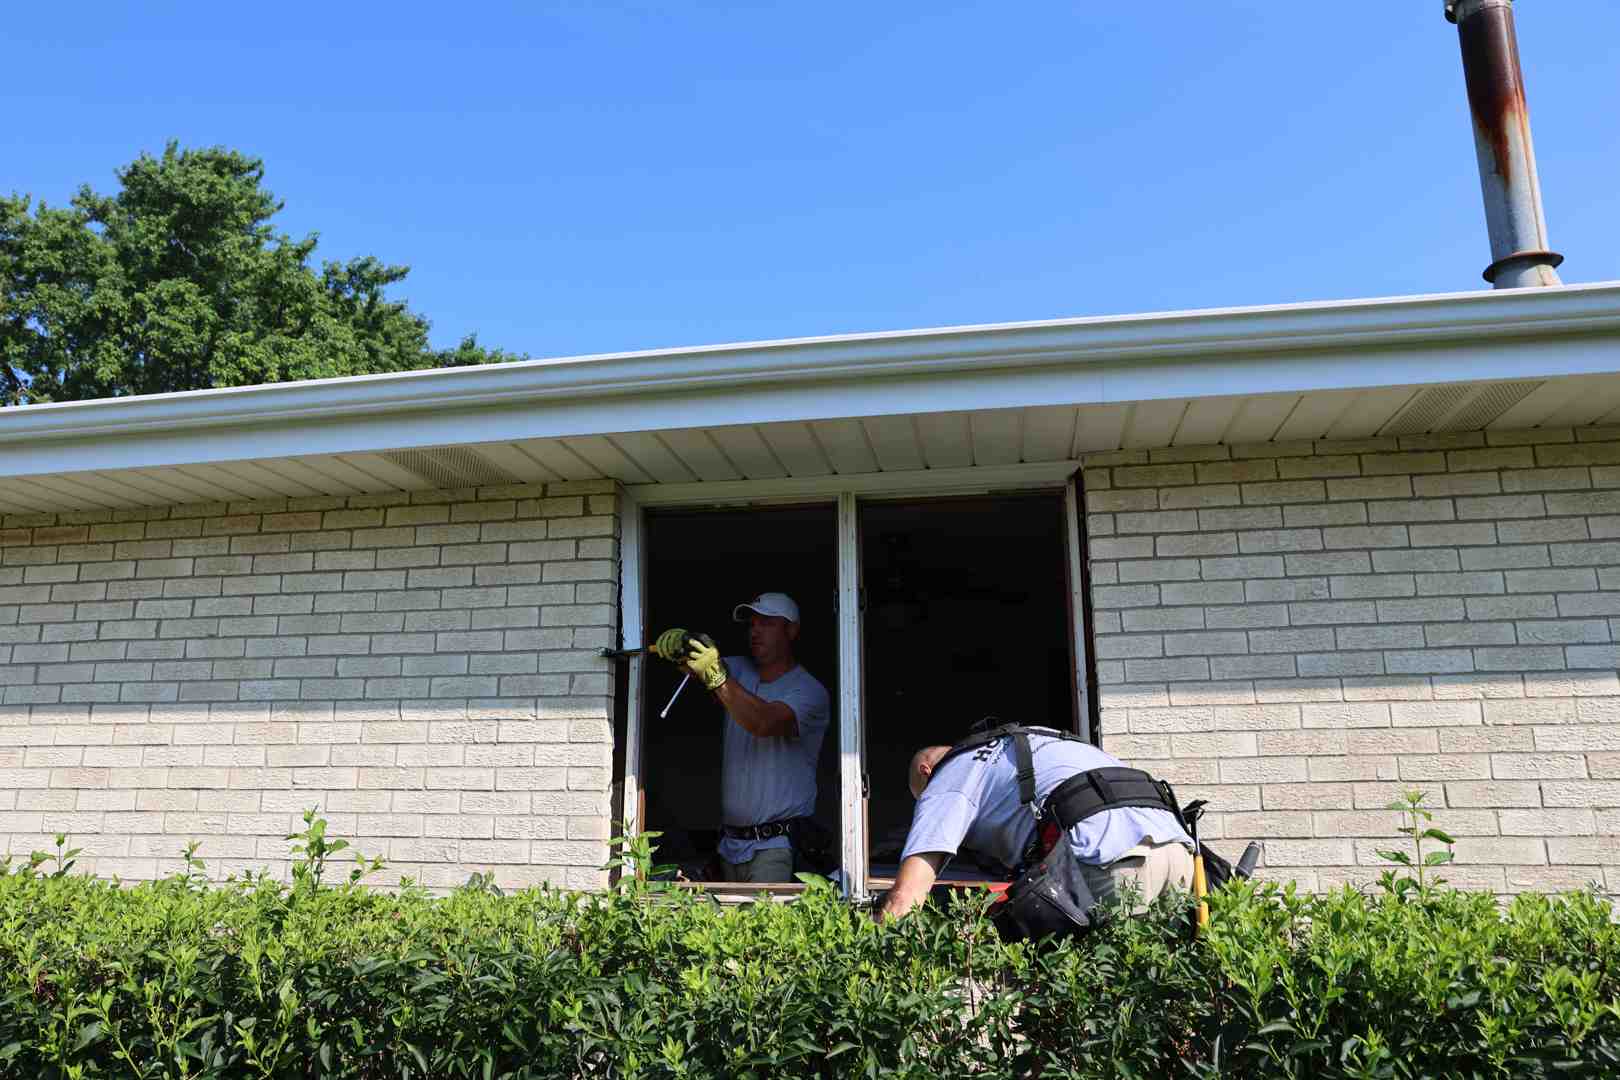
Replacing a basement window set directly into concrete is a specialized task. While a standard home window sits in a wood-framed wall, a basement window must interface directly with masonry, which behaves very differently regarding moisture and temperature expansion.
Here is the step-by-step process our professional crews follow to ensure a flawless, draft-free installation:
Step 1: Removing the Old Window
We start by removing the operable sashes and any glass. For old steel frames cast directly into the concrete, we use a reciprocating saw with a metal-cutting blade to make relief cuts in the sides and bottom of the frame. Using a pry bar, we carefully pop the old frame out of the concrete without fracturing the surrounding masonry.
Step 2: Preparing and Cleaning the Masonry
Once the old frame is gone, we thoroughly clean the concrete opening. We scrape away old caulk, loose mortar, and debris. If we discover any hairline cracks in the concrete, we patch them with hydraulic cement to prevent future water infiltration.
Step 3: Dry Fitting and Levelling
We place the new vinyl window into the opening to check the fit. Using composite shims (which resist moisture and rot far better than traditional wood shims), we level, plumb, and square the window.
Step 4: Anchoring the Frame
Using a hammer drill, we drill pilot holes through the window frame and into the concrete foundation. We then secure the window using high-strength, double-threaded concrete screws (like Tapcons) along the sides and top of the frame.
Step 5: Insulating and Sealing
To eliminate drafts, we fill the perimeter gap between the window frame and the concrete with low-expansion polyurethane foam. It is crucial to use low-expansion foam; high-expansion foam can bow the vinyl frame, preventing the window from opening. Once the foam cures, we apply a continuous bead of high-grade, 100% silicone sealant around both the interior and exterior perimeters to create a watertight barrier.
Preparing Your Home for the Installation Crew
To help the installation run as smoothly as possible, there are a few simple steps you can take to prepare your basement.
Start by clearing a wide, unobstructed path from the basement stairs to the windows being replaced. Move any furniture, storage boxes, or gym equipment at least five to six feet away from the work area to give our installers room to move. Remove any curtains, blinds, or security bars from the existing windows. Finally, because concrete work can generate a small amount of dust, we recommend covering nearby items with plastic sheeting. For a complete preparation checklist, view our guide on how to prepare for a window installation.
Integrating Window Wells, Covers, and Proper Drainage
A great basement window is only as good as the drainage system surrounding it. Because basement windows sit close to or below the ground, they are highly vulnerable to pooling rainwater and melting snow.
To protect your investment, we ensure that your window wells are properly integrated. A high-quality window well should be securely bolted to the foundation wall and sealed with heavy-duty masonry caulk. The bottom of the well must feature at least 4 to 6 inches of clean, washed gravel to allow water to drain away from the window glass and down into your foundation’s perimeter tile system.
Installing custom-fit window well covers is also essential. These durable, clear acrylic or polycarbonate covers prevent leaves, debris, and small animals from clogging your drainage gravel while still letting beautiful natural light flood into your basement. For residents in the Des Plaines area, ensuring your window wells are properly covered and maintained is a key step in protecting your basement from the elements.
Professional Installation vs. DIY: Protecting Your Foundation
It can be tempting to treat a standard basement window swap as a weekend DIY project. However, the unique challenges of working with below-grade masonry make professional installation the safest and most reliable choice.
The risks of an improper DIY installation are significant:
- Structural Risks: Accidentally cutting or damaging a load-bearing foundation wall during an egress upgrade can cause structural sagging or wall failure.
- Water Infiltration: A single gap in your exterior silicone sealant or an improperly sloped window well can lead to catastrophic basement flooding during heavy Midwest rainstorms.
- Code Violations: Failing to meet precise egress dimensions can lead to failed home inspections, preventing you from legally listing your basement as a bedroom when selling your home.
- Voided Warranties: Many top-tier window manufacturers will void their product warranties if the window is not installed by a certified professional.
Hiring a licensed, insured, and certified contractor ensures that your project is completed safely, meets all local building codes, and is backed by robust labor and manufacturer warranties.
Navigating Local Building Permits and Standards
In Chicagoland, building codes and permit requirements vary by municipality. Generally, a simple like-for-like window replacement in an existing opening does not require a structural permit. However, if you are cutting into concrete to enlarge an opening or installing a new egress window, a building permit is almost always mandatory.
These regulations are in place to protect your safety, ensuring that structural headers are properly sized and that emergency escape routes meet life-safety standards. Our team handles the entire permitting and inspection process for you. For a deeper look at local building codes, read The Ultimate Guide to Window Replacement Standards and Permits.
Why Professional Expertise Matters for a Basement Window Replacement
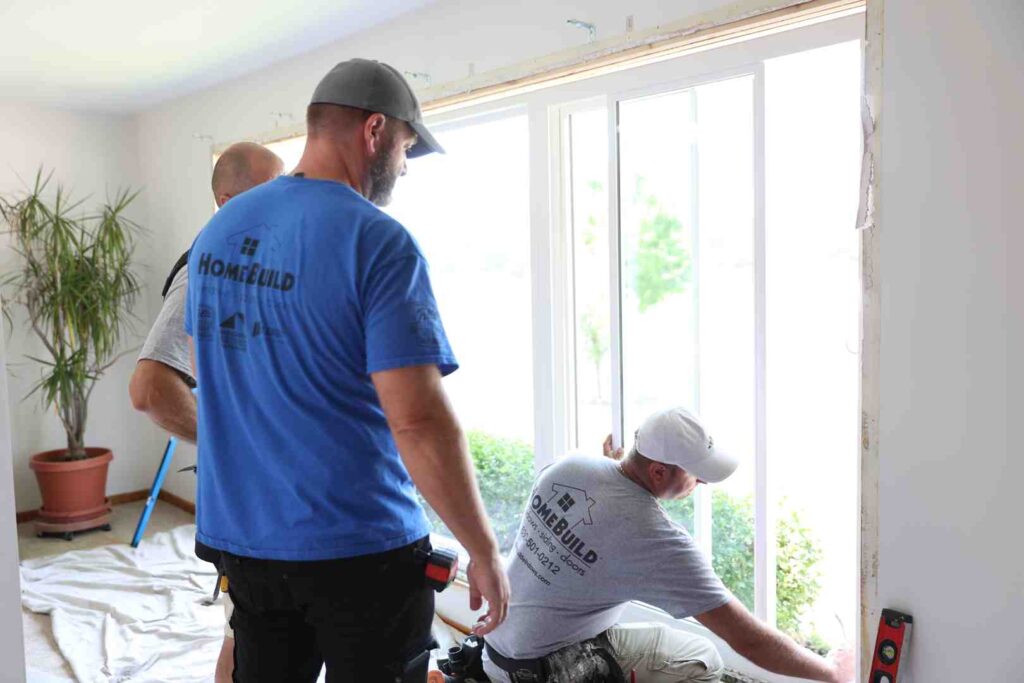
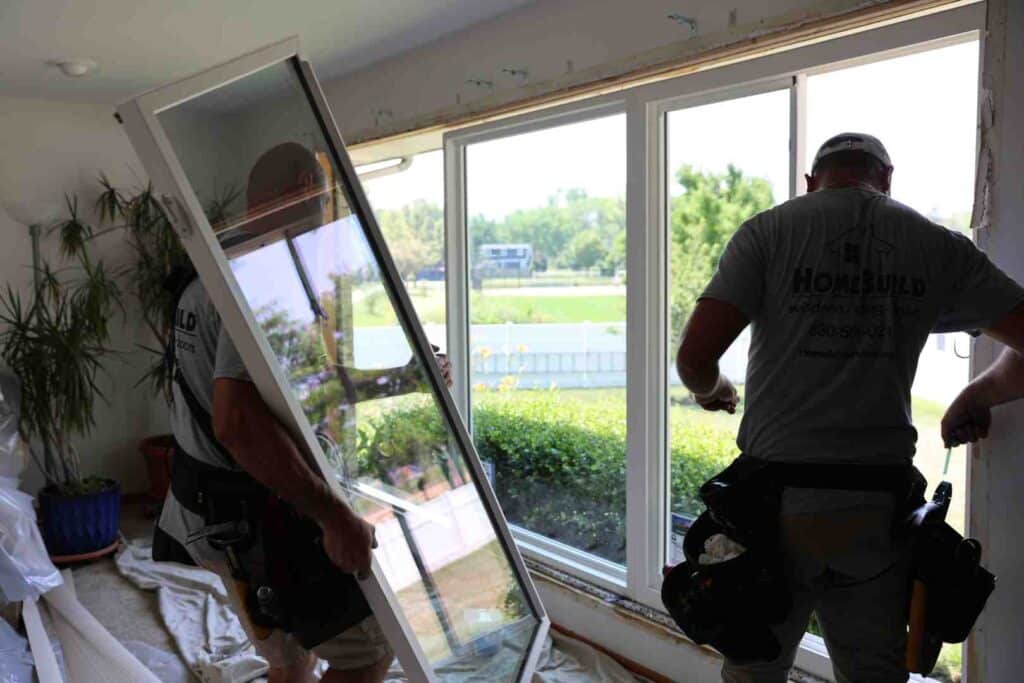
From proper masonry integration to ensuring flawless weatherproofing, professional installers bring specialized tools and years of hands-on experience to the job. Whether you are looking for expert service in Arlington Heights, Barrington, or Crystal Lake, working with an experienced local team makes all the difference.
If you are researching trusted local window contractors, you can check out real homeowner reviews on platforms like Top 10 Best Windows Installation Near Arlington Heights, Illinois – Yelp or THE BEST 10 WINDOWS INSTALLATION NEAR CRYSTAL LAKE …. Working with a highly rated, certified local installer ensures your project is completed to the highest standards, giving you peace of mind and long-lasting protection for your home.
Frequently Asked Questions About Basement Windows
Can I replace a basement window from the inside?
While many of the physical installation steps — such as securing the window frame with concrete screws and applying interior trim — can be performed from inside your basement, critical waterproofing steps must be completed from the exterior. Applying high-grade silicone sealants and ensuring the window well drainage is clear requires exterior access to create an absolute weather barrier.
How long does a typical basement window installation take?
For a standard, like-for-like replacement in an existing concrete opening, a professional crew can typically complete the installation in 2 to 4 hours per window. Replacing multiple standard windows can easily be completed in a single day. However, if your project involves excavation, concrete cutting, and installing a new egress system, the process generally takes 1 to 2 days.
What is the best frame material for damp basement environments?
Vinyl and advanced composites (like Fibrex® material) are the absolute best choices for damp basement environments. Unlike wood, they will never warp, rot, or decay when exposed to ground moisture. Unlike steel or aluminum, they do not rust, corrode, or conduct cold temperatures, making them highly energy-efficient and virtually maintenance-free.
Conclusion
Upgrading your basement windows is an investment in your home’s safety, comfort, and energy efficiency. Whether you are dealing with drafty utility windows, rusting steel frames, or need a fully compliant egress escape route, we are here to help.
At HomeBuild Windows, Doors & Siding, we are proud to be a trusted, locally owned contractor with over 20 years of experience serving Chicago and the surrounding northwest suburbs. Every project we undertake is owner-supervised, ensuring the highest standards of workmanship, attention to detail, and accountability from start to finish.
Our industry credibility is backed by our certifications and awards, including:
- Elite Platinum Pella® Certified Contractor
- Andersen Certified Contractor
- Angi Super Service Award
- Nextdoor Neighborhood Faves
- 200+ positive Google reviews
- Fully licensed and insured
We work with the industry’s most trusted brands — including Pella, Marvin, Alside, Therma-Tru, Simpson, and James Hardie — to deliver durable, beautiful results tailored to our unique Midwest climate.
Ready to brighten and secure your basement? Contact us today for a free consultation and let our expert team guide you through our professional window replacement and installation services.