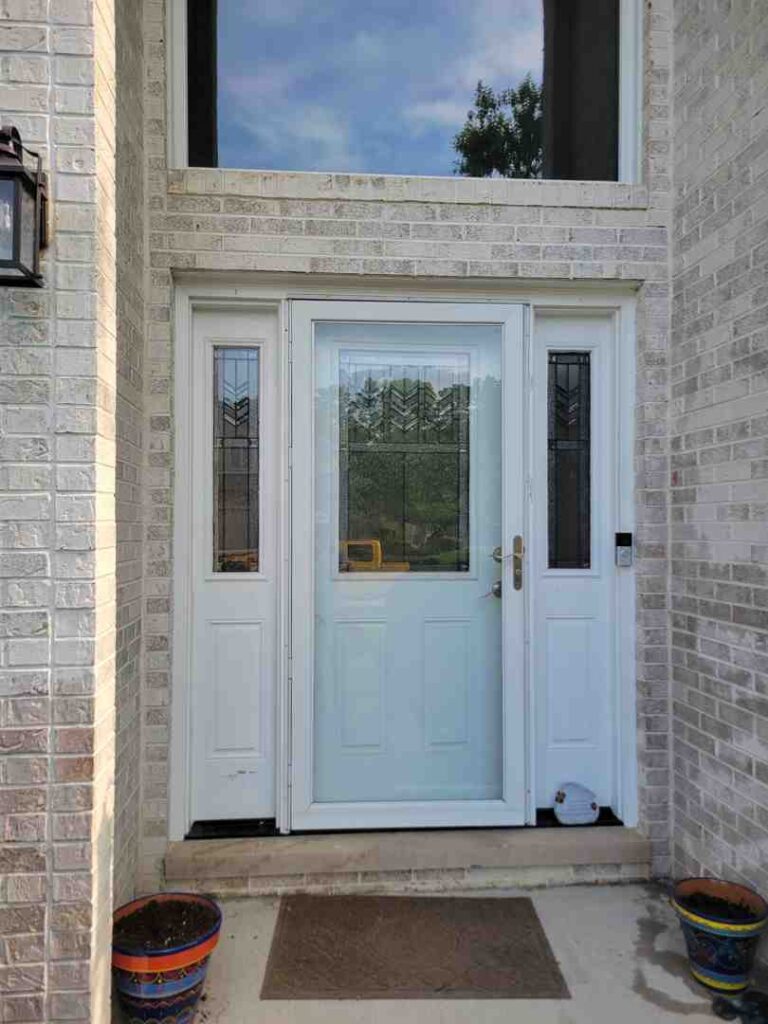
Why Professional Front Door Installation Matters for Chicago Homeowners
Front door installation is a complex project that significantly impacts your home’s security, energy efficiency, and curb appeal. Proper installation requires precision in weatherproofing, frame alignment, and hardware setup—details that are often underestimated.
When hiring professional front door installers, look for:
- Certified contractors with proper licensing and insurance
- Experience with your chosen door material (steel, fiberglass, or wood)
- Complete services, including removal, installation, and cleanup
- Warranties on both labor and materials
- Local expertise in Chicago’s climate challenges
A poorly installed door can lead to drafts, water damage, and security vulnerabilities, potentially increasing energy costs by up to 30%. While a DIY approach may seem cost-effective, it requires specialized tools and expertise to handle common issues like uneven frames or structural modifications.
I’m Steve Mlynek, CEO and founder of HomeBuild Windows, Doors & Siding. With over 20 years of experience, my team of certified installers ensures every front door installation in Chicago is secure, properly sealed, and built to withstand our harsh weather.

Phase 1: Preparation and Planning
Proper preparation is critical for a successful front door installation. Before starting, you must choose the right door material, take accurate measurements, and gather the necessary tools. Skipping these steps can lead to costly mistakes and delays.
Choosing the Right Front Door Material
Selecting a door material that can handle Chicago’s weather is essential. Each option offers a unique blend of aesthetics, durability, and maintenance needs.
- Wood Doors: Offer classic beauty and can be customized with paint or stain. However, they require regular maintenance (sealing, painting) to prevent warping and rot in Chicago’s climate. Costs typically range from $250-$1,250, plus ongoing maintenance.
- Steel Doors: A strong, secure, and budget-friendly choice. Their foam core provides excellent energy efficiency. The main drawbacks are susceptibility to dents and rust if the protective coating is scratched. Expect to pay between $400-$2,500.
- Fiberglass Doors: The best of both worlds. They mimic the look of wood but are low-maintenance, as they won’t warp, crack, or rot. While the initial cost of $360-$2,500 may be higher, they offer long-term savings on maintenance and energy.
For a detailed comparison, see our guide on Entry Doors.
How to Accurately Measure for Your New Door
Incorrect measurements are a common and costly mistake. Follow the “measure twice, cut once” rule to ensure your new door fits perfectly.
- Width: Measure the top, middle, and bottom of the door opening. Use the smallest of the three measurements.
- Height: Measure from the top of the opening to the sill on the left, right, and center. Again, use the smallest measurement.
- Jamb Depth: Measure the thickness of the wall from the interior to the exterior edge of the frame. Standard depths are 4⅝” for 2×4 walls and 6⅝” for 2×6 walls.

If your measurements don’t match standard sizes (like the common 36″ x 80″), you may need a custom door. Professional measurement is highly recommended in these cases.
Essential Tools and Materials for Installation
Having the right tools on hand makes the front door installation process much smoother. Your essential toolkit should include:
- Measuring tape and level
- Pry bar and hammer
- Power drill
- Wood shims
- Caulk gun with exterior-grade caulk
- Low-expansion spray foam
- A plastic sill pan flashing kit to prevent water damage
- Safety glasses and gloves
Even with the right tools, professional installers have the experience to handle unexpected challenges that often arise during installation.
Phase 2: Removal and Rough Opening Prep
This phase involves carefully removing the old door and preparing the opening for a perfect, weathertight fit for the new one. Patience is key to avoiding damage to your home’s structure.
Safely Removing the Old Door and Frame
- Remove Interior Trim: Score the paint lines with a utility knife to prevent peeling drywall. Gently pry the trim off using a pry bar and a wood block for protection.
- Remove the Door: For pre-hung units, remove the hinge pins from bottom to top and lift the door slab out. For slab doors, unscrew the hinges from the jamb.
- Remove the Old Frame: Locate and remove all nails or screws securing the jamb to the rough opening. A reciprocating saw may be needed for stubborn fasteners.
- Lead Paint Safety: If your home was built before 1978, the old paint may contain lead. Use plastic sheeting to contain dust, wear protective gear, and use a HEPA vacuum. For significant concerns, consult a certified risk assessor. The EPA provides detailed information on lead paint safety.
Preparing the Rough Opening for a Perfect Fit
With the old door gone, create a clean foundation for the new one.
- Clean and Inspect: Remove all debris, old nails, and dust from the rough opening. Carefully inspect the wood framing for any signs of rot or water damage, and make necessary repairs now to prevent future issues.
- Level and Plumb: Use a long level to ensure the sill (bottom of the opening) is perfectly level. Then, check that both vertical sides of the opening are plumb (perfectly straight up and down). An out-of-square opening will prevent the new door from operating smoothly and sealing correctly.
This detailed prep work is crucial for a flawless front door installation. For more details, see our guide on changing an exterior door.
Phase 3: The Core of Your Front Door Installation
This is the most critical stage of the front door installation, where precision determines the door’s function, security, and long-term performance. Most modern installations use a pre-hung door, which includes the door slab already mounted in its frame.
Critical steps for installing a new door frame
- Install Sill Pan: Place a plastic sill pan flashing kit at the bottom of the rough opening. This waterproof barrier directs moisture away from the subfloor, preventing rot.
- Apply Caulk: Run a continuous bead of high-quality exterior caulk on the sill pan and along the sides of the opening where the frame will sit.
- Set the Unit: Carefully lift the pre-hung unit into the opening, centering it and pressing it snugly against the caulk.
- Shim and Plumb the Hinge Side: Starting with the hinge side, use pairs of shims behind each hinge to make the jamb perfectly plumb. Aim for a consistent 1/8″ gap between the door and the jamb.
- Square the Frame: Adjust shims on the latch side and top of the frame until it is perfectly plumb, level, and square. Verify it’s square by checking that diagonal corner-to-corner measurements are equal.
- Secure the Frame: Fasten the frame to the studs with long, rust-proof screws driven through the shims. Use extra-long screws at the top hinge to prevent sagging.
This process is where professional help is invaluable. For more details, see our Guide to Installing a Prehung Exterior Door.
How to hang a new door and make adjustments
For pre-hung units, the door is already hung. The focus is on fine-tuning:
- Check the Swing: Open and close the door to ensure it moves freely without rubbing.
- Adjust the Reveal: Check for a consistent 1/8-inch gap between the door and the frame on all sides. Adjust shims as needed to correct any unevenness.
- Ensure Smooth Latching: The door should latch and lock effortlessly without being forced.
Best practices for installing hardware
Properly installed hardware is vital for security and function.
- Install Lockset and Deadbolt: Follow the manufacturer’s instructions. Ensure the deadbolt aligns perfectly with the strike plate and extends fully and smoothly into the frame.
- Use a Screwdriver for Final Tightening: To avoid stripping screws or damaging the door’s finish, use a manual screwdriver for the final turns on all hardware screws.
Phase 4: Finishing, Sealing, and Maintenance
The final touches transform a functional door into a weatherproof barrier that protects your home. This phase is crucial for performance and longevity, especially in Chicago’s climate.
Essential steps for weatherproofing your front door installation
Proper sealing prevents drafts, saves energy, and protects your home from water damage.
- Insulate Gaps: Carefully apply low-expansion spray foam in the gap between the new door frame and the rough opening. This type of foam won’t bow the frame and creates an excellent thermal barrier.
- Apply Exterior Caulk: Use a high-quality, exterior-grade caulk to seal the perimeter where the door frame meets your home’s siding or brick. A continuous, neat bead is key to keeping water and air out.
- Check Weatherstripping: Ensure the weatherstripping makes consistent, firm contact with the door when closed. You should not see any daylight around the edges.
- Adjust the Threshold: Most modern thresholds are adjustable. Raise or lower the sill cap to create a tight seal at the bottom of the door. The door should close snugly without being difficult to operate.

Long-Term Maintenance for Your New Front Door
A little care will keep your new door performing at its best for years.
- Cleaning: Use mild soap and water. For steel doors, touch up any scratches promptly to prevent rust. Fiberglass doors are the easiest to clean.
- Annual Inspection: Check the caulk and weatherstripping for any cracks or gaps that may have formed as your home settles.
- Lubrication: Twice a year, apply a light lubricant to hinges and lock mechanisms to ensure smooth operation.
- Touch-up Paint: For wood and painted steel doors, address any chips or scratches to maintain the protective finish against moisture and UV damage.
A proper front door installation combined with simple maintenance ensures your door will function perfectly for years.
DIY vs. Professional Installation: Making the Right Choice
Homeowners often wonder whether to tackle front door installation themselves or hire a professional. The decision impacts your home’s security, energy efficiency, and long-term value.
The Pros and Cons of a DIY Approach
Pros: The primary benefits of a DIY installation are potential cost savings on labor and the project satisfaction of improving your home yourself.
Cons: The risks are significant. Common pitfalls include improper measurements, incorrect shimming, and inadequate sealing, which can lead to drafts, water damage, and a door that doesn’t operate correctly. A DIY project also requires a major time commitment (often 8-10+ hours) and the risk of improper sealing can negate any initial savings through higher energy bills.
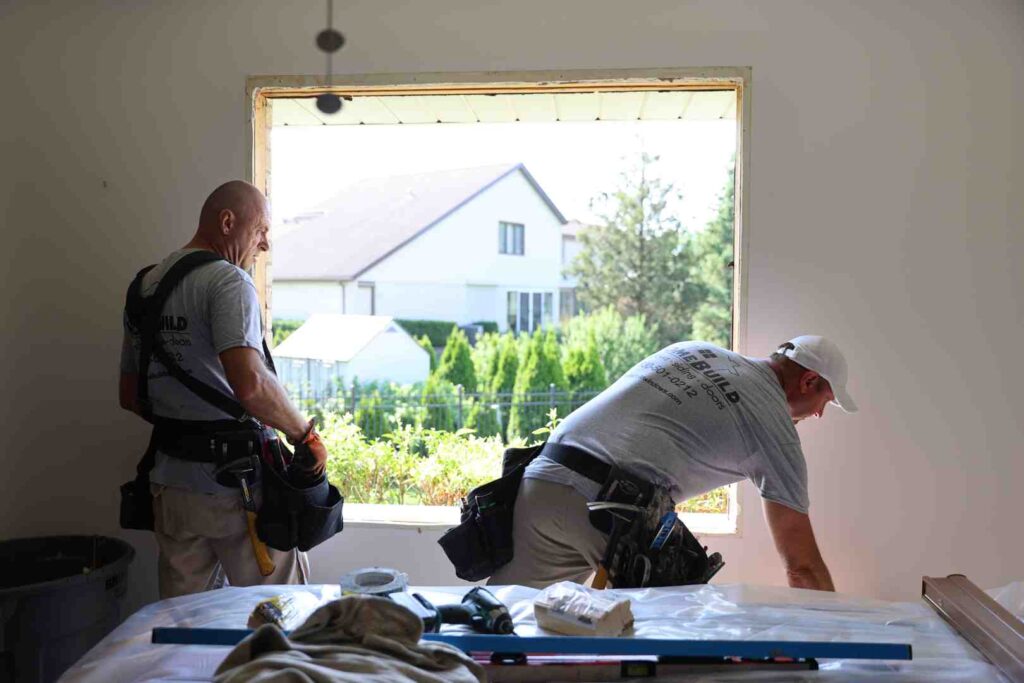
Why Hiring a Professional Installer Is Often Worth It
For homeowners in areas from Arlington Heights to Schaumburg, professional front door installation provides significant advantages:
- Expertise and Experience: Certified installers have solved every imaginable problem and ensure a high-quality result that lasts.
- Specialized Tools: Professionals use precision equipment essential for a truly weathertight and secure installation.
- Efficiency: A professional crew can typically complete the job in 4-6 hours, minimizing disruption to your home.
- Warranties: You get peace of mind from warranties that cover both the product and the installation labor.
- Increased Home Value: A perfectly installed door improves curb appeal, security, and energy efficiency—all attractive features to potential buyers.
For complex projects or to ensure a flawless result, Find out Who Installs Exterior Doors Near Me to connect with our certified team.
What factors influence the cost of front door installation?
The total cost of a front door installation depends on several factors:
- Door Material: Steel is often the most budget-friendly, while premium fiberglass or custom wood doors cost more.
- Project Complexity: A simple replacement is less expensive than a project requiring structural modifications.
- Sidelights and Transoms: These decorative additions increase both material and labor costs.
- Labor Rates: Professional installation typically ranges from $500-$1,000, but complex jobs can be more.
- Structural Modifications: Repairing rot or resizing the opening will add to the project cost.
- Hardware and Finishing: High-end locksets and custom paint or stain will influence the final price.
While the initial cost is a consideration, a quality door, professionally installed, is an investment that pays off in energy savings, security, and increased home value. For a detailed estimate, visit our Entry Door Replacement Cost page.
Frequently Asked Questions about Front Door Installation
With over 20 years in the business, I’ve answered countless questions about front door installation. Here are some of the most common ones from Chicago area homeowners.
When is it time to consider replacing an existing front door?
Look for these key signs that your door’s service life is over:
- Visible Damage: Cracks, splits, or warping that compromises the door’s structure and seal.
- Difficulty Operating: The door sticks, squeaks, or is hard to open and close, indicating alignment or swelling issues.
- Drafts and Water Leaks: If you feel air or see water coming in, your seals have failed, leading to energy loss and potential damage.
- Outdated Style: An old door can detract from your home’s curb appeal. A new door is a fast and effective upgrade.
- Poor Energy Efficiency: Older, uninsulated doors can be a major source of heat loss. Modern doors offer significantly better thermal performance.
- Security Concerns: A flimsy door, weak frame, or outdated lock is a security risk. Modern doors provide superior protection.
How long does a typical front door installation take?
A professional front door installation for a standard pre-hung unit is typically completed in 4 to 6 hours. This includes removal, installation, sealing, and cleanup. A DIY installation can easily take 8-10 hours or more. Complex projects involving sidelights, structural changes, or rot repair may take a full day or longer.
Can I install a new door slab in an old, existing frame?
While technically possible, installing a new door slab into an old frame is rarely recommended. For a slab installation to succeed, the existing frame must be perfectly square, plumb, and free of damage—a rare condition in homes that have settled over time.
Most often, this approach leads to alignment problems, uneven gaps, and poor sealing. A full frame replacement with a pre-hung door unit is the superior choice. It ensures the new door fits and seals perfectly as the manufacturer intended, providing maximum energy efficiency, security, and smooth operation for years to come.
Get a Perfect Front Door Installation Every Time
Your front door installation is a critical investment in your home’s beauty, security, and comfort. While a DIY approach is tempting, the precision required for a weather-tight, secure fit that can withstand Chicago’s climate makes professional installation the smarter choice.
The difference between a good installation and a great one lies in the details—the expert shimming, proper flashing, and perfect sealing that only come with experience. At HomeBuild Windows, Doors & Siding, we’ve perfected our installation process over 20 years, ensuring every door we install performs flawlessly.
We take pride in our meticulous work because we know you’re investing in your family’s peace of mind. When you’re ready for a flawless result that stands the test of time, our team is here to deliver.