Choosing the Right Door: Slab vs. Pre-hung for New Openings
When you are figuring out how to install a door where there is no door, the first major decision is what type of door to buy. In home improvement, you generally have two choices: a slab door or a pre-hung unit.
A slab door is just the door itself—a rectangular piece of wood, fiberglass, or steel. It has no hinges, no holes for the handle, and no frame. A pre-hung door, on the other hand, is a “door in a box.” It comes already mounted into a frame (the jamb) with hinges attached.
| Feature | Slab Door | Pre-hung Door |
|---|---|---|
| Components | Door only | Door, jamb, and hinges |
| Difficulty | High (requires routing and drilling) | Moderate (requires shimming and leveling) |
| Best For | Replacing a door in an existing frame | New openings or damaged frames |
| Tools Needed | Router, chisels, hole saws, jigs | Level, shims, drill, hammer |
| Time | 3–5 hours for a beginner | 1–2 hours |
For most residential projects, especially entry doors, we recommend brands like Therma-Tru or Simpson for their durability. Regardless of the brand, ensuring the unit includes high-quality weatherstripping is essential for Chicago winters.
Why pre-hung is best for how to install a door where there is no door
If you are creating an opening from scratch, a pre-hung unit is almost always the superior choice. Because the frame is factory-assembled, the hinges are already perfectly recessed (mortised) and the gap between the door and the frame (the reveal) is already set.
Trying to hang a slab door in a brand-new opening requires you to build a perfectly square jamb yourself, which is a daunting task even for experienced carpenters. With a pre-hung unit, you simply slide the assembly into your rough opening and focus on making it plumb and level.
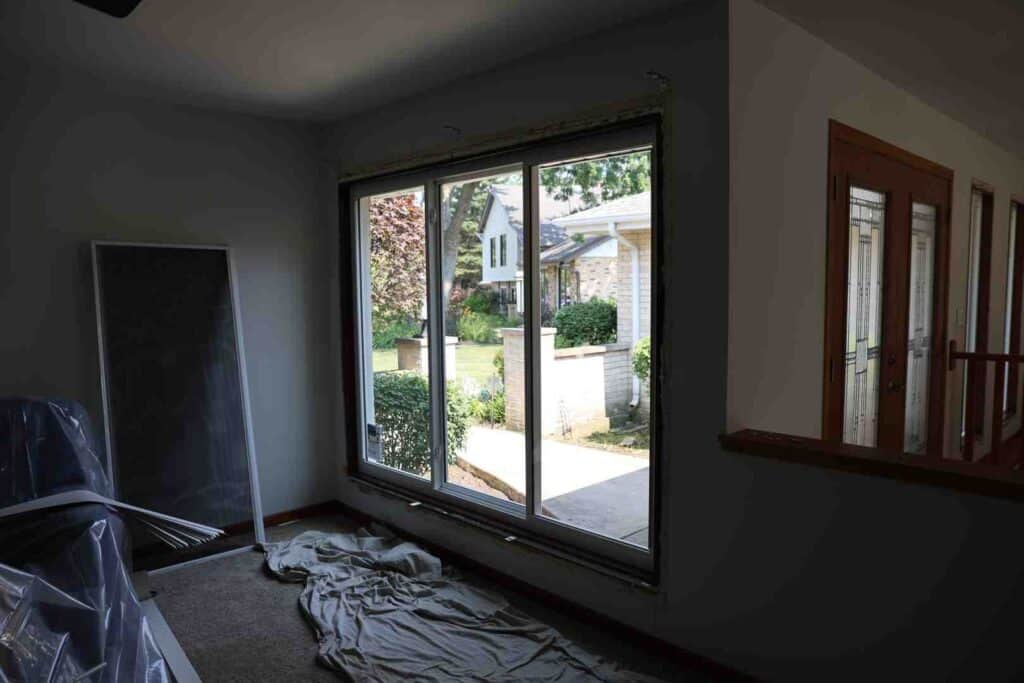
Preparing the Space: Measuring and Framing a New Opening

Before you pick up a saw, you must understand what is inside your wall. In our 20+ years of experience at HomeBuild, the biggest “gotcha” is cutting into a load-bearing wall without proper support. Load-bearing walls carry the weight of the floor or roof above them. If you remove studs from one of these walls without installing a structural header, your ceiling could sag or, in extreme cases, collapse.
Use a high-quality stud finder to locate not just the wood, but also electrical wiring and plumbing pipes. Once the coast is clear, you will need to frame the “rough opening.” This involves:
- King Studs: Full-height studs that run from the floor plate to the ceiling plate.
- Jack Studs (Trimmers): Shorter studs nailed to the king studs that support the header.
- Header: A heavy horizontal beam (usually doubled 2x10s or 2x12s) that spans the top of the opening to redistribute weight.
- Sill Plate: The bottom piece of the wall frame that you will eventually cut out to walk through.
Measuring for how to install a door where there is no door
Accuracy is everything. If your rough opening is too small, the door won’t fit; if it’s too large, you’ll be shoving stacks of shims into the gaps, which compromises stability.
The golden rule is the 2-inch clearance rule. Your rough opening should be 2 inches wider and 2 inches taller than the door itself. For a standard 30-inch by 80-inch door, your rough opening should be 32 inches by 82 inches. This extra space allows you to “float” the door frame within the opening to account for floors that aren’t level or walls that aren’t plumb—a frequent occurrence in Chicago’s historic bungalows and Victorians.
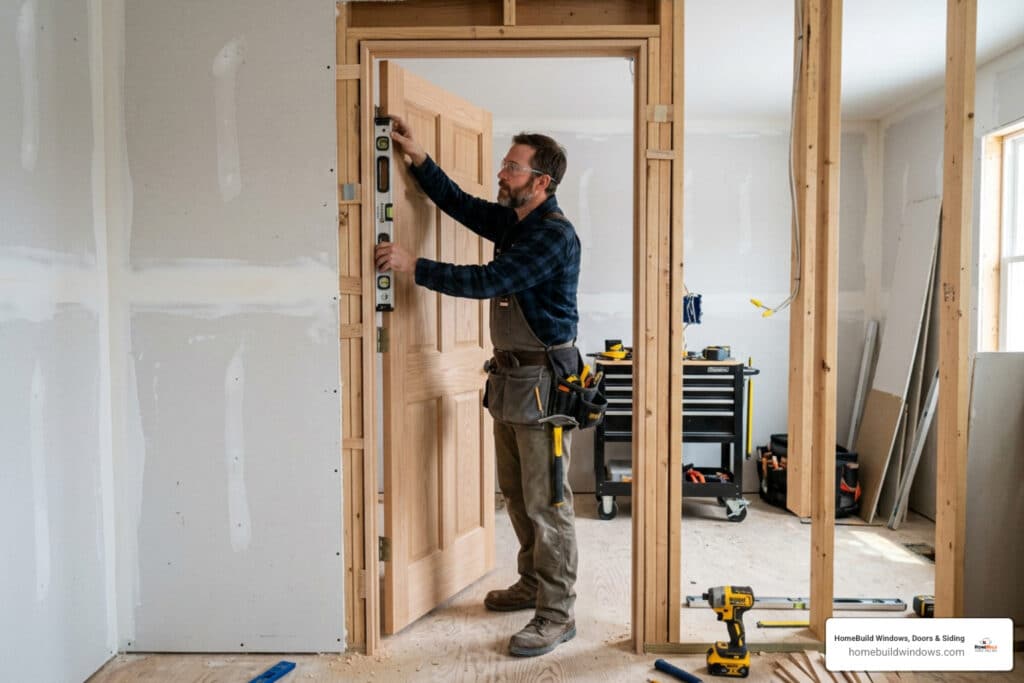
Always use a 4-foot or 6-foot level to check the “plumb” (vertical straightness) of your studs and the “level” (horizontal straightness) of your floor. If the floor slopes, you may need to trim one side of the door jamb to ensure the head of the door remains perfectly level.

Step-by-Step Guide on How to Install a Door Where There Is No Door
Once your framing is complete and your door has arrived, it’s time for the actual installation.
- Prep the Opening: If this is an exterior door, apply sill flashing to the bottom to prevent water from rotting your subfloor.
- Dry Fit: Lift the door into the opening to ensure it fits comfortably.
- The Hinge Side First: This is the most critical step. Place the door in the opening and use a level on the hinge-side jamb. Insert shims between the jamb and the jack stud behind each hinge.
- Plumb and Square: Use your level to ensure the hinge side is perfectly vertical. Once it is, drive screws through the jamb and shims into the wall studs. For installing a prehung exterior door, we always replace at least one short factory screw in each hinge with a 3-inch long construction screw. This anchors the door deep into the framing, preventing it from sagging over time.
- Set the Strike Side: Close the door and look at the gap (reveal) between the door and the frame. It should be a consistent 1/8-inch all the way around. Adjust the strike-side jamb with shims until the gap is perfect, then fasten it.
- Test the Swing: The door should stay put wherever you leave it. If it swings open or shut on its own, your hinges aren’t plumb.
Installing hardware and finishing touches
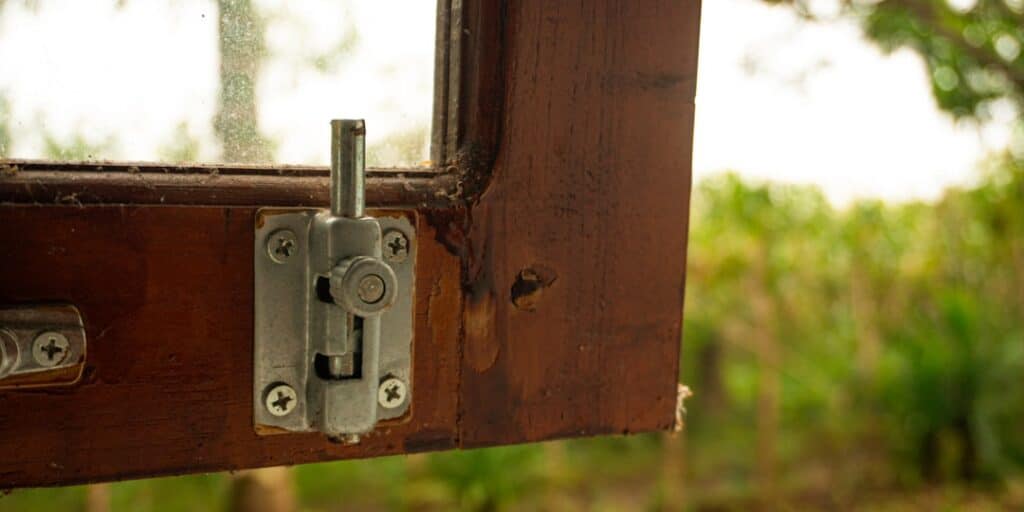
With the door hanging correctly, you can move on to the hardware. Whether you chose a classic oil rubbed bronze privacy lever door handle or a modern beautiful door handle, the installation is usually a matter of a few screws.
Install the strike plate on the jamb, ensuring the latch clicks in securely. If the door rattles when closed, you may need to adjust the tab on the strike plate.
For the finish, fill the gaps between the door frame and the wall with low-expansion spray foam. This is vital in the Midwest for air sealing and energy efficiency. Finally, nail on your interior casing and exterior brickmould to hide the shims and foam, giving the project a professional, polished look.

Retrofitting Doors into Cased Openings and Finished Walls
Sometimes, the “no door” situation is actually a “cased opening”—a doorway that is already trimmed with molding but lacks the actual door. This is common between dining rooms and kitchens or primary bedrooms and bathrooms.
You have two options here. You can rip out the existing trim and install a pre-hung door as described above, or you can retrofit a slab door directly into the existing opening. Retrofitting is trickier because you must manually create hinge mortises in the existing wood.
If the opening is slightly out of square (which we often see during exterior door installation 101 projects), you will need to “scribe” the door. This involves holding the door up to the opening, marking where it is too wide or too tall, and using a block plane or circular saw to shave off small amounts of wood until it fits perfectly.
To make the door functional, you’ll need to nail “door stops” (thin strips of molding) inside the frame so the door has something to rest against when closed. This provides privacy and prevents the door from swinging through the frame and damaging the door hinges.
Frequently Asked Questions about New Door Installations
Can I install a door directly into drywall without a frame?
No. Drywall is made of gypsum and paper; it has zero structural strength. If you try to screw hinges directly into drywall, the weight of the door will pull the screws out immediately, likely crumbling the wall in the process. Doors must be fastened to wooden or metal studs to handle the weight and the repetitive motion of swinging.
How do I handle out-of-plumb walls in older Chicago homes?
In many older homes in Arlington Heights or Des Plaines, the walls might lean one way while the floor leans another. The trick is to prioritize the door’s operation. The door jamb must be plumb and level for the door to work, even if the wall is leaning. You can hide the resulting gaps by using “tapered” shims and choosing a wider casing (trim) that can be “rolled” slightly to meet the wall.
What are the benefits of professional installation for new openings?
While a DIY approach is possible for an interior closet, creating a new exterior opening is a high-stakes project. A professional door supplier and installer ensures that the structural integrity of your home is maintained. At HomeBuild, our projects are owner-supervised to ensure that flashing is perfect, the header is correctly sized for Chicago snow loads, and the energy efficiency of the unit is maximized. Plus, professional installation usually comes with a warranty that protects your investment.
Conclusion
Learning how to install a door where there is no door is a rewarding way to improve your home’s layout and privacy. From the initial framing to the final turn of the handle, every step requires a blend of patience and precision.
If you find that your project involves a load-bearing wall, a complex entry system with sidelights, or you simply want the peace of mind that comes with expert craftsmanship, HomeBuild Windows, Doors & Siding is here to help. As an Elite Platinum Pella® Certified Contractor and Andersen Certified Contractor with over 200 positive Google reviews, we pride ourselves on delivering top-quality results to our neighbors across Chicagoland.
Whether you’re in Palatine, Schaumburg, or right here in Chicago, we work closely with you to ensure your new door is durable, energy-efficient, and beautiful. For more information or to see how we can help with your next project, check out more info about door installations near me.