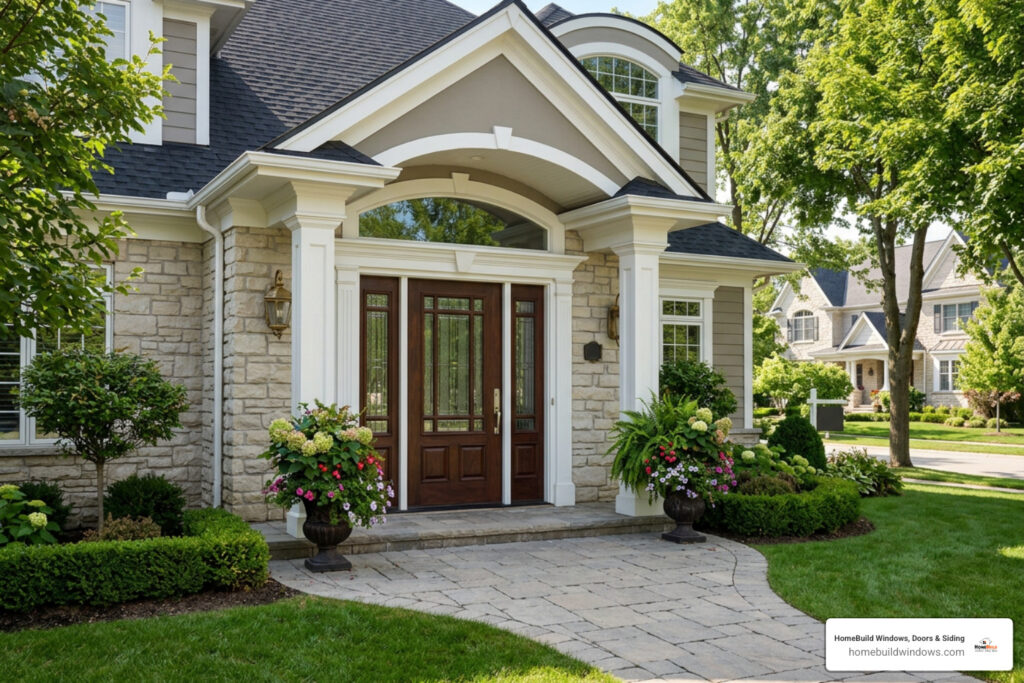
Why Cedar Clapboard Siding Installation Is Worth Getting Right
Cedar clapboard siding installation is one of the most rewarding exterior upgrades a homeowner can make — but only when it’s done correctly.
Here’s a quick overview of how to install cedar clapboard siding:
- Choose and acclimatize your cedar — use kiln-dried Western Red Cedar at 12-15% moisture content
- Prepare the wall — install housewrap, flashing, and a rainscreen system
- Plan your layout — build a story pole and swing stick to set consistent exposure
- Install the starter strip — rip a strip from the top of a clapboard to kick out the first course
- Nail each course to studs — one nail per stud, placed to miss the board below
- Handle joints and corners — use scarf joints, corner boards, and drip caps at all openings
- Finish all six sides — prime or stain before and after installation, including all cut ends
- Maintain on schedule — inspect annually and restain every 3-7 years
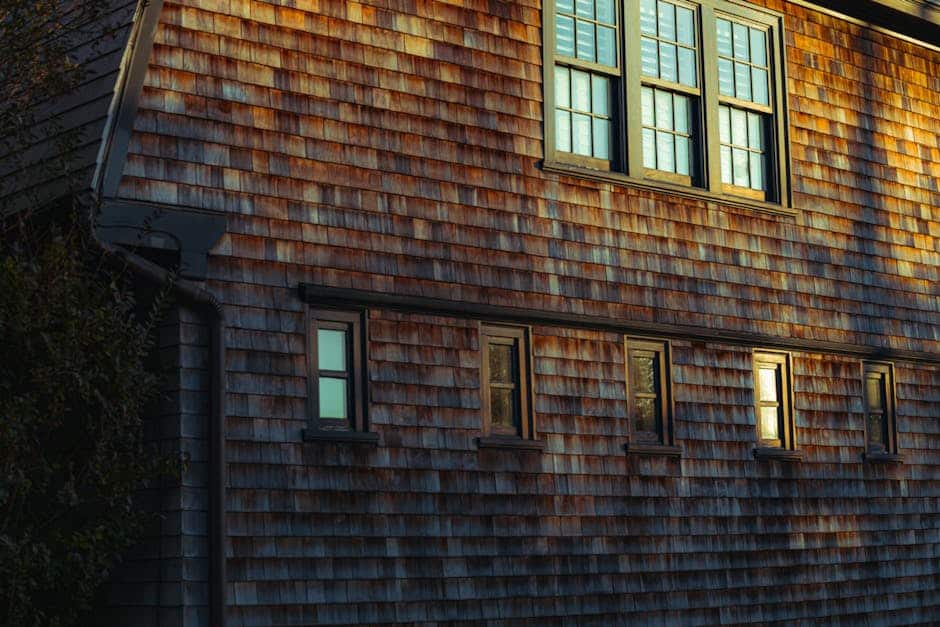
Cedar clapboards have protected American homes since Colonial times — and for good reason. When properly installed, cedar siding can last decades, even a full century under the right conditions. But the difference between a beautiful, weathertight wall and one that rots prematurely almost always comes down to technique.
In Chicago’s climate — with its cold winters, wet springs, and humid summers — getting every layer right matters even more. A missed step in moisture management or a misplaced nail can lead to cracking, rot, and expensive repairs down the road.
This guide walks you through every stage of the process, from choosing the right cedar grade to the final coat of stain.
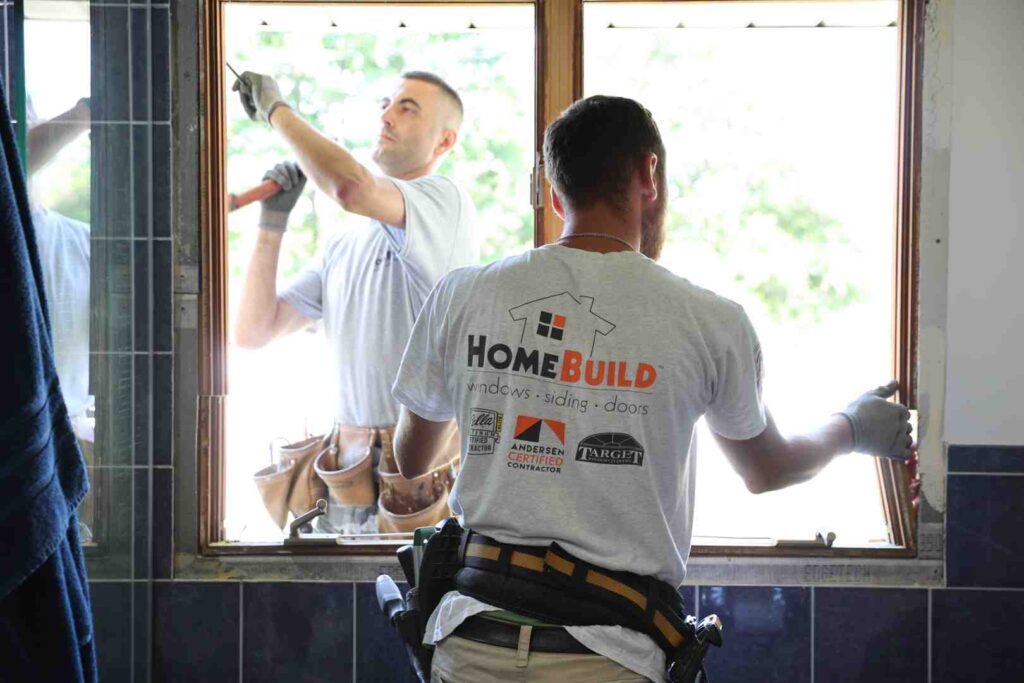
I’m Steve Mlynek, CEO and founder of HomeBuild Windows, Doors & Siding, with over 20 years of experience overseeing exterior remodeling projects across Chicago and the northwest suburbs — including countless cedar clapboard siding installations on homes ranging from historic bungalows to modern new builds. Everything in this guide reflects the real-world standards my team applies on every job, so you can approach your project with confidence.

Cedar clapboard siding installation terms you need:
Understanding Cedar Clapboard Siding Materials
Before picking up a hammer, it is crucial to understand the material you are working with. Western Red Cedar is the premier choice for natural wood siding, accounting for more than 65% of the world’s wood siding production with an annual volume of nearly 1 billion board feet. It is highly valued for its natural beauty, lightweight strength, excellent insulation properties, and outstanding dimensional stability.

Western Red Cedar vs. Other Wood Species
While other wood species like pine or spruce are sometimes used for clapboards, they do not compare to Western Red Cedar’s natural performance. Cedar is packed with organic compounds called thujaplicins, which act as natural preservatives. These oils give the wood an inherent resistance to moisture, rot, decay, and wood-boring insects.
Furthermore, cedar has a very low shrinkage factor. Unlike pine, which expands and contracts aggressively with seasonal humidity shifts, cedar remains incredibly flat and straight. This dimensional stability prevents your siding from warping, cupping, or pulling away from the wall over time. If you are weighing wood against other options, check out our Ultimate Guide to Siding Replacement to see how cedar stacks up against modern alternatives.
Comparing Cedar Grades and Moisture Content
When sourcing cedar for your cedar clapboard siding installation, you will encounter different grades and seasoning options. Selecting the right one dictates both the final look of your home and the installation steps required.
| Cedar Siding Grade | Description | Visual Characteristics | Best Use Case |
|---|---|---|---|
| Clear Vertical Grain Heartwood | Highest premium grade; cut perpendicular to growth rings. | Smooth face, vertical grain lines, 100% knot-free. | Traditional homes, painted or clear-stained finishes. |
| Select Knotty | More economical; contains sound, tight knots. | Rustic texture, visible knots, warm character. | Cabins, rustic designs, semi-transparent stains. |
Beyond the grade, you must pay attention to moisture content:
- Kiln-Dried Cedar: This is the gold standard. Dried at the mill to a stable 12-15% moisture content, kiln-dried cedar is ready for immediate installation. It minimizes post-installation shrinkage and allows paint or stain to adhere beautifully.
- Unseasoned (Green) Cedar: Green cedar is wet and heavy. The Western Red Cedar Lumber Association (WRCLA) discourages using green wood without proper acclimatization. If you use unseasoned cedar, you must stack it on-site for a minimum of 30 days in a dry, well-ventilated location to let it air-dry before hanging it.
Regardless of which type you purchase, always let the wood acclimatize to your local Chicago environment for at least 7 to 10 days before installing it. To learn more about preparing your materials, refer to the Western Red Cedar Siding Pre-Installation Guide.
Essential Tools and Fasteners for Cedar Clapboard Siding Installation
Wood is a forgiving material, but installing it to professional standards requires a specific set of tools and high-quality fasteners. Using the wrong nail can ruin an expensive shipment of cedar in a single season.

Recommended Fasteners and Corrosion Resistance
Western Red Cedar contains natural tannins that give it its signature color and rot resistance. However, these same tannins react aggressively with iron and electro-galvanized metals. If you use cheap nails, you will quickly notice ugly black streaks bleeding down your beautiful new siding.
To prevent this, stainless steel nails are non-negotiable.
- Use Grade 304 stainless steel for general residential applications.
- Use Grade 316 stainless steel if your home is near a saltwater environment (though Grade 304 is perfectly suited for our Chicagoland homes).
- Hot-dipped galvanized nails (meeting ASTM A 153 standards) are an acceptable alternative, but they must have a thick, high-quality zinc coating.
Always choose splitless ring-shank or spiral-shank siding nails with thin shanks and blunt points. The ring shanks provide incredible holding power, preventing the nails from backing out over time, while the blunt points reduce the risk of splitting the delicate cedar wood.
Specialized Hand Tools and Equipment
While a standard hammer and miter saw are essential, a few specialized tools make a massive difference in precision:
- The Story Pole and Swing Stick: These simple, shop-made wooden layout guides allow you to map out perfect course alignments without pulling out a tape measure for every single board.
- Block Plane: Essential for shaving down field cuts or adjusting a board’s edge for a seamless fit against window casings.
- Pre-Drilling Tools: Cedar is prone to splitting near the ends of the boards. Keeping a drill handy to pre-drill holes within 1 inch of any edge is a best practice that saves material.
- Hand Nailing vs. Pneumatic Guns: While pneumatic nailers speed up production, hand nailing is highly preferred for cedar. It allows you to control the exact depth of the nail. If you do use a nail gun, adjust the pressure carefully and use a flush-drive attachment to avoid overdriving and crushing the wood fibers.
Preparing the Wall Surface and Moisture Management
Siding is your home’s primary defense against the elements, but it is not completely waterproof. High winds can drive rain behind clapboards, and indoor humidity can migrate outward. In the Midwest, where we face freezing winters and humid summers, a bulletproof drainage plane behind your siding is essential.
Housewrap and Weather-Resistive Barrier (WRB) Setup
Before installing any cedar, the sheathing must be wrapped in a high-quality, vapor-permeable weather-resistive barrier (WRB), such as spun olefin housewrap. Think of this layer as a high-performance jacket for your home: it blocks bulk water from entering but allows water vapor from inside the house to escape.
- Start from the bottom: Roll out the housewrap horizontally, starting at the foundation line, and work your way up.
- Overlap properly: Overlap horizontal seams by at least 6 inches and vertical seams by 12 inches to ensure water sheds downward.
- Fasten and tape: Secure the wrap with staples or cap nails every 12 to 18 inches, and seal every single seam with approved housewrap tape.
Rainscreen Systems and Flashing Details
For the absolute best protection in humid climates, we highly recommend installing a rainscreen system. A rainscreen separates the cedar siding from the housewrap using vertical furring strips (typically 1×3 wood strips or specialized plastic drainage mats) spaced 16 inches on center over the wall studs.
This creates a 3/8-inch to 3/4-inch ventilation cavity behind the siding. Any water that bypasses the cedar drains harmlessly down the back of the cavity, while air flowing through the space dries out residual moisture, preventing mold, rot, and paint failure.
Before hanging the siding, install robust metal or vinyl flashings:
- Skirtboards and Water Tables: Install a pre-formed aluminum drip cap along the top of your foundation skirtboard, overlapping seams by 3 inches and taping the top edge to the housewrap.
- Windows and Doors: Install metal drip caps above all window and door casings. Apply an 8-inch self-adhering waterproofing membrane over the window head casing before installing the siding.
For a detailed look at proper flashing integration, see Fine Homebuilding’s Guide to Clapboard Siding.
Layout Planning: Creating a Story Pole and Swing Stick
One of the hallmarks of a professional cedar clapboard siding installation is how the courses align with the home’s architectural features. You want the bottom of a siding course to land perfectly flush with the bottom of your window sills and the tops of your window heads. If you simply start nailing boards with a uniform exposure, you will likely end up with awkward, thin slivers of wood above or below windows.
Calculating and Adjusting Exposure for Cedar Clapboard Siding Installation
Standard 6-inch clapboards (which actually measure 5 1/4 inches wide) are typically installed with a 4-inch exposure, leaving a 1 1/4-inch overlap between courses. However, you can easily adjust this exposure by up to 1/8 inch per course without it being visually noticeable.
To calculate your layout:
- Measure the height of the wall section (for example, from the starter strip to the bottom of a window sill). Let’s say it is 37 inches.
- Divide by your target exposure (4 inches): $37 \div 4 = 9.25$ courses.
- Round to the nearest whole number of courses: 9 courses.
- Recalculate the exact exposure for that section: $37 \div 9 = 4.11$ inches (roughly 4 1/8 inches).
By adjusting the exposure to 4 1/8 inches for this section, your 9th course will line up perfectly with the window sill, eliminating the need to cut an ugly notched board.
How to Build and Use a Story Pole
Measuring every single row with a tape measure is slow and invites errors. Instead, professional carpenters use a story pole and a swing stick.
[Story Pole Layout Method]
+-------------------------------------------------------------+
|  [Swing Stick] (Marked at target intervals, e.g., 4" - 4.5")|
|  \   \   \   \   \ |
|   \   \   \   \   \  <- Angle the stick to stretch or |
| \   \   \   \   \ shrink the spacing to fit the wall  |
| |
|  [Story Pole] (Transfer the angled marks onto a 1x2 strip)  |
|  |---|---|---|---| |
+-------------------------------------------------------------+
- Make a Swing Stick: Take a clean piece of wood strip and mark it with lines at your target exposure (e.g., every 4 1/2 inches).
- Mark the Story Pole: Stand a long 1x2 wood pole against the wall. To map out a wall section, place your swing stick diagonally between the bottom of the section and the top. By pivoting and angling the swing stick, you can compress or stretch the spacing of your marks until they divide the space perfectly into equal increments.
- Transfer the marks: Tick those points onto your story pole.
- Use the pole: Hold the story pole against your corner boards and window casings to transfer the exact bottom-of-course marks directly onto the wall. This ensures perfectly level, matching lines around the entire house.
Step-by-Step Cedar Clapboard Siding Installation Process
With your layout marked and your wall prepped, it is time to start hanging wood.
Step-by-Step Cedar Clapboard Siding Installation: Starter Strip and First Course
If you nailed the first course of clapboard flat against the wall, it would lay at a different angle than the rest of the siding. To prevent this, you must install a starter strip.
- Cut the starter strip: Rip a 1-inch to 1 1/2-inch wide strip off the thin, top edge of a scrap piece of clapboard.
- Install the strip: Nail this starter strip horizontally along the very bottom of your wall, keeping it about 1/8 inch above your skirtboard or water table to prevent moisture from wicking upward.
- Hang the first course: Place your first full clapboard over the starter strip, aligning its bottom edge flush with the bottom of the strip. Ensure it is perfectly level, and nail it in place.
Nailing Techniques and Managing Wood Movement
Wood is a living material that constantly breathes, expanding and contracting across the grain with seasonal humidity changes. Your nailing technique must accommodate this movement.
- Single Nailing is Mandatory: For bevel and clapboard siding, never drive two nails through the same board. Drive one nail per stud (spaced a maximum of 24 inches on center) about 1 inch to 1 1/4 inches above the bottom edge.
- Miss the board below: Your nail must pass just above the thin upper edge of the underlying clapboard. This allows the lower board to expand and contract freely underneath the overlap. If you nail through both boards, the wood will crack as it tries to shrink.
- Nail Penetration: Ensure your nails penetrate at least 1 1/4 inches into solid wood studs or blocking.
Handling Field Joints, Corners, and Window Details
- Field Joints (Butt Joints): When a run is longer than your siding boards, you must join two pieces. Cut the meeting ends at a 45-degree angle to create a scarf joint. Apply a high-quality sealant or primer to the cut ends, slip a small piece of metal flashing behind the joint, and butt the pieces tightly over a stud.
- Corners: Install your vertical corner boards first. When installing the clapboards, cut them to leave a 1/8-inch expansion gap where they meet the corner boards. Seal this gap with a high-quality, non-hardening polyurethane caulk.
- Windows and Doors: When fitting clapboards around windows, notch the wood carefully. Leave a 1/8-inch clearance gap above the window's metal head flashing to allow water to drain, and seal the vertical joints where the siding meets the side casings.
Finishing, Maintenance, and Avoiding Common Mistakes
Properly finishing your cedar is just as important as the physical installation. Because wood absorbs liquids rapidly through its cut ends, protection must start before the boards go up.
Pre-Finishing and Post-Installation Coating
The absolute best practice is to coat all six sides of your cedar clapboards before installation. This is often referred to as back-priming or pre-finishing.
- Why it matters: The end grain of wood products absorbs liquids up to 250 times more rapidly than other wood surfaces. If you only paint the front face after installation, moisture from inside the wall cavity will penetrate the unprotected back of the boards, causing the paint on the front to bubble, peel, and fail.
- Finishing options: You can apply a high-quality exterior paint (using an alkyd-oil primer followed by two acrylic-latex topcoats) or a premium solid or semi-transparent stain. If you prefer a rustic look, raw cedar can last up to a century without paint, naturally weathering to a beautiful silver-gray patina over 1 to 2 years—though we still recommend applying a clear, water-repellent preservative to protect against UV damage.
- Seal every cut: Keep a small container of primer or stain on your cutting table. Every time you make a field cut, immediately brush finish onto the fresh cut end before nailing the board in place.
Common Installation Mistakes to Avoid
To ensure your siding lasts a lifetime, avoid these common pitfalls:
- Double Nailing: Nailing through the overlap of two boards restricts natural wood movement, leading to splits and warped siding.
- Overdriving Fasteners: Driving nails too deep crushes the wood fibers, creating a pocket that holds water and leads to localized rot. Set your nails flush with the surface of the wood.
- Inadequate Ground and Roof Clearance: Siding must maintain a minimum of 6 inches of clearance from ground level and a 2-inch gap from roofing shingles at roof intersections to prevent water from splashing back and saturating the wood.
- Skipping Acclimatization: Installing wet wood straight from the lumberyard leads to dramatic shrinkage, warping, and wide gaps at joints as the wood dries.
Frequently Asked Questions About Cedar Siding
How long does raw cedar clapboard siding last?
With proper installation, ventilation, and ground clearance, raw, unfinished Western Red Cedar clapboards can easily last 80 to 100 years. Cedar's natural preservative oils protect it from rot and pests, allowing it to slowly weather into a classic silver-gray patina.
Why must nails miss the underlying clapboard course?
Nails must miss the underlying board to allow the wood to expand and contract with seasonal humidity. If you drive a nail through both the top board and the thin upper edge of the board underneath, you "pin" both pieces in place. As the wood naturally moves, this tension will cause the boards to split and crack.
Can you install cedar siding directly over rigid foam sheathing?
No. Rigid foam sheathing has zero nail-holding power. If you are installing cedar over foam, you must use extra-long nails that penetrate a full 1 1/4 inches into the solid wood studs behind the foam, or install vertical wood furring strips over the foam (screwed directly into the studs) to act as a secure, ventilated nailing base.
Conclusion
A successful cedar clapboard siding installation requires patience, precision, and a deep respect for how natural wood behaves. By choosing high-quality kiln-dried cedar, managing moisture with a robust WRB and rainscreen, and using proper single-nailing techniques, you will protect your home with a stunning, high-performance exterior that stands the test of time.
While a DIY approach is rewarding, getting every flashing detail, layout calculation, and high-altitude cut perfect can be a daunting task. If you prefer to leave it to the professionals, we are here to help.
At HomeBuild Windows, Doors & Siding, we are a trusted, locally owned contractor with over 20 years of experience delivering premium exterior remodeling solutions across Chicago and the northwest suburbs. Every project we take on is owner-supervised, ensuring our rigorous standards of craftsmanship and customer care are met on every wall.
Our industry credentials speak for themselves:
- Elite Platinum Pella® Certified Contractor
- Andersen Certified Contractor
- Angi Super Service Award Winner
- Nextdoor Neighborhood Faves
- 200+ positive Google reviews
- Fully licensed and insured
We work with industry-leading brands like Pella, Marvin, and James Hardie to ensure your home benefits from the best in energy efficiency, durability, and curb appeal.
Ready to transform your home's exterior with gorgeous, expertly installed siding? Contact HomeBuild today for a free consultation. Let's build something beautiful together.