Seeing that fuzzy, dark stuff on your window sills? It’s a common problem, and it’s usually black mold. This guide is here to help you figure out what it is, why it’s there, and most importantly, how to get rid of it and stop it from coming back. We’ll cover everything from identifying the mold to giving your window sills a good deep clean. Let’s get those windows looking good and your home feeling healthier.
Key Takeaways
- Black mold on window sills often starts with condensation and poor airflow, creating a damp environment where mold can thrive.
- Identifying mold involves looking for dark, often slimy or fuzzy patches, and smelling a musty odor. It’s different from mildew, which is usually powdery.
- Cleaning black mold requires protective gear and specific cleaning solutions like vinegar or hydrogen peroxide. Always test in a small area first.
- After cleaning, thorough drying and proper disposal of contaminated materials are vital. Consider mold-resistant coatings for future prevention.
- Persistent or widespread mold issues, or signs of rot, might mean it’s time to call in the professionals or even consider replacing the windows.
Identifying Black Mold in Window Sills
Understanding Mold vs. Mildew
It’s easy to get mold and mildew mixed up, but they’re not quite the same thing. Mildew is a type of mold, but it’s usually the powdery, surface-level kind. Think of it like a thin, fuzzy coating that can be white, gray, or even a bit yellowish. It tends to grow on surfaces and doesn’t really dig in. You might see it on your window sills as a faint film that wipes away pretty easily, especially if it’s on materials like vinyl or aluminum. It feeds on dust and other organic bits that settle there.
Black mold, on the other hand, is often a more serious issue. It can be darker in color, sometimes black or dark green, and it might look a bit slimy or fuzzy. This type of mold can actually penetrate surfaces, causing damage to wood or paint over time. The key difference often comes down to appearance and how deeply it has affected the material. If you’re seeing black, slimy spots that seem to be part of the wood itself, you’re likely dealing with something more than just mildew.
Recognizing Mold on Different Sill Materials
What you’re looking for can change depending on what your window sills are made of.
- Wood or Painted Sills: These are prime real estate for fungi because the material itself is food. Mildew often appears as a powdery, dusty layer, especially in corners or behind curtains. If it’s been there a while, it might form splotchy patches. If you see black, slimy spots that seem to be eating into the wood, that’s a sign of more significant mold growth.
- Vinyl or Aluminum Sills: On these non-porous surfaces, mildew can’t feed on the material itself. Instead, it grows on the dust, pollen, and skin cells that land there. On white vinyl, it might just look like gray smudges or dirt in the tracks. On aluminum, it can appear as a light, chalky dusting, often where water tends to collect.
The Smell of Trouble: Musty Odors and Mold
Sometimes, your nose will tell you there’s a problem before your eyes do. A persistent musty smell around your windows is a big clue that mold or mildew might be present, even if you can’t see it clearly yet. This smell is often described as being like damp socks or wet soil. It’s the scent of mold spores releasing into the air. If you catch this odor, it’s a good idea to investigate the area more closely. This smell isn’t just unpleasant; it can also be a sign that moisture is trapped somewhere, creating a breeding ground for mold. Addressing the moisture source is key to getting rid of the smell and preventing future growth. Black mold on window sills should not be ignored, as the moisture that causes it can also attract pests. Addressing mold promptly is important for both your health and your home’s integrity.
Causes of Black Mold Growth on Windows
Black mold loves damp, dark places, and your window sills can unfortunately be a prime spot for it to set up shop. It’s not usually one single thing, but a combination of factors that create the perfect storm for mold.
Condensation: A Primary Culprit
This is probably the biggest reason mold shows up on window sills. Think about it: you’ve got warm, moist air inside your house meeting the cold glass of your window. That temperature difference causes water vapor to turn into liquid – condensation. This moisture then drips down onto the sill, and if it sits there for a while, mold can start to grow. It’s especially common in rooms that produce a lot of moisture, like bathrooms after a shower or kitchens when you’re cooking.
Poor Airflow and Trapped Moisture
Even if you don’t have a ton of condensation, mold can still find a way if the air in your home isn’t moving well. When air gets stagnant, especially around windows, any moisture that does build up can get trapped. This creates a humid little microclimate where mold spores, which are pretty much everywhere, can land and start to grow. Think about window areas that are often blocked by furniture or heavy curtains – that’s a recipe for trapped moisture.
Hidden Moisture Contributors in Your Home
Sometimes, the moisture isn’t just from condensation. Leaky window frames, poor sealing, or even water seeping in from outside can create hidden damp spots. If you have older windows that aren’t sealed well, rain or snowmelt can get in and sit in the frame or sill, providing a constant food source for mold. It’s like a slow leak that you might not even notice until the mold starts to appear. This is why keeping up with window maintenance is so important, not just for looks but for the health of your home. It’s not just about what you see on the surface; sometimes the problem is lurking just out of sight. This is why checking things like your home’s overall humidity levels, which you can do with a simple hygrometer, is a good idea. Keeping humidity below 50% is generally recommended to discourage mold growth. You might even find that improving your home’s ventilation, perhaps by using exhaust fans more consistently or even opening windows on dry days, makes a big difference. It’s all about managing that moisture. You wouldn’t want to find out about a problem through a bad review on Google My Business or a frustrated post on LinkedIn, so being proactive is key.
Steps for Removing Black Mold
Alright, so you’ve spotted that unwelcome fuzzy black stuff on your window sills. Don’t panic! Tackling mold is usually a manageable DIY job if it’s not too widespread. The key is to be prepared and work safely.
Gathering Essential Cleaning Supplies
Before you start scrubbing, make sure you have everything you need. This isn’t a job you want to interrupt halfway through. You’ll want:
- Protective Gear: This is non-negotiable. Grab some safety goggles to protect your eyes, sturdy gloves (nitrile are good for this), and an N-95 respirator mask to avoid breathing in spores. Mold can be a real irritant, and you don’t want to make yourself sick.
- Cleaning Solutions: We’ll get into the specifics next, but have your chosen cleaner ready. A spray bottle is handy for application.
- Scrubbing Tools: Soft cloths or sponges are best for wiping. Avoid anything too abrasive that could damage the sill material. You might also want an old toothbrush for getting into tight corners.
- Water Bucket: For rinsing cloths or diluting solutions.
- Drying Tools: Clean, dry towels are a must. A fan or dehumidifier will be super helpful later.
Choosing the Right Cleaning Solution
There are a few options for tackling mold, depending on how stubborn it is. For most situations, a gentler approach is best to start.
- Vinegar: Undiluted distilled white vinegar is a natural mold killer. Its acidity breaks down the mold. Just spray it on, let it sit for about an hour, and then wipe it away.
- Hydrogen Peroxide: A 3% solution of hydrogen peroxide (the kind you get at the drugstore) works well too. Spray it on, let it sit for about 10 minutes, and then scrub and wipe.
- Mild Detergent and Water: For very light cases, a simple solution of dish soap and water can sometimes do the trick. Scrub, rinse, and dry thoroughly.
For tougher spots, you might need something stronger, but always test in an inconspicuous area first.
The Application and Removal Process
Now for the actual cleaning. Take your time and be thorough.
- Ventilate: Open up those windows (if it’s not raining!) and turn on a fan to get some air moving. This helps disperse any airborne spores and dries things out faster.
- Apply Solution: Spray your chosen cleaning solution directly onto the moldy areas. Make sure to cover all the spots you see.
- Let it Sit: Give the solution time to work. For vinegar, an hour is good. For hydrogen peroxide, about 10 minutes is usually enough. This step is important so the cleaner can actually kill the mold, not just wipe away the surface.
- Wipe and Scrub: Use a damp cloth or sponge to gently wipe away the mold. For stubborn bits, use your old toothbrush or a slightly firmer scrub. Try to dab or lift the mold rather than spreading it around.
- Rinse: Wipe the area down with a clean, damp cloth to remove any cleaning solution residue. This is important because leftover cleaner can sometimes damage the sill material over time.
- Dry Thoroughly: This is a big one. Use dry towels to get the sill as dry as possible. Then, set up a fan to blow air across the area for several hours, or use a dehumidifier. You want to make sure all moisture is gone to prevent the mold from coming back. You might even consider replacing window glass if the moisture issue is severe and related to seal failure.
Remember, the goal is to remove the mold and then eliminate the moisture that allowed it to grow in the first place. If you skip the drying step, you’re just setting yourself up for round two.
Advanced Mold Remediation Techniques
Sometimes, the mold you find on your window sills is a bit more stubborn than usual. It might be deeply set into the material or just plain resistant to your initial cleaning efforts. When that happens, it’s time to bring out the heavy hitters. We’re talking about techniques that go beyond a simple wipe-down, aiming to really get to the root of the problem.
Deeper Cleaning for Stubborn Mold
For those really tough spots, you might need to step up your cleaning game. Instead of just a quick spray, let the solution work its magic for a longer period. For instance, a diluted white vinegar solution can be sprayed on and left for about an hour before scrubbing. This gives the vinegar time to break down the mold’s structure. If that’s not cutting it, a 3% hydrogen peroxide solution, or even a carefully mixed bleach solution (one part bleach to four parts water), can be more potent. Remember to always ventilate the area well when using stronger chemicals and never mix bleach with ammonia-based cleaners – that’s a recipe for dangerous fumes.
Ensuring Thorough Drying and Residue Removal
After you’ve scrubbed away the mold, the job isn’t quite done. It’s super important to make sure the area is completely dry. Any lingering moisture is an open invitation for mold to come back. Use clean cloths to dry everything thoroughly. Then, bring in a fan or a dehumidifier to get rid of any hidden dampness. You also need to rinse away any cleaning solution residue. Leftover chemicals can sometimes damage the window materials over time, so a good wipe-down with a damp cloth is a smart move.
Proper Disposal of Contaminated Materials
When you’re dealing with mold, especially if it’s extensive, you need to be careful about how you get rid of the stuff you used to clean it. Sponges, cloths, paper towels, and even gloves can become contaminated with mold spores. It’s best to put these items in a sealed plastic bag before throwing them away. This helps prevent the spores from spreading around your home or into the environment. If you had to remove any materials like drywall or insulation that were heavily contaminated, they should also be bagged and disposed of according to local regulations for moldy waste. It’s a small step, but it’s a big part of making sure the mold problem is truly solved.
Preventing Future Black Mold Infestations
So, you’ve dealt with the black mold on your window sills, and you’re probably wondering how to stop it from coming back. It’s a common problem, especially if your home has issues with moisture or airflow. The good news is, there are definitely things you can do to make your windows less inviting to mold.
Proactive Prevention Measures
Keeping mold at bay is mostly about controlling moisture and making sure air can move around freely. Think of it like this: mold needs damp, stagnant conditions to really thrive. So, if you can reduce the dampness and increase the air movement, you’re already winning.
- Wipe down condensation regularly: Don’t let water sit on your window sills. Keep a cloth handy and dry them off whenever you notice moisture. This is especially important in colder months when condensation is more common.
- Check for leaks: Regularly inspect around your windows, both inside and out. Look for any signs of water damage, cracks in the sealant, or drips that could indicate a leak. Fixing these early stops moisture from getting into places it shouldn’t.
- Use moisture absorbers: In areas that tend to stay damp, like basements or bathrooms near windows, consider using moisture absorbers or small dehumidifiers. These can really help keep humidity levels in check.
Maintaining Window Drainage Systems
Many windows have small channels or weep holes designed to let water drain away. If these get clogged with dirt, leaves, or debris, water can back up and sit around your window frame, creating a perfect spot for mold. It’s a simple step, but keeping these drainage paths clear is super important.
- Clear debris: Periodically check the bottom of your window frames and any visible drainage holes. Use a small brush or a toothpick to gently clear out any gunk you find.
- Inspect seals: Make sure the seals around your windows are intact. If they’re cracked or peeling, water can seep in, bypassing the drainage system.
The Role of Ventilation and Humidity Control
Good airflow is your best friend when it comes to preventing mold. Stale, humid air just hangs around, giving mold the perfect environment to grow. Opening windows, even for a short time each day, can make a big difference. If you have bathrooms or kitchens that get steamy, using exhaust fans is a must.
Controlling indoor humidity is key. Aim to keep it between 30-50%. Too high, and you invite mold; too low, and you might deal with dry skin and static electricity. Using a hygrometer can help you keep tabs on your home’s humidity levels. Adjusting your HVAC system or using a dehumidifier can help maintain this balance.
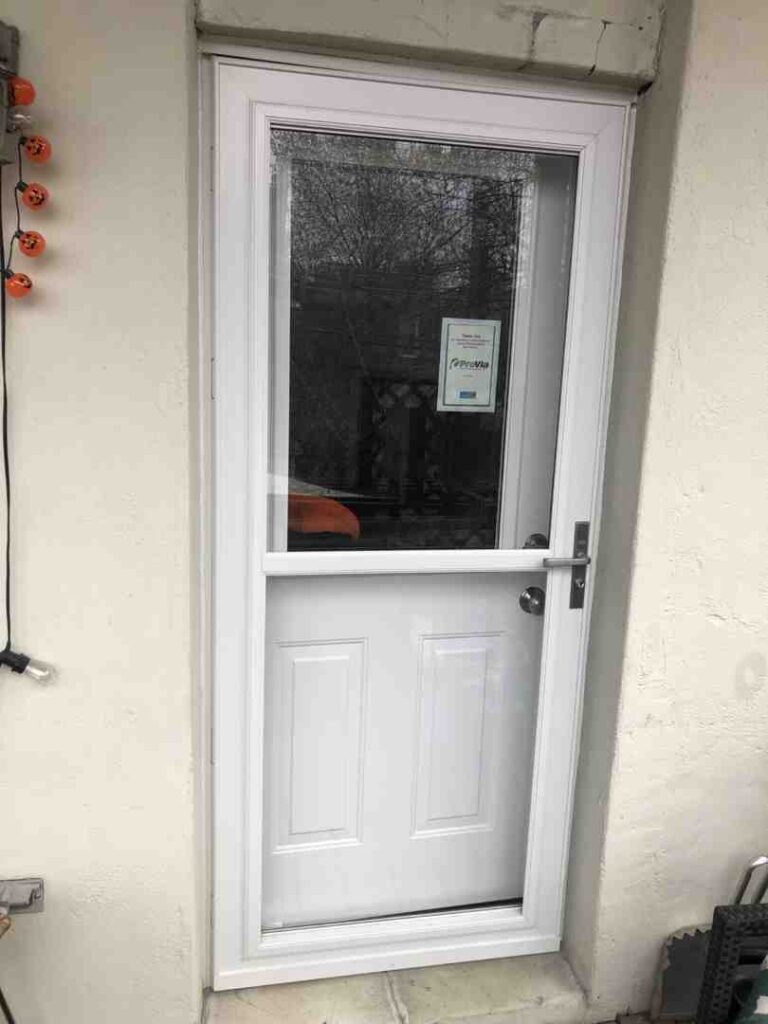
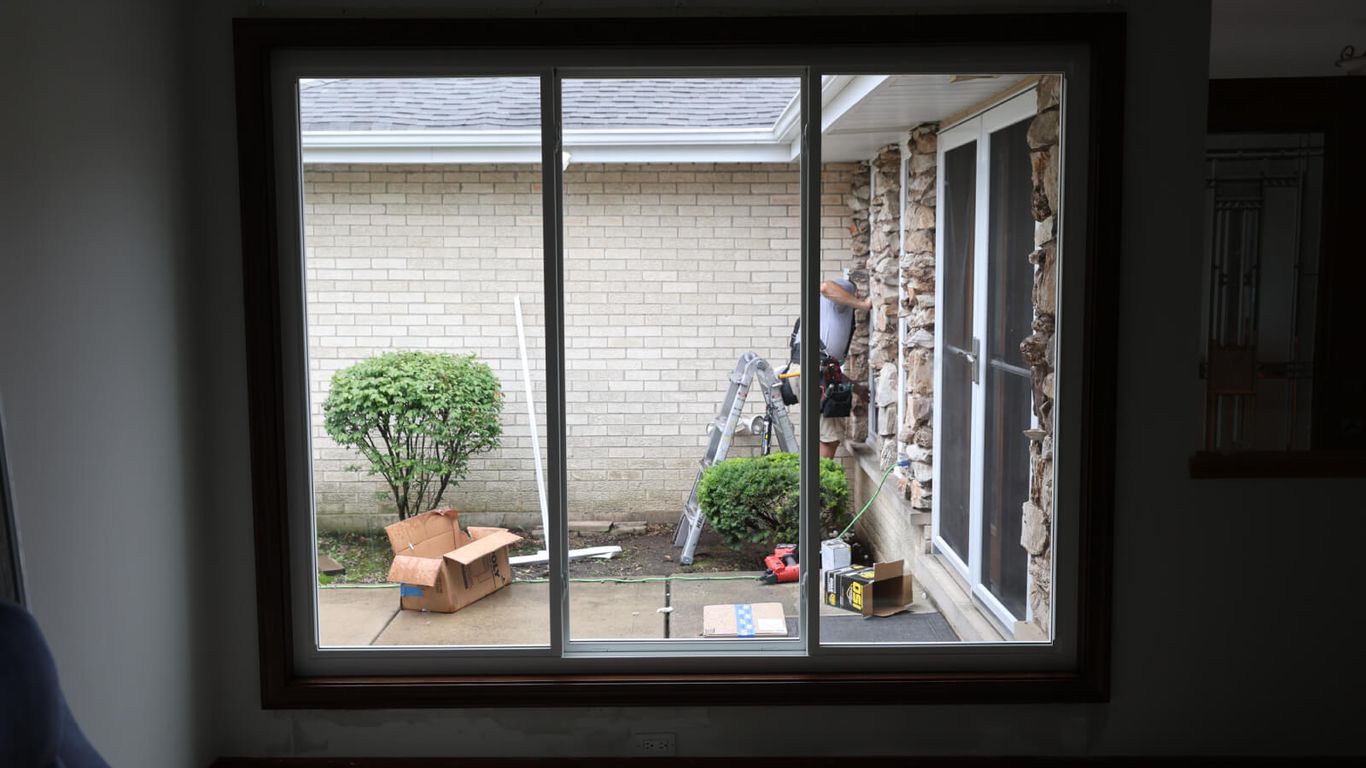
Sometimes, older windows just can’t keep up. If your windows are constantly covered in condensation, drafty, or showing signs of rot, it might be time to think about replacing them. Newer, energy-efficient windows are designed to minimize condensation and improve airflow, which can solve a lot of these recurring mold issues.
When to Seek Professional Help
Sometimes, the mold you see is just the tip of the iceberg. If you’re finding mold that keeps coming back, or if it’s spread across a large area, it might be time to call in the pros. Trying to tackle a big mold problem on your own can sometimes make things worse, spreading spores around your home and potentially causing more damage. It’s not just about looks; mold can affect your health, too. Things like persistent coughing, headaches, or even fatigue could be signs that mold is a bigger issue than you thought.
Signs of Extensive Mold Contamination
It’s easy to get overwhelmed when mold seems to be everywhere. Here are some signs that suggest you might need more than just a DIY cleaning session:
- Widespread Growth: If the mold covers more than a few square feet, or if it’s creeping up walls and across ceilings, it’s a serious sign.
- Structural Damage: Look for warped or soft wood around the window sills and frames. Bubbling or peeling paint can also indicate moisture getting trapped behind surfaces.
- Persistent Musty Odors: Even after cleaning, if that damp, musty smell lingers, mold is likely growing in hidden spots, like inside walls or under the sill.
- Recurring Mold: If you clean the mold, and it just keeps coming back, there’s probably an underlying moisture issue that needs professional attention.
Understanding Mold-Resistant Paints
While not a direct solution for existing mold, using mold-resistant paints can be a good preventative step after mold has been properly removed. These paints contain additives that inhibit mold and mildew growth on surfaces. They are particularly useful in areas prone to moisture, like bathrooms and kitchens, and can be applied to window frames and sills once they are clean and dry. However, it’s important to remember that these paints are a barrier, not a cure. They won’t stop mold if the underlying moisture problem isn’t addressed.
When Window Replacement is Necessary
Sometimes, the window itself is the source of the problem. If your windows are old, damaged, or not sealing properly, they can constantly let in moisture, creating the perfect environment for mold. You might need to consider replacing windows if you notice:
- Rotting Frames: Wood frames that are soft, spongy, or visibly decaying are a major red flag.
- Failed Seals: Condensation or fog between the panes of double- or triple-paned windows means the seal has broken, allowing moisture to enter.
- Drafts and Leaks: Windows that let in cold air or allow water to seep in around the edges are not only inefficient but also contribute to moisture problems.
- Difficulty Operating: Windows that are stuck, warped, or hard to open and close can indicate underlying structural issues caused by moisture.
If your windows are showing signs of significant wear and tear, or if they are contributing to ongoing moisture issues, it might be more cost-effective in the long run to invest in new, energy-efficient windows. Choosing reputable window installers is key to ensuring the job is done right and prevents future problems.
Dealing with mold can be stressful, and sometimes the problem is bigger than what you can handle with household cleaners. Recognizing when to call in experts is a sign of smart home maintenance, protecting both your home and your health.
If you’re unsure about your next steps or if the problem seems too big to handle alone, don’t hesitate to reach out. We’re here to help guide you through any challenges. Visit our website today to learn more about how we can assist you.
Wrapping Up: Keeping Those Sills Mold-Free
So, we’ve gone over why that fuzzy stuff shows up on your window sills and how to get rid of it. It’s not the most fun chore, for sure, but tackling it head-on makes a big difference for your home’s health and how it looks. Remember, keeping things dry and clean is the name of the game. A little regular upkeep goes a long way in stopping mold from coming back. If you’re finding mold is a constant battle, or if your windows just seem to be letting in more drafts than anything, it might be time to think about whether new windows are in your future. Sometimes, a fresh start with better windows is the easiest way to solve these nagging moisture problems for good.
Frequently Asked Questions
How can I tell if the spot on my window sill is mold or just dirt?
Mold often has a fuzzy or slimy look and can be black, green, or even white. It might also have a musty smell. Dirt is usually just grimy and doesn’t have a distinct odor. If you’re unsure, it’s best to treat it as mold to be safe.
Is black mold dangerous to my health?
Yes, black mold can be harmful. Breathing in mold spores can cause allergy symptoms like sneezing, coughing, and a runny nose. For people with asthma or weak immune systems, it can cause more serious breathing problems. It’s important to remove mold promptly and address the moisture causing it.
What’s the best way to clean mold off my window sills?
For mild cases, a mix of equal parts white vinegar and water works well. For tougher spots, you can use a solution of 3% hydrogen peroxide or a store-bought mold remover. Always wear gloves and eye protection, spray the solution, let it sit for about 10 minutes, then scrub gently with a cloth or soft brush. Rinse and dry thoroughly.
Why does mold keep coming back on my window sills?
Mold grows where there’s moisture. If it keeps coming back, it means the underlying moisture problem hasn’t been fixed. This could be from too much condensation, poor airflow around the window, or a leak. You need to find and fix the source of the moisture to stop mold for good.
Can I paint over mold to hide it?
No, you should never paint over mold. Painting over it won’t kill the mold, and it will likely continue to grow underneath the paint, potentially causing damage. Always clean the mold completely before painting, and consider using a mold-resistant primer and paint for extra protection.
When should I call a professional for mold removal?
If the mold covers a large area (more than about 10 square feet), if you suspect mold is inside your walls, or if you or your family members have health issues that might be worsened by mold exposure, it’s best to call a professional mold remediation specialist.