


Evaluating Your Patio Door: Repair vs. Replacement Signs
Before tearing out an entire entryway, every homeowner should evaluate whether a targeted fix is sufficient or if total frame removal is necessary. Patio doors endure continuous daily traffic and harsh weather, leading to predictable mechanical and thermal wear over time.
Identifying Drafts, Moisture Damage, and Operational Wear
Diagnosing performance issues early protects structural framing from rot and reduces heating or cooling loss. You can easily test your door’s thermal seal using simple diagnostic methods:
- Smoke Pencil or Incense Test: Hold a smoke pencil or lit incense stick along the perimeter where the door panel meets the frame. If the smoke bends inward or outward, conditioned air is actively escaping.
- The Dollar-Bill Test: Close the patio door on a dollar bill along the latching edge. If you can pull the bill out effortlessly without resistance, your weatherstripping has lost compression and requires replacement.
- Visual Moisture Checks: Look for cloudiness or droplets between double-pane glass. Fogging inside an Insulated Glass Unit (IGU) means the dual-seal system has failed. Insulated glass units typically last 10 to 20 years before seal failure occurs.
- Frame and Threshold Inspection: Inspect the lower corners of the jamb and wood subfloor. Soft spots, dark staining, or peeling paint signal active water leaks caused by clogged weep holes or failed threshold flashing.
Evaluating Repairability Against Full Unit Upgrades
Minor hardware failures do not always warrant full door removal. Broken handles, misaligned latch strikes, or noisy rollers can often be addressed individually. For instance, if your locking mechanism fails while the frame and glass remain sound, review our DIY Guide to Replacing Your Sliding Patio Door Handle and Lock to restore security without replacing the entire assembly. Similarly, replacing worn bottom rollers or clean-scraping debris from sliding tracks can restore smooth operation.
However, mechanical repairs cannot solve systemic energy loss or structural decay. Complete replacement is required when:
- The subfloor or side studs exhibit structural wood rot from long-term drainage failures.
- Frame rails are visibly bowed, warped, or split beyond plumb adjustment.
- Single-pane glass yields excessive cold radiant drafts during Chicagoland winters.
- The unit is older than 20 to 30 years—the typical lifespan of vinyl frames—and lacks modern thermal breaks and Low-E glass technology.
Selecting Door Styles, Frame Materials, and Glazing Options
Selecting the right replacement door involves balancing interior layout requirements, visual aesthetics, and thermal protection against climate extremes.
Comparing Sliding, French, Hinged, and Bi-Fold Configurations
Each door style satisfies distinct spatial and Architectural demands:
- Sliding Patio Doors: Excellent for space efficiency because panels slide parallel along horizontal tracks without encroaching on interior living space or patio furniture. Standard openings run 5, 6, or 8 feet wide. If you are converting a standard entry point, consult The Ultimate Guide to Replacing a Door with a Sliding Door.
- French and Hinged Doors: Offer classic architectural lines and wide clear openings when both doors swing open. Inswing models require clear interior floor space, while outswing models free up interior area but require exterior clearance. Learn more about structural prep in our guide to Patio French Door Installation.
- Bi-Fold Glass Wall Systems: Accordion-style panel systems fold back against exterior walls to create broad indoor-outdoor living transitions. These require reinforced overhead header framing due to higher top-hung weight loads.
Material Selection: Vinyl, Fiberglass, Wood, and Aluminum
Frame material directly impacts long-term structural stability, maintenance demands, and resistance to Midwest freeze-thaw cycles:
- Vinyl: Popular, highly weather-resistant, and low-maintenance. Vinyl frames do not require painting and incorporate multi-chambered extrusions that trap dead air to enhance insulation.
- Fiberglass: Extremely strong and dimensionally stable. Fiberglass frames expand and contract at nearly the same rate as window glass, preventing seal failure caused by drastic temperature shifts.
- Wood-Clad: Features real natural wood interiors for warmth and high aesthetics, protected by tough exterior aluminum cladding to withstand rain and snow.
- Thermally Broken Aluminum: Modern aluminum frames utilize an interior polyamide thermal strip to block heat transfer. Uninsulated aluminum should be avoided in Northern climates due to condensation and frost buildup.
When selecting glass, always opt for double- or triple-pane units equipped with Low-E (low-emissivity) coatings and argon gas fills. These features help reflect winter radiant heat back into your home while blocking summer heat gains.
Prep Work: Measuring, Sizing, and Code Compliance
Accurate site evaluation guarantees that your new patio door sets squarely into the building envelope without unexpected framing delays.
Measuring Rough Openings Before Replacing Patio Door Frames
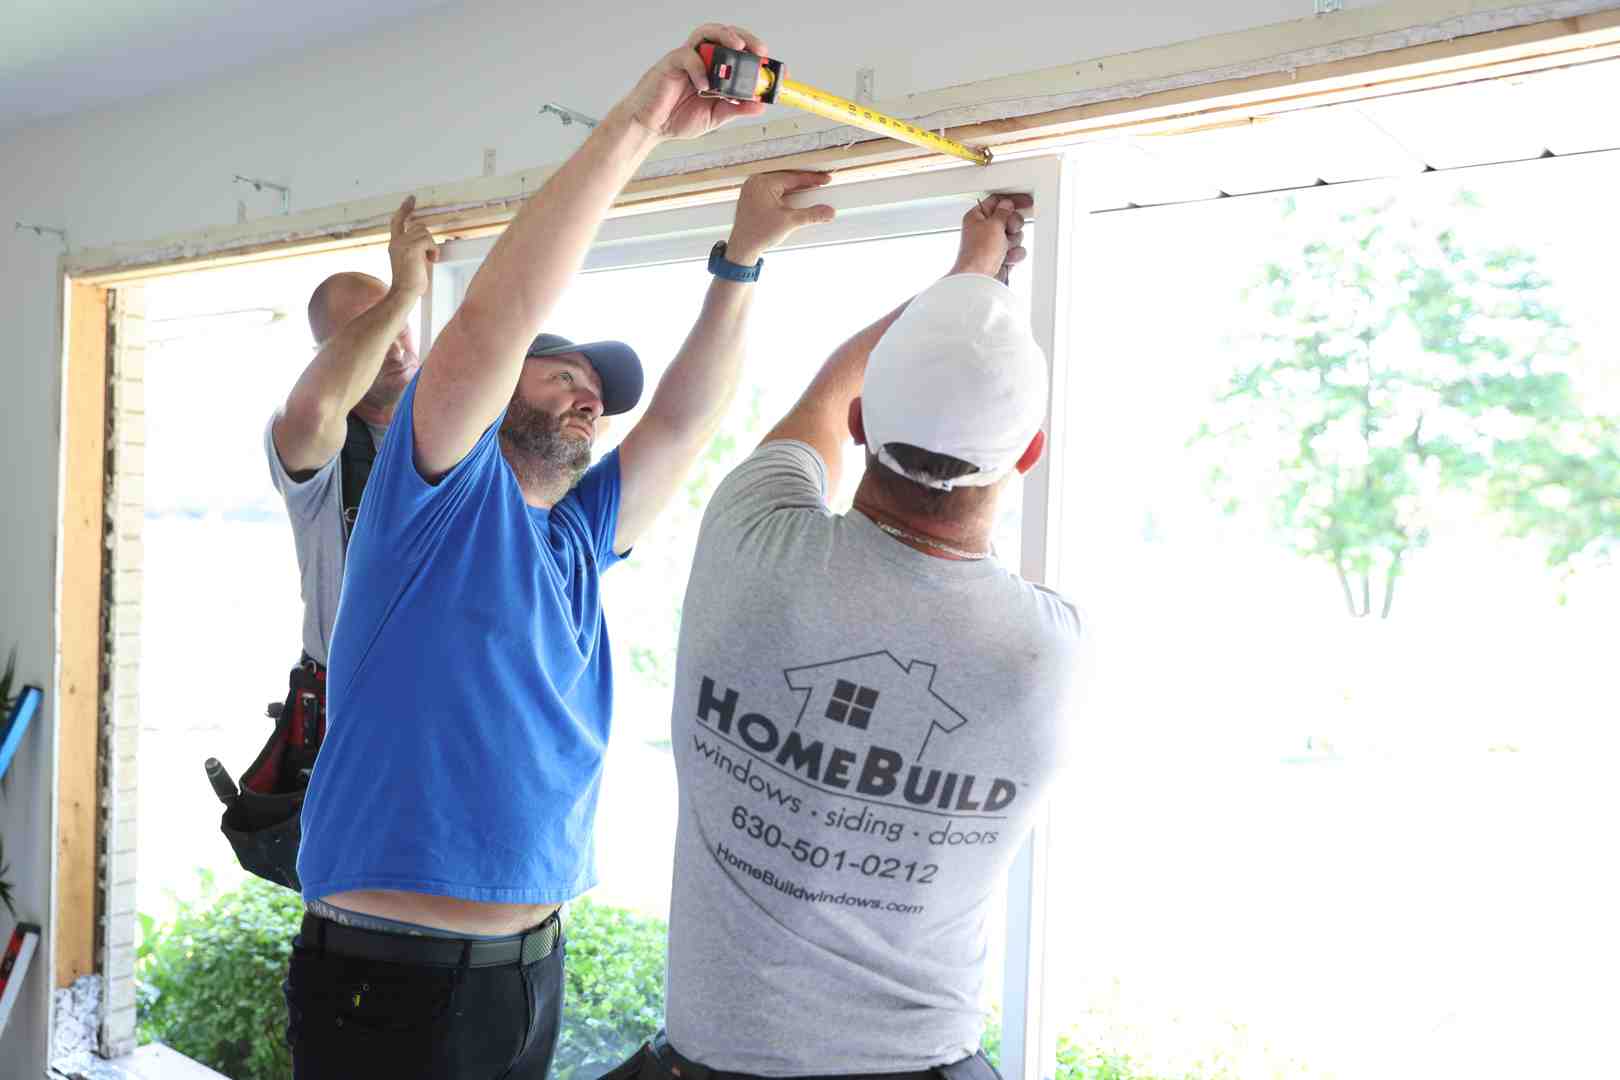
Never order a replacement door based solely on the dimensions of the old movable panel. Always measure the structural frame opening:
- Expose the Rough Framing: Carefully pry off interior casing trim and drywall edge strips to reveal the structural wood studs and header.
- Measure Width: Take horizontal measurements across the opening at three points: top, middle, and bottom (from stud to stud). Record the smallest dimension.
- Measure Height: Take vertical measurements from the structural subfloor (plywood or concrete, not floor underlayment or finish flooring) up to the bottom of the header beam at three points. Record the smallest dimension.
- Check Diagonal Squareness: Measure diagonally from top-left to bottom-right, then top-right to bottom-left. Equal measurements indicate a square frame opening.
- Account for Shim Space: Subtract 1/2 inch from the total width and 1/2 inch from total height (allowing 1/4 inch shim space per side) to determine the net door frame size to order.
Choosing Between Retrofit Inserts and Full-Frame Installation
- Retrofit Replacement: Involves installing a new door frame inside the existing outer frame jambs. While faster, retrofits decrease clear opening width and height, and they fail to address underlying subfloor water rot.
- Full-Frame Replacement: Involves complete teardown down to raw wall studs and subfloor. This method is strongly recommended because it allows installers to rebuild rotten subfloors, install a modern sill pan, and create a continuous weather-tight seal. For a deeper breakdown of structural tear-outs, read our Step-by-Step French Door Replacement Guide.
Step-by-Step Instructions for Replacing Patio Door Assemblies
Replacing patio door frames demands careful preparation, proper tools, and safe handling of heavy materials.
Tools and Materials Checklist
- Reciprocating saw with demolition blades
- Pry bar and claw hammer
- 4-foot spirit level and torpedo level
- Cordless drill/driver and 3-inch exterior wood screws
- Self-adhering flashing tape (6-inch width)
- Pre-formed PVC sill pan with PVC solvent cement
- Non-expanding polyurethane window and door foam
- High-grade exterior silicone caulk
- Composite shims and wood block supports
Removing Old Glass Panels and Framing Assemblies
- Remove the Sliding Panel: Lower the bottom roller adjustment screws on the active panel to retract wheels inside the frame. Unscrew top security stops or interior head stops, tilt the top of the panel inward, and lift the 60- to 100-pound glass door off its bottom track.
- Remove the Stationary Panel: Locate and remove the metal retaining brackets, side jamb screws, or center mullion clips holding the fixed panel. Cut away interior sealant with a utility knife and slide the panel out. For detailed panel disassembly reference, see manufacturer guidelines like the Andersen 200 Series Stationary Panel Guide.
- Tear Out Old Framing: Remove exterior trim or brick mold. Cut through original frame anchor nails and shims around the perimeter using a reciprocating saw. Pry the old frame jambs and threshold clear of the opening. Clean away debris and scrape old caulking down to raw subfloor wood.
Flashing, Sill Pan Waterproofing, and Thermal Insulation
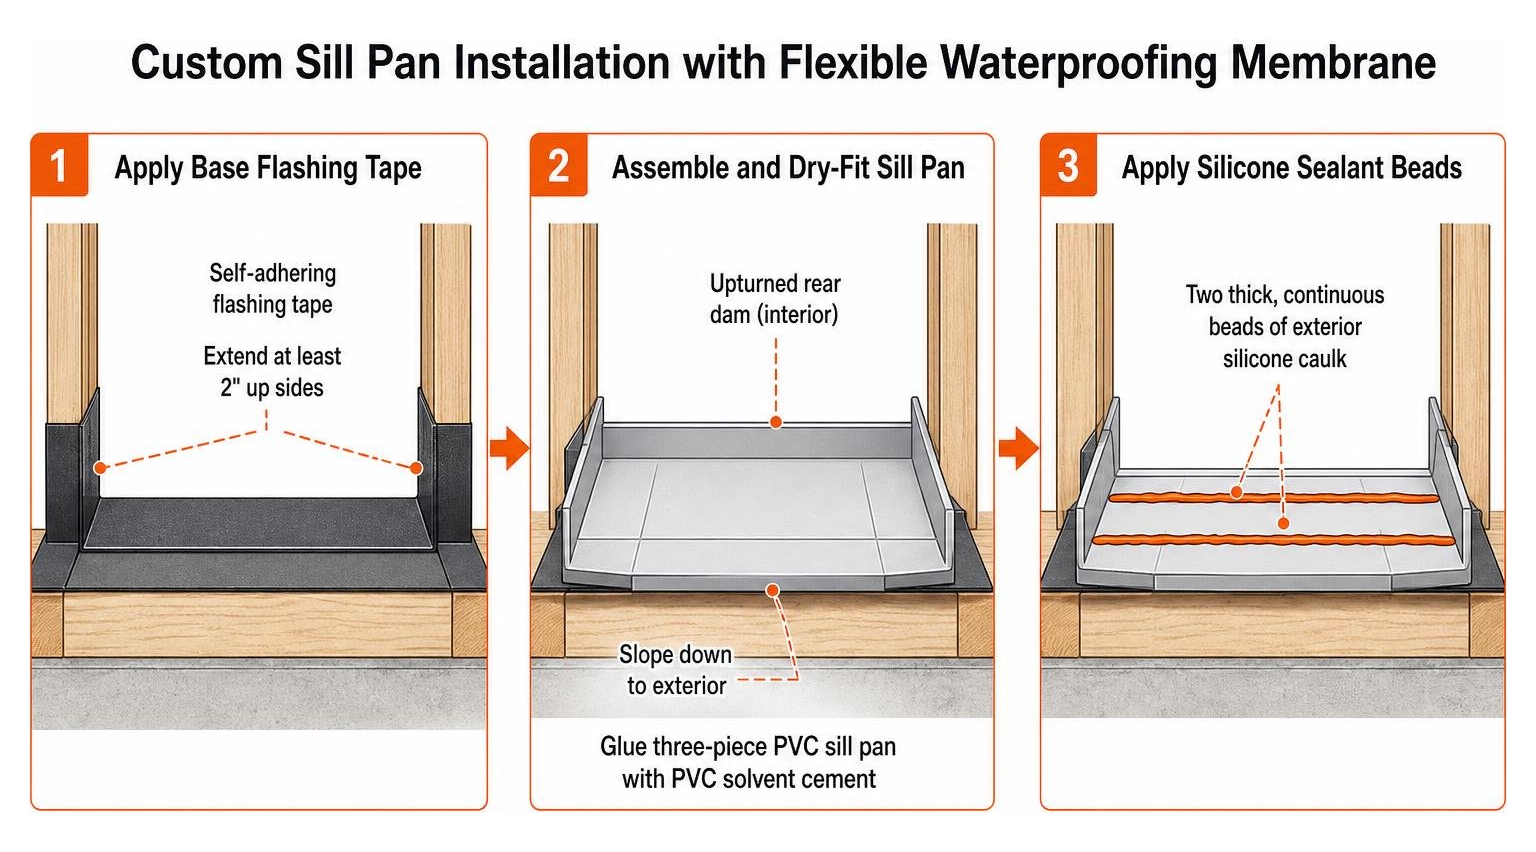
Water management is the most critical phase of replacing patio door frames. Never rely on caulk alone to block liquid intrusion.
- Apply Base Flashing Tape: Cover the wooden subfloor threshold with flexible self-adhering flashing tape. Extend the tape continuous across the bottom and wrap it at least 2 inches up the vertical side studs.
- Assemble and Dry-Fit Sill Pan: Set a manufactured PVC sill pan over the flashed threshold. Glue the three-piece pan together using PVC solvent cement. Ensure the rear interior leg forms an upturned dam and the outer edge slopes downward toward the exterior.
- Apply Silicone Sealant Beads: Lay two thick, continuous beads of exterior silicone caulk along the bottom of the sill pan where the new door threshold will sit.
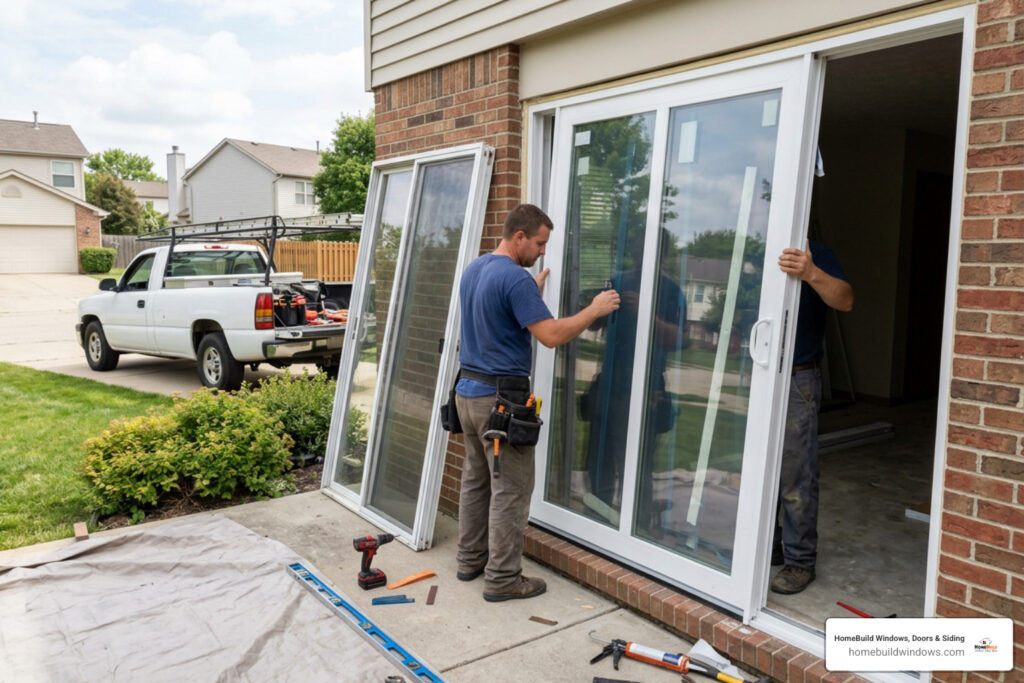
- Set Frame Unit: With two people holding the weight (total assembly weighs 150 to 300 lbs), lift the new frame, tilt the bottom into the opening first onto the sill pan, and tip the top into vertical alignment. Refer to this walkthrough on How to Replace a Patio Door (DIY) by Family Handyman for primary dry-fitting techniques. Additional detailed steps are outlined in Quoteroot’s Guide to Replacing a Sliding Glass Patio Door.
Shimming, Squaring, and Adjusting Door Rollers
- Shim Side Jambs: Place pairs of composite shims behind factory screw holes near top, middle, and bottom locations on both side jambs. Drive shims from both interior and exterior sides to avoid twisting jamb material.
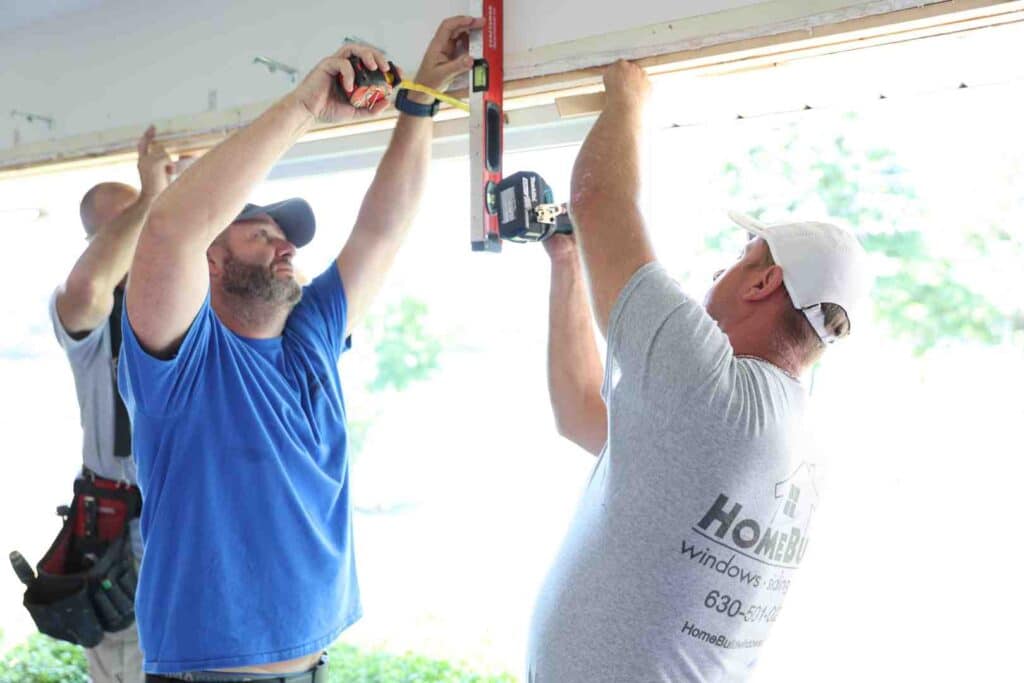
- Plumb and Level Frame: Check side jambs with a 4-foot level for plumb, and verify header and threshold level. Measure diagonals corner-to-corner until dimensions are perfectly equal.
- Fasten Frame: Secure side jambs through shims into wall studs using 3-inch exterior structural wood screws. Drive fasteners firmly, but do not overtighten, which causes frame bowing. Review step-by-step frame leveling in our article on Sliding Patio Door Installation.
- Install Panels and Adjust Rollers: Lift stationary and sliding panels into tracks. Locate roller adjustment access holes near the bottom edge corners of the sliding door. Use a screwdriver to turn adjustment screws clockwise to raise panel height until reveal gaps between panel edge and frame jamb are perfectly uniform top to bottom.
Ensuring Quality: Mistakes, Vetting, and Maintenance
Executing a successful installation requires adhering to strict weatherization techniques and avoiding standard structural traps.
Professional vs DIY Considerations for Replacing Patio Door Units
While intermediate DIYers can attempt replacing patio door units, complete installations involve heavy physical lifting, precision squaring, and strict building envelope sealing. A single mistake during threshold flashing can lead to undetected interior wall rot.
Improper installation can reduce overall home energy system efficiency by up to 30 percent. Hiring certified specialists eliminates performance risks and provides long-term warranty protection. When choosing a qualified crew, review our resource on The Easiest Way to Find Patio Door Installers.
Avoiding Common Mistakes and Maintaining Door Lifespan
Avoid these common installation errors to maximize performance:
- Using High-Expansion Spray Foam: Standard expanding foam exerts extreme pressure as it cures, bowing vinyl and aluminum frames outward and jamming sliding panels. Always use closed-cell, low-expansion window and door foam.
- Omission of Threshold Support Blocks: If outer threshold overhangs subfloor, install a solid composite support block underneath. Without solid bottom support, stepping on the threshold flexes bottom frame welds, breaking silicone seals.
- Sealing Drain Weep Holes: Never caulk over exterior weep holes at the outer bottom frame edge; doing so traps captured rainwater inside the frame track.
- Seasonal Maintenance: Clean lower tracks twice yearly using vacuum brushes and damp sponges. Lubricate metal rollers using dry silicone spray (avoid thick grease that attracts dirt). Inspect exterior caulking beads every fall before Midwest cold weather settles in. For additional quick operational tips, reference MAWEB’s Quick Guide to Replacing a Patio Door.
Frequently Asked Questions About Replacing Patio Doors
How long does it take to replace an existing patio door?
A standard like-for-like patio door replacement completed by an experienced team takes approximately one full working day (6 to 8 hours). This timeframe includes removing old materials, repairing subfloor surfaces, setting new sill pan flashing, squaring the frame, installing glass, and applying exterior caulking and trim.
Do replacement patio doors require special safety glass?
Yes. International and local building codes strictly mandate tempered safety glass (toughened glass) for all glass panels installed within patio door frames. Tempered glass undergoes rapid heat treatment; if broken, it crumbles into small blunt pieces rather than sharp, dangerous shards.
How do I prevent water from leaking under my patio door threshold?
Waterproofing success depends on layered drainage design:
- Install a continuous, sloped PVC sill pan beneath the entire threshold.
- Flash wall studs and subfloors using self-adhering flashing tape in a shingle-lap overlap style.
- Apply double continuous beads of exterior silicone sealant along threshold contact points.
- Keep exterior weep holes clean so wind-driven rain drains freely back to the exterior.
Conclusion
Replacing a patio door transforms your home by eliminating energy-draining drafts, boosting thermal efficiency, preventing structural rot, and elevating interior comfort and curb appeal. By choosing durable materials engineered to handle local Midwest freeze-thaw shifts and utilizing correct shingle-lapped flashing methods, you create a seamless barrier that protects your home for decades.
At HomeBuild Windows, Doors & Siding, we bring over 20 years of experience serving homeowners across Chicago and surrounding northwest suburbs—including Arlington Heights, Glenview, Palatine, Schaumburg, and Des Plaines. Every project we undertake is owner-supervised to guarantee precision craftsmanship and total accountability from start to finish.
As an Elite Platinum Pella® Certified Contractor and Andersen Certified Contractor, backed by an Angi Super Service Award, Nextdoor Neighborhood Faves recognition, and over 200 positive Google reviews, our licensed and insured team delivers unmatched quality.
Ready to upgrade your home’s efficiency and comfort? Explore our full range of professional solutions on our Professional Window and Door Replacement Services page and contact us today to schedule your consultation!