


Is Replacing a Door with a Sliding Door the Right Move for Your Home?
Replacing a door with a sliding door is one of the most impactful upgrades you can make to a Chicago-area home — and it’s more achievable than most homeowners expect.
Here’s what the process involves at a glance:
- Measure the rough opening — width, height, and diagonal to confirm it’s square
- Check for structural issues — inspect the header, framing, and subfloor for damage or load-bearing concerns
- Choose your door — sliding glass doors come in vinyl, fiberglass, aluminum, and wood frames
- Waterproof the sill — install a sill pan and flashing tape before the new door goes in
- Set, shim, and secure the frame — level and plumb the unit, then fasten and insulate
- Seal and finish — apply low-expansion foam, exterior caulk, and interior trim
Whether you’re swapping out old French doors for a sleek slider, or converting a hinged entry into a space-saving patio door, the decision affects your home’s energy efficiency, security, natural light, and interior layout for decades to come. In fact, 70% of homeowners say access to natural light through patio doors is a top contributor to their sense of well-being at home.
For Chicago homeowners especially, the choice matters. Midwest winters are unforgiving, and an improperly installed door can leak conditioned air at roughly the same rate as leaving a window open an inch — year-round.
I’m Steve Mlynek, CEO and founder of HomeBuild Windows, Doors & Siding, with over 20 years of experience helping Chicago-area homeowners navigate exactly this kind of project — from simple sliding door swaps to full structural conversions. In that time, I’ve seen how replacing a door with a sliding door can transform both the comfort and the look of a home when it’s done right. Let’s walk through everything you need to know.
Discover more about replacing a door with a sliding door:
Sliding Doors vs. French Doors: Choosing the Right Fit
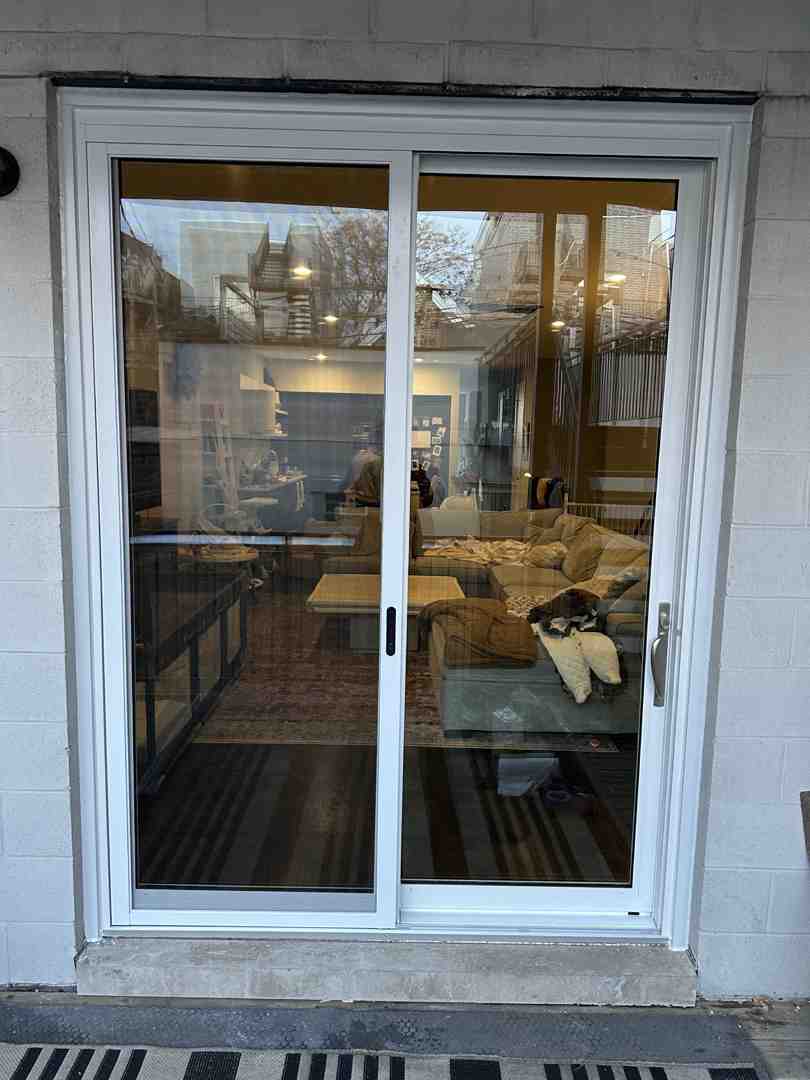
When upgrading your backyard access, the two heavyweight contenders are sliding patio doors and traditional French doors. Both styles bring generous amounts of natural light into your living space, but they operate on completely different principles.
To help you decide which configuration aligns with your daily habits and home design, you can read more about patio French door installation or explore our guide on sliding patio door installation.
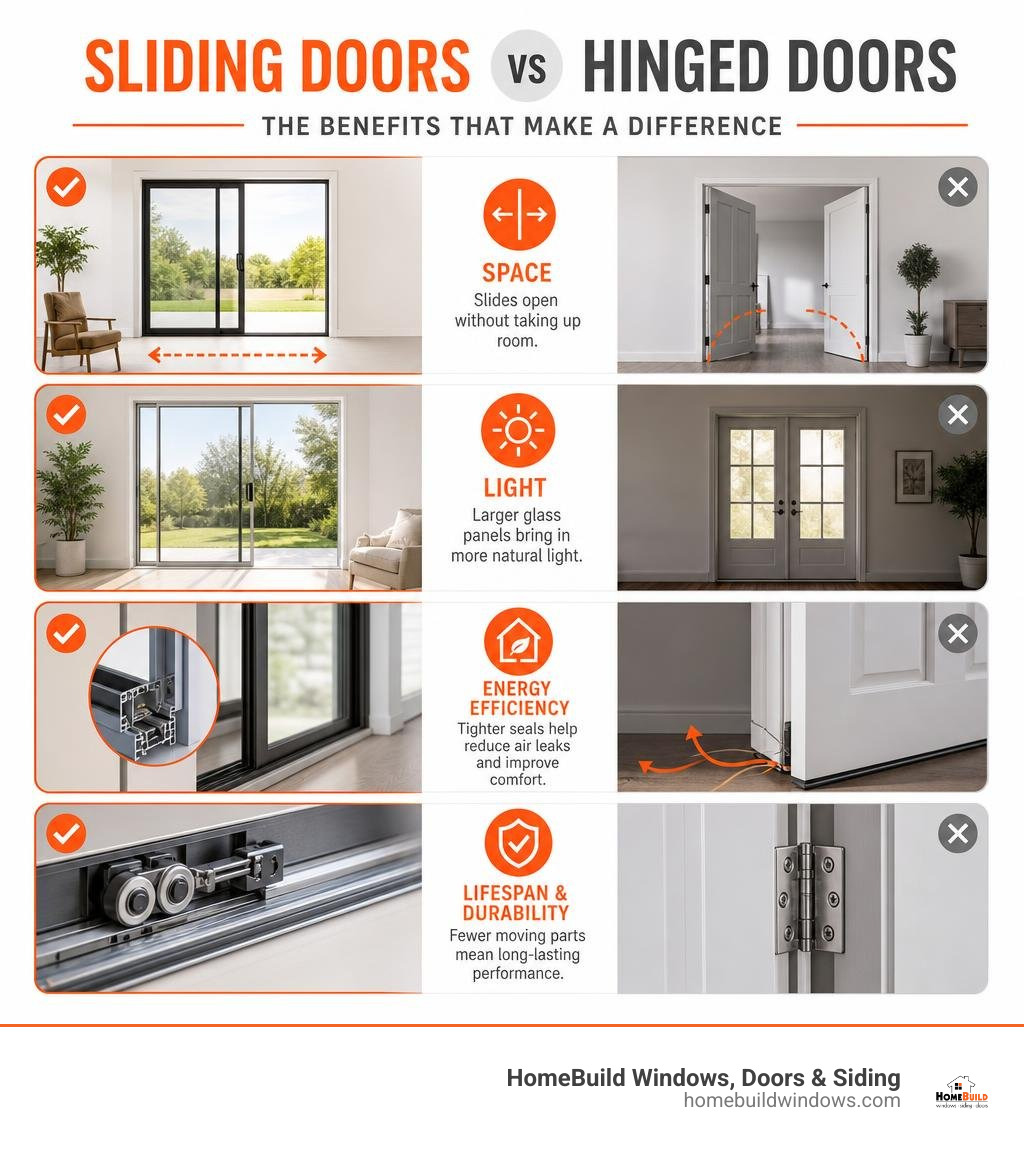
Space Efficiency and Swing Clearance
The most immediate difference is how these doors interact with your floor plan. French doors are hinged on the sides and swing either inward (inswing) or outward (outswing). This classic design requires a clear “swing zone” of 30 to 36 inches. If you have a tight living room layout, nearby furniture, or a narrow deck, that swing path can severely restrict where you place your sofas, tables, or outdoor planters.
Sliding patio doors, on the other hand, operate entirely within their own track. The operable panel slides horizontally over a fixed panel, requiring zero clearance. This space-saving design is a game-changer for smaller rooms or busy transition areas, allowing you to maximize every square inch of your indoor and outdoor living spaces.
Energy Efficiency and Weather Protection
In the Chicago area, seasonal weather changes can be brutal. Our homes must withstand freezing winter winds and humid summer heat waves.
Modern sliding glass doors are engineered to handle these temperature swings. Manufacturers utilize multi-chambered frames, heavy-duty weatherstripping, and advanced glass packages to keep the elements out. When choosing a door, look for units featuring double or triple-pane glass, argon gas fills, and Low-E coatings.
While French doors seal tightly when closed, they naturally have more seams where air leakage can occur if the panels misalign over time. High-quality sliding doors from trusted brands like Pella and Andersen provide robust, continuous thermal barriers that keep your home cozy and comfortable all year.
Planning for Replacing a Door with a Sliding Door
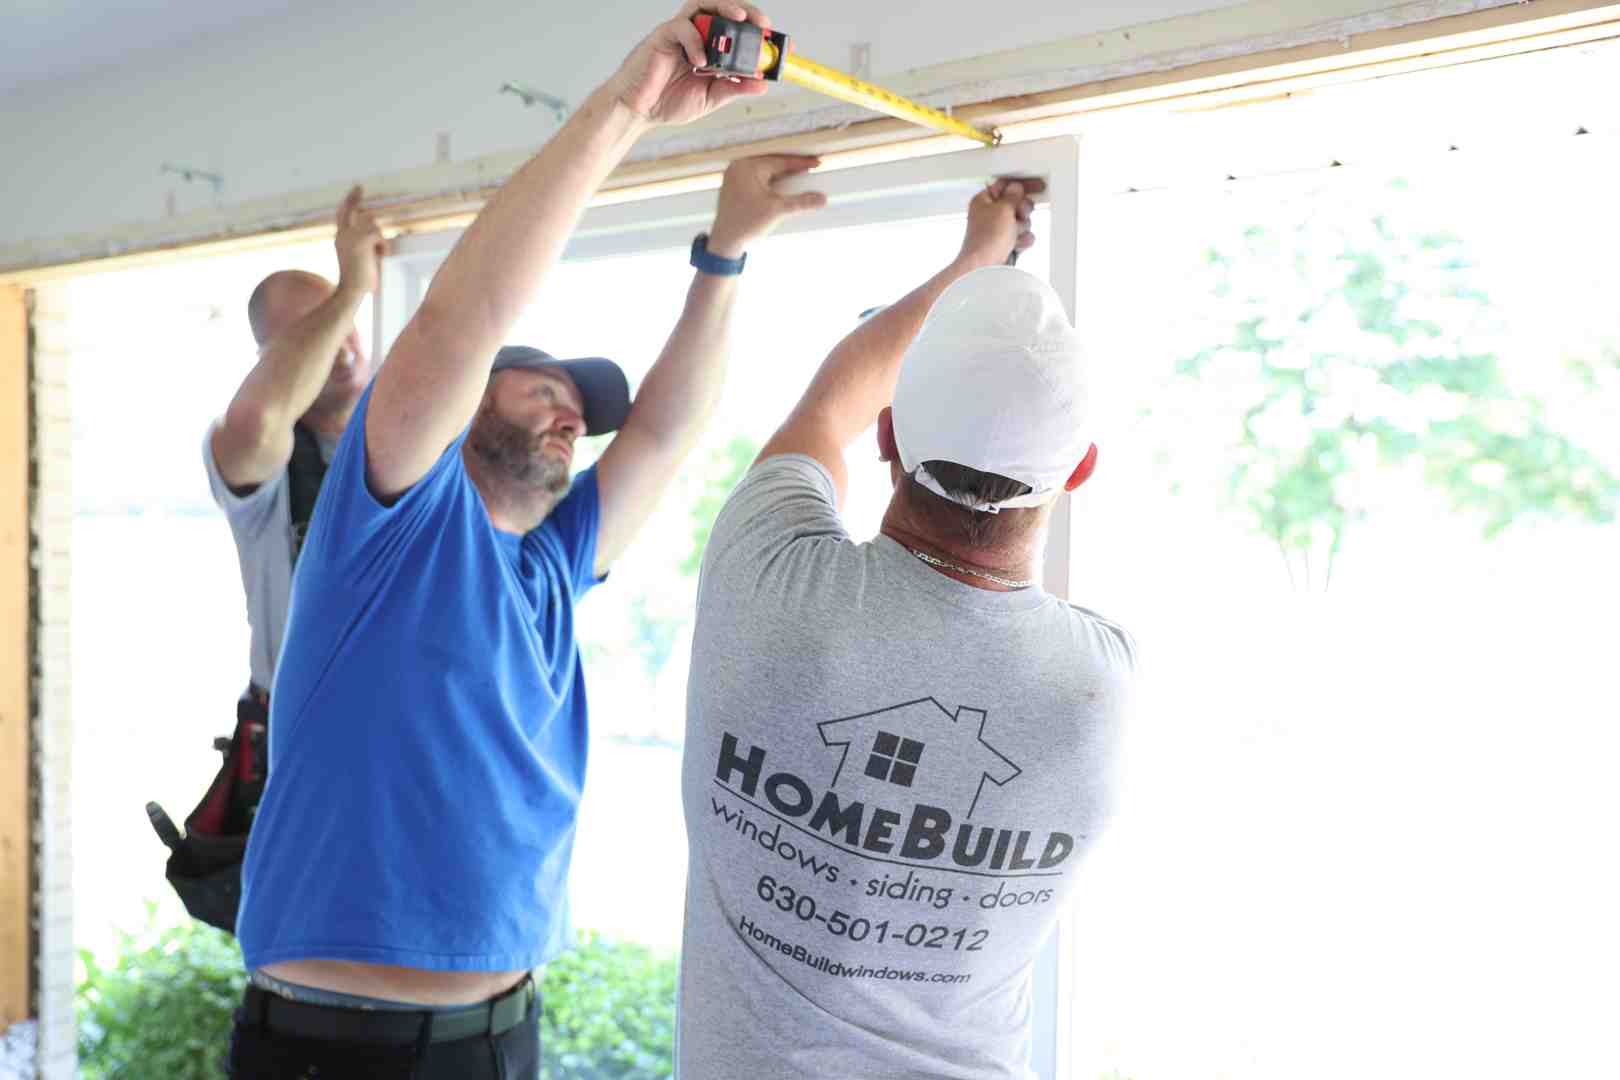
Converting your home’s entryway is more than just a quick cosmetic swap; it requires careful planning and structural awareness. If you are curious about the mechanics of switching between door styles, you can learn more about how to convert a sliding door to a hinged door.
Structural Considerations When Replacing a Door with a Sliding Door
Before ordering your new door, you must evaluate the wall structure. Standard sliding doors are typically sold in widths of 5, 6, or 8 feet. If you are replacing a single hinged door, you will need to widen the existing rough opening.
Because exterior walls are almost always load-bearing, widening the opening means you must install a larger structural header to support the weight of the roof and floor above. Modifying a load-bearing wall is a precise task that must comply with local building codes. In Chicago and its suburbs, ensuring structural integrity is vital to prevent sagging ceilings, cracked drywall, and sticking doors.
Measuring the Rough Opening Accurately
To ensure a smooth installation, you must measure the rough opening (RO) down to the fraction of an inch. Do not simply measure the existing door frame. To get a true reading, you need to remove the interior trim and casing to expose the structural wood studs.
Follow this step-by-step measurement framework:
- Measure the Width: Take three horizontal measurements between the jack studs—one at the top, one at the middle, and one at the bottom. Record the smallest number.
- Measure the Height: Take three vertical measurements from the subfloor (not the finished flooring) to the underside of the header—one on the left, one in the middle, and one on the right. Record the smallest number.
- Check for Square: Measure diagonally from the top-left corner to the bottom-right, and from the top-right to the bottom-left. If the two diagonal measurements are within 1/8-inch of each other, the opening is square.
- Check Level and Plumb: Use a long level to verify that the sill plate is perfectly level and the side studs are vertical.
The rough opening for your new sliding door should ideally be 1/2-inch wider and 1/2-inch taller than the door unit itself. This gap provides the necessary wiggle room to shim, level, and plumb the frame during installation. For a deeper dive into preparation, read our new exterior door installation complete guide.
Essential Tools and Materials for Installation
Replacing a door with a sliding door requires a specific set of tools and high-grade materials to ensure structural stability and weather resistance. For a detailed breakdown of the removal and installation phases, you can consult this guide on how to replace a sliding glass patio door.
Before starting, gather the following essential tools and materials:
- Tools: Tape measure, 4-foot level, hammer, pry bar, reciprocating saw, cordless drill, caulking gun, utility knife, and wooden shims.
- Fasteners: 3-inch exterior-grade structural screws or 10d finishing nails.
- Insulation: Low-expansion polyurethane foam (specifically formulated for windows and doors to prevent frame bowing).
- Sealing and Waterproofing: Sloped sill pan, self-adhering flashing tape, and high-performance exterior polyurethane sealant.
Waterproofing and Moisture Management
In the Midwest, moisture is the ultimate enemy of home framing. Water that seeps under a door sill can quickly rot out the subfloor and joists, leading to structural failures.
To prevent this, you must install a sloped sill pan at the bottom of the rough opening. A sill pan acts as a protective gutter that redirects any water that bypasses the door’s seals back to the exterior.
Once the sill pan is in place, apply self-adhering flashing tape over the pan and up the sides of the jack studs in a shingle-lap fashion. This creates an uninterrupted water barrier that protects your home’s framing from wind-driven rain and melting snow.
The Installation Process: Step-by-Step
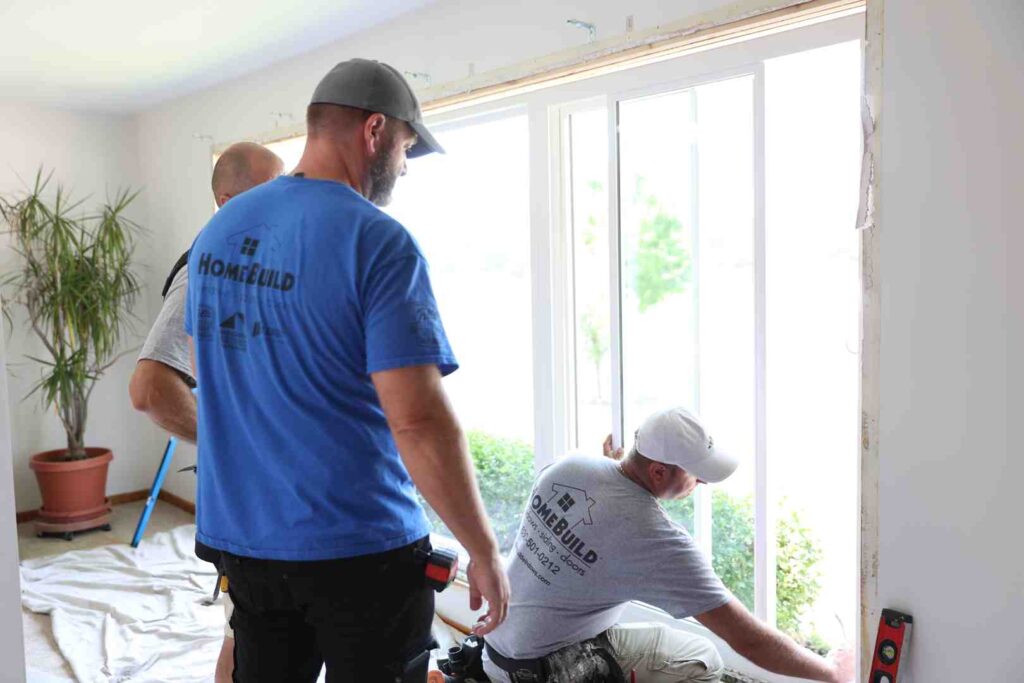
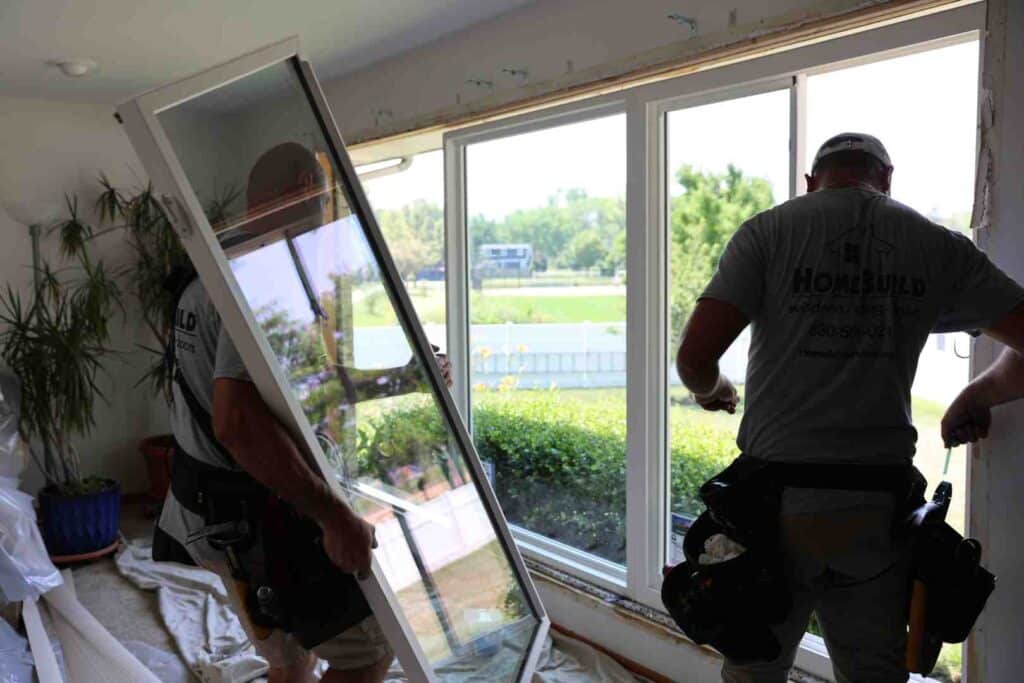
Once the planning, measuring, and materials are ready, it is time for the main event. Because sliding glass doors can weigh anywhere from 150 to 300 pounds, never attempt this installation alone. Always work with at least one partner—and ideally two—to lift and position the frame safely. If you prefer to leave this heavy lifting to the experts, learn more about our door installation professionals.
Step-by-Step Guide to Replacing a Door with a Sliding Door
To complete the physical installation, follow this sequence:
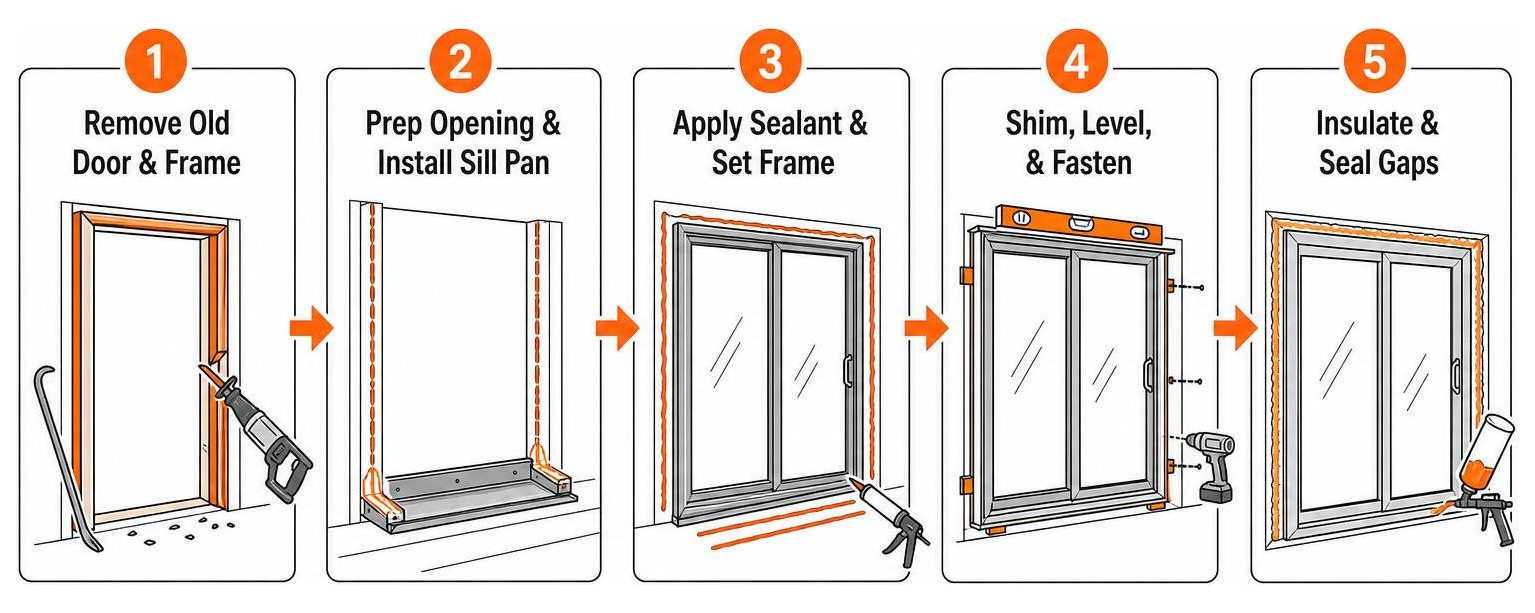
1. Deconstruct and Prep the Opening
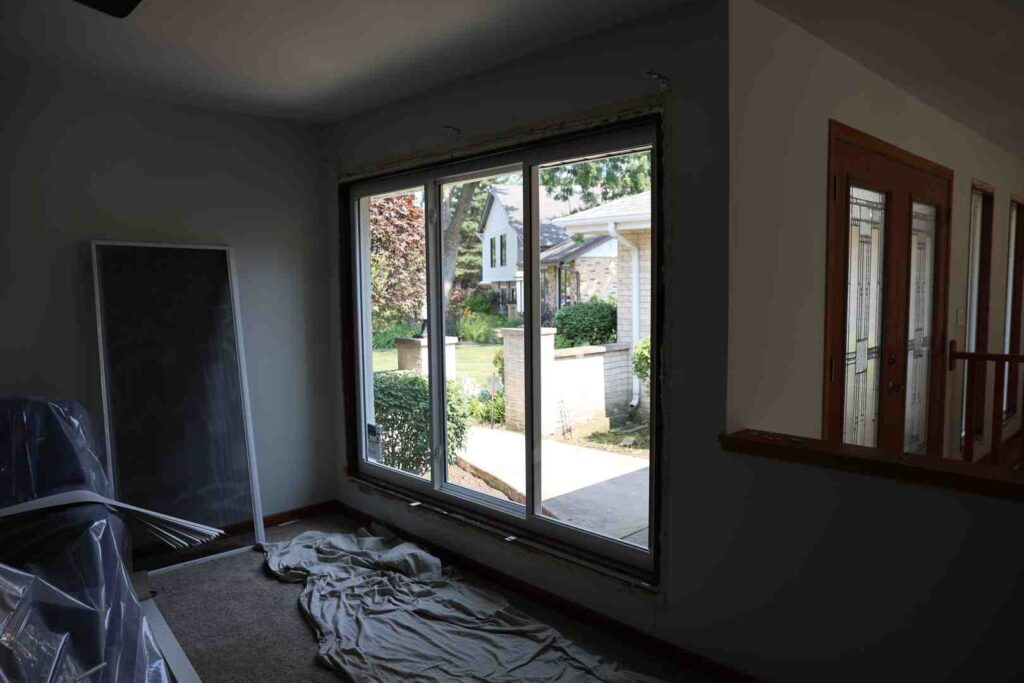
Begin by removing the old door panels. For older sliding doors, lower the rollers and lift the sliding panel out of its track. Unscrew and pry away the old frame using a reciprocating saw to cut through old fasteners. Clean the rough opening of all old caulk, debris, and nails. Inspect the subfloor and studs for rot, replacing any damaged wood before proceeding.
2. Install the Sill Pan and Apply Sealant
Fit your sloped sill pan onto the subfloor. Secure it and apply flashing tape over the edges. Run three thick beads of polyurethane sealant across the sill pan where the door threshold will rest, and apply sealant along the exterior face of the rough opening where the door’s nailing flange will contact the wall.
3. Set the New Door Frame
With your helper, lift the new door frame and tilt the bottom into the opening first, then swing the top into place. Press the frame firmly against the exterior sheathing to compress the sealant.
4. Shim, Level, and Secure
Place wooden shims behind the hinge and latch locations, as well as every 12 inches along the sides and top. Use your level to ensure the frame is perfectly plumb, level, and square.
Once aligned, drive 3-inch structural screws through the frame and shims into the jack studs. Be careful not to over-tighten, which can bow the frame.
5. Insulate the Cavity
Fill the small gap between the door frame and the wall studs with low-expansion foam. Do not use high-expansion foam, as it can warp the frame and prevent the door from sliding.
Adjusting and Sealing the Sliding Panels
With the frame secured, carefully lift the sliding glass panel into the inner track. Test the door’s movement. If it sticks or drags, locate the roller adjustment screws at the bottom corners of the door panel. Use a screwdriver to raise or lower the rollers until the door glides effortlessly and aligns perfectly with the latch.
To finish the exterior, apply a continuous bead of high-quality exterior caulk around the perimeter where the door frame meets your siding or brickmould. Leave the very bottom of the sill uncaulked to allow any trapped water to escape. For more local tips, explore our door installation Chicago complete guide.
Why Professional Installation Outperforms DIY
While a highly experienced DIYer can tackle a straightforward, same-size patio door replacement, converting a standard door to a sliding door is a completely different challenge. Working with trusted door contractors near me is often the smartest choice for structural conversions.
Avoiding Common Installation Mistakes
A minor error during installation can lead to major headaches down the road. Some of the most common mistakes we see during DIY installations include:
- Bowing the Frame: Using the wrong type of expanding foam or over-tightening fasteners can bow the door frame, causing the sliding panel to bind or fail to lock.
- Improper Shimming: Failing to shim the frame properly leads to sagging over time, which compromises the weatherstripping seal.
- Water Infiltration: Skipping the sill pan or applying flashing tape incorrectly allows moisture to seep behind the wall, resulting in hidden wood rot.
- Voided Warranties: Many premier manufacturers, including Pella and Andersen, require certified installation to maintain their extensive product warranties.
Frequently Asked Questions about Sliding Door Conversions
Can I replace a standard entry door with a sliding door?
Yes, you can. However, because standard entry doors are typically 36 inches wide and sliding doors require a minimum of 60 to 72 inches of width, this project requires significant structural work. You will need to widen the wall opening, install a new structural header, and reframe the wall to support the larger sliding unit.
Do I need a permit to replace a door with a sliding door in Chicago?
In Chicago and most surrounding suburbs, a building permit is required if you are making structural modifications to your home. Since converting a standard door to a sliding door involves widening the wall opening and altering the header, it is considered structural work. A permit ensures the modifications are inspected and comply with local safety and wind-load codes.
How do sliding doors perform in cold Chicago winters?
Modern sliding doors perform exceptionally well in harsh winters when properly specified and installed. Upgrading to triple-pane glass with argon gas fills and Low-E coatings provides maximum insulation. Additionally, choosing fiberglass or high-quality vinyl frames prevents thermal bridging, keeping your home warm and draft-free even during freezing temperatures.
Ready to Upgrade Your Home?
Replacing a door with a sliding door is a fantastic way to flood your home with natural light, reclaim valuable floor space, and improve your home’s overall energy efficiency. However, achieving those benefits requires precision, structural expertise, and proper moisture management.
At HomeBuild Windows, Doors & Siding, we have been helping homeowners throughout Chicago and the Northwest Suburbs transform their homes for more than 20 years. As an Elite Platinum Pella® Certified Contractor and an Andersen Certified Contractor, we bring unmatched product knowledge and installation expertise to every project. Our owner-supervised, licensed, and insured team is committed to delivering flawless craftsmanship and exceptional customer service—achievements that have earned us the Angi Super Service Award, Nextdoor Neighborhood Faves recognition, and over 200 positive Google reviews.
Ready to take the next step? Schedule a free consultation for Chicago window and door replacement today, and let us help you design the perfect entryway for your home.