Why Proper Awning Window Hinges Matter for Your Home
Knowing how to replace awning window hinges is essential when they operate poorly, let in drafts, or fail to close. The process is straightforward:
- Remove the sash: Disconnect the operator arm and unscrew the sash from the hinges.
- Unscrew old hinges: Remove them from the window frame and sash.
- Install new hinges: Attach them in the same position, sash first, then frame.
- Reinstall the sash: Reconnect the operator arm and check alignment.
- Test and lubricate: Ensure smooth function and lubricate moving parts.
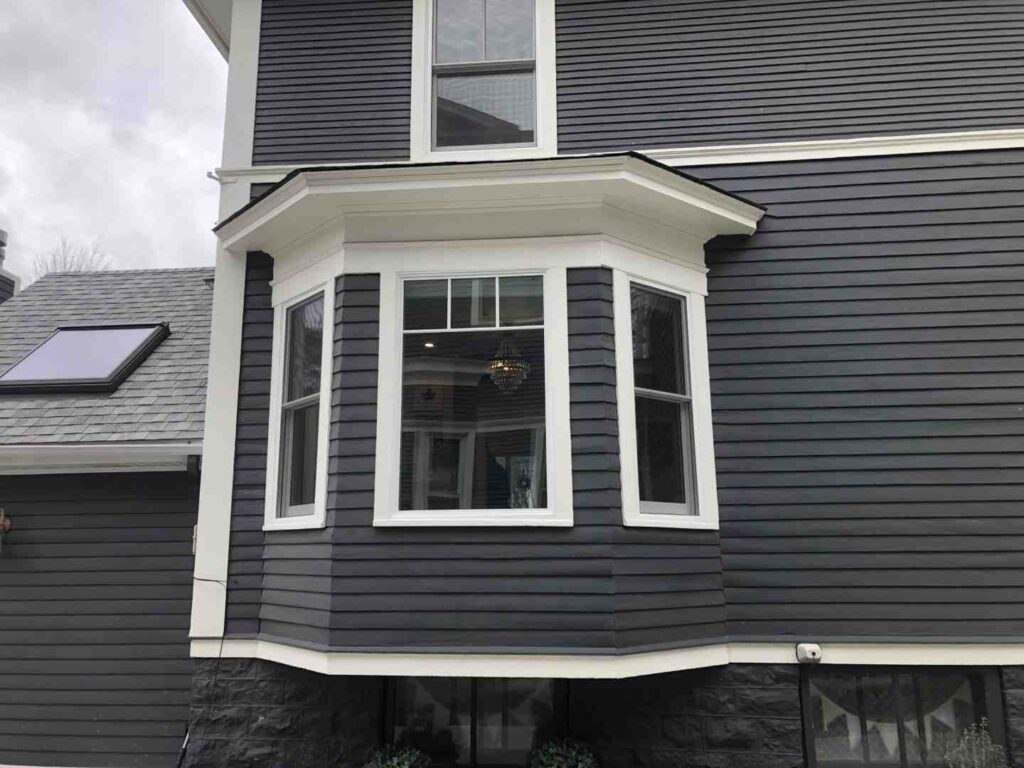
Awning windows hinge at the top to open outward, allowing ventilation even in light rain. When hinges fail from rust or wear, they become hard to operate and reduce your home’s energy efficiency.
Common signs of hinge failure include difficulty opening or closing, a sagging sash, grinding sounds, and drafts. A common issue with Truth Casement Hinges (like the 14.75 and 14.80 models) is the shoe pulling out of the track due to poor installation or maintenance.
Replacing the hinges yourself can save hundreds on professional repairs and restores your window’s seal and operation. The project takes 2-3 hours with basic tools.
I’m Steve Mlynek, and with over 20 years in the window industry, I’ve helped many Chicago homeowners with repairs like this. At HomeBuild Windows, we know that timely hinge replacement extends window life and improves home comfort.

Is It Time to Replace Your Awning Window Hinges?
Before you learn how to replace awning window hinges, it’s crucial to recognize the warning signs of failure. Your windows will let you know when their hinges need attention.
- Difficulty Opening or Closing: If you have to force the crank or the window gets stuck, the hinges are likely worn. What starts as a minor annoyance can become a major problem.
- Window Sag: Worn hinges can’t support the sash weight, causing it to droop. This creates gaps, allows air to escape, and can cause the sash to scrape the frame.
- Uneven Closing: A crooked or misaligned window when closed is a clear sign the hinges are failing. A healthy window should sit perfectly flush in its frame.
- Grinding or Squeaking: Healthy hinges are quiet. Any grinding, popping, or squeaking indicates that the moving parts are dry or wearing out.
- Visible Rust or Corrosion: Reddish-brown spots on steel or a white, chalky residue on aluminum hinges are signs of structural weakness, not just cosmetic flaws.
- Drafts and Energy Loss: Faulty hinges prevent a proper seal, leading to drafts and higher energy bills. A tight seal is vital for comfort and cost savings, as explained in our guide to energy efficient windows.
- Water Infiltration: In severe cases, failed hinges can allow rainwater to enter your home, defeating one of the primary benefits of an awning window.
Catching these signs early allows you to perform a timely repair, saving you from bigger headaches and higher energy costs later.
Gathering Your Tools and the Right Replacement Hinges
Proper preparation is key to a smooth project when learning how to replace awning window hinges. Gathering the right tools and parts beforehand prevents frustration and ensures the job is done right.

Essential Tools and Safety Gear
Safety should always come first. You will need:
- Safety Gear: Safety glasses and work gloves are non-negotiable.
- Tools for Removal/Installation: A screwdriver set (Phillips and flathead), a power drill (use a low torque setting), a putty knife for old caulk, a utility knife for scoring paint, and a pencil.
- Measurement and Support: A measuring tape is crucial for finding the right parts. Wood blocks or shims are invaluable for supporting the sash.
- Maintenance: A dry silicone lubricant spray will keep new hinges working smoothly. Avoid oil-based products that attract dirt.
How to Choose Compatible Replacement Hinges
Getting the wrong parts is a common DIY mistake. Awning window hinges are not one-size-fits-all.
First, inspect your existing hinges for any manufacturer names or part numbers. Brands like Truth Hardware often stamp numbers like 13.13 and 13.14 for awning hinges directly on the metal, which simplifies finding a replacement.
If there are no markings, use your measuring tape. Key measurements include:
- Track Length: The length of the metal piece the hinge arm slides in (e.g., 10 or 14 inches).
- Stack Height: The height of the hinge when fully closed. This ensures the sash sits correctly in the frame.
- Track Width: The width of the track itself.
Also, consider the material. For Chicago’s weather, stainless steel is an excellent choice for its corrosion resistance.
Always replace hinges as a pair, even if only one appears broken. They are sold in pairs for a reason: replacing only one creates an imbalance and often leads to the older hinge failing soon after.
Finally, be aware of any special features like integrated locks. This information on different types of window awning hardware can help identify what you need. Taking photos of your old hinges before removal is also a great idea.
How to Replace Awning Window Hinges: A 5-Step Guide
With your tools and new hinges ready, it’s time for the replacement. Follow these steps with precision and patience for a successful repair.
Step 1: Prepare the Window and Remove the Sash
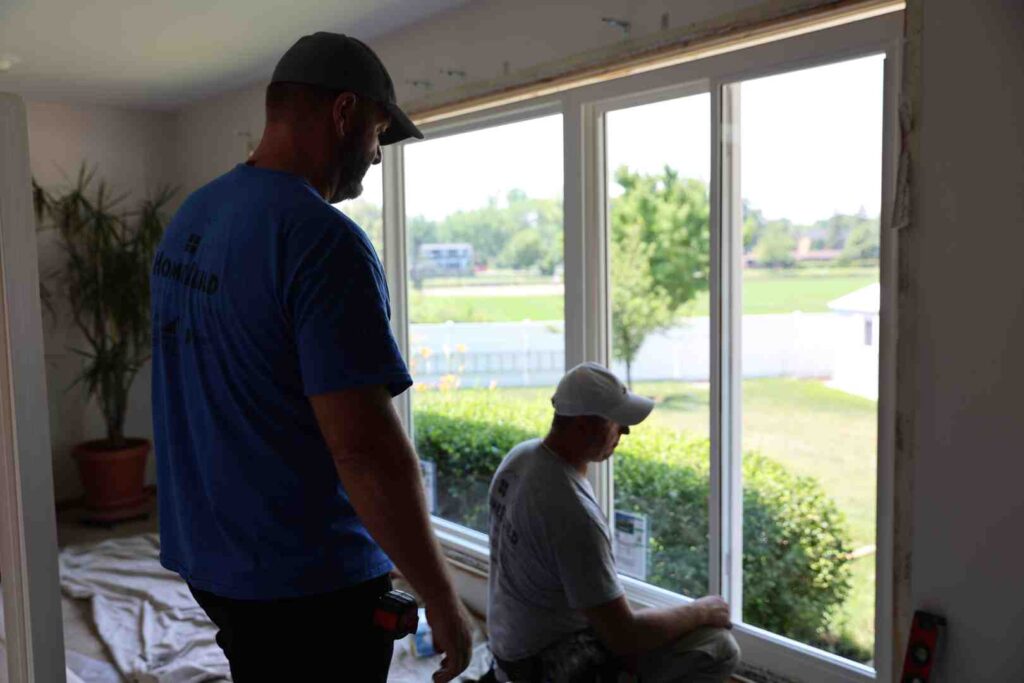
First, put on your safety glasses and gloves. Open the window fully to access the hardware. Disconnect the operator arm from the bottom of the sash by removing its clip or screws. Support the sash with wood blocks or have a helper hold it, as it can be heavy. Unscrew the sash from the top hinges and carefully lift it out of the frame. This is often a two-person job for larger windows. Place the sash on a flat, safe surface.
Step 2: Remove the Old Hinges
With the sash removed, unscrew the old hinges from the window frame and then from the sash itself. If the original screws are in good condition, save them for re-use. Clean any dirt or old caulk from the mounting surfaces on both the frame and sash to ensure a flush fit for the new hardware.
Step 3: A Guide to Installing the New Awning Window Hinges
Position the new hinges exactly where the old ones were, ensuring they are oriented correctly to open outwards. It’s often easiest to attach the new hinges to the sash first, using the original screw holes. Then, with the hinges attached to the sash, position it back in the frame. Secure the hinges to the frame, making sure the sash is level and evenly spaced.
Step 4: Re-install the Sash and Ensure Proper Alignment
Carefully place the sash back into the window frame, guiding the hinge arms into their tracks. Re-attach the hinge arms to the sash and reconnect the operator arm to the bottom of the sash. Before fully tightening all screws, gently open and close the window to check for smooth movement and even alignment. Make minor adjustments by loosening screws, nudging the sash, and re-tightening. For more on window installation, see our Window Installation Guide.
Step 5: Test and Make Final Adjustments
Test the window by opening and closing it several times. It should move smoothly without sticking, grinding, or squeaking. When closed, check the seal for gaps. A “paper test” can help: if a piece of paper slides easily between the sash and frame, the seal isn’t tight enough. Double-check and tighten all screws on the hinges and operator. Finally, apply a dry silicone spray lubricant to all moving parts to ensure smooth operation and prevent future wear.

Congratulations! You’ve successfully replaced your awning window hinges.
Troubleshooting Common Challenges and Maintenance Tips
Even with careful planning, you might encounter challenges when you replace awning window hinges. Here’s how to solve common problems and maintain your new hardware.
Solving Common Issues During Hinge Replacement
- Stripped Screws: Place a rubber band over the screw head for extra grip. If that fails, use a screw extractor kit or carefully drill out the screw.
- Stubborn Screws: Apply a penetrating oil (like WD-40) and let it sit for 15-30 minutes. Tapping the screwdriver handle with a hammer can also help break a rust bond.
- Misalignment: Check for debris in the tracks. Often, you can fix alignment by loosening the hinge screws, nudging the sash into place, and re-tightening.
- Shimming for Fit: If the new hinges have a different stack height, use thin plastic or wood shims under the hinge plate to achieve a flush fit.
- Persistent Leaks: If leaks continue, the issue may be beyond the hinges. Check for cracked weatherstripping or failing exterior caulk. Frame warping or rot may require professional repair.
How to Maintain Your New Awning Window Hinges for Longevity
Proper maintenance is simple and will extend the life of your new hinges.
- Regular Cleaning: A few times a year, use a soft brush or vacuum to clean dirt and debris from hinges and tracks. Use a damp cloth with mild soap for stubborn grime.
- Annual Lubrication: Once a year, apply a dry silicone spray to all moving parts. This prevents rust and reduces friction. Avoid oil-based lubricants, which attract dirt.
- Inspect Hardware: Twice a year, check for rust, loose screws, or unusual wear. Catching problems early prevents major repairs later.
- Gentle Operation: Avoid slamming the window or forcing it if it feels stiff.
- Check Seals: Inspect weatherstripping for damage. Worn seals can strain the hardware and should be replaced promptly.
Following these tips will keep your hinges performing well for years. Find more home maintenance tips on our Blog for advice on keeping your home in top shape.
Frequently Asked Questions about Awning Window Hinge Replacement
Here are answers to common questions about how to replace awning window hinges, based on our experience helping Chicago homeowners.
How do I know if the hinge or the crank operator is the problem?
It can be tricky to diagnose, but a simple test provides a clear answer.
- Disconnect the operator arm from the bottom of the window sash. It’s usually held by a small clip or a few screws.
- Test the sash movement by hand. Gently push and pull the sash to open and close it.
If the sash is still stiff, grinds, or sags when moved by hand, the hinges are the problem. If the sash moves smoothly, the operator is the issue, likely due to stripped gears. This test prevents replacing the wrong parts.
Can I replace just one hinge?
While it’s tempting to replace only the one broken hinge, you should always replace them as a pair. Hinges wear out at a similar rate, so if one has failed, the other is likely not far behind. Replacing both ensures:
- Even Wear: Prevents uneven stress on the window.
- Proper Alignment: Matched hinges are essential for a level sash and a tight, energy-efficient seal.
- Smooth Operation: A new hinge paired with an old one will cause the window to bind or operate unevenly.
For this reason, quality hinges like the Truth Awning Hinge models 13.13 and 13.14 are sold in pairs.
When should I call a professional for window repair?
While DIY is rewarding, some situations are best left to professionals. Call for help if you encounter:
- Structural Damage: A rotted frame or severely damaged sash requires an expert assessment to see if a repair or full replacement is needed.
- Safety Concerns: Large, heavy windows can be dangerous to handle alone. Professionals have the right equipment and techniques for safe removal and installation.
- Obsolete Parts: If you can’t find compatible hinges for an older window, a specialist has access to wider supplier networks.
- Complex Problems: If you still have leaks or operational issues after replacing the hinges, there may be an underlying problem that needs professional diagnosis.
- Feeling Overwhelmed: If the project feels beyond your skill level or you lack the right tools, calling a professional is the smart choice. A professional repair from a company like HomeBuild Windows ensures the job is done correctly and safely. Learn How to Find the Perfect Window Repair and Installation Company to ensure you hire an experienced team.
Conclusion: Enjoy Your Fully Functional Awning Window
By mastering how to replace awning window hinges, you’ve not only fixed a frustrating problem but also saved on repair costs and gained valuable DIY skills.
Your restored awning window will now operate smoothly for years, free from stiff cranks, squeaks, and drafty seals. Enjoy a window that opens effortlessly and improves your home’s comfort. This repair leads to improved home comfort and energy savings from a tighter seal, which also helps maintain your property’s value.
At HomeBuild Windows, we support the DIY spirit of Chicago-area homeowners. We aim to empower you with knowledge, but we’re also here to provide professional expertise when you need it.
If this project has you considering a larger upgrade, we can help you explore newer, more efficient window options. Considering a full upgrade? Explore our Awning Windows Replacement services. Our team can help you find the perfect windows for your home and budget.
With proper maintenance, your newly repaired window will serve you well for years to come.