Why Hanging a Storm Door Is One of the Best Upgrades for Your Home
Learning to hang a storm door is one of the most rewarding weekend projects a homeowner can tackle — and one of the most practical, especially in a city like Chicago where winters are punishing and every bit of insulation counts.
Here’s how to hang a storm door in 5 steps:
- Install the hinge rail and drip cap — secure the hinge rail to the door frame and add a drip cap at the top
- Hang the door — slide the door onto the hinge rail and align the frame plumb and level
- Attach the latch rail and handle set — mount the latch-side rail and install the door hardware
- Install the bottom expander and sweep — seal the bottom edge against the door sill
- Mount and adjust the door closer — attach the closer bracket and set the closing speed
Most homeowners can complete the job in 2 to 4 hours with basic tools. The result? Better weather protection, improved energy efficiency, and added curb appeal.
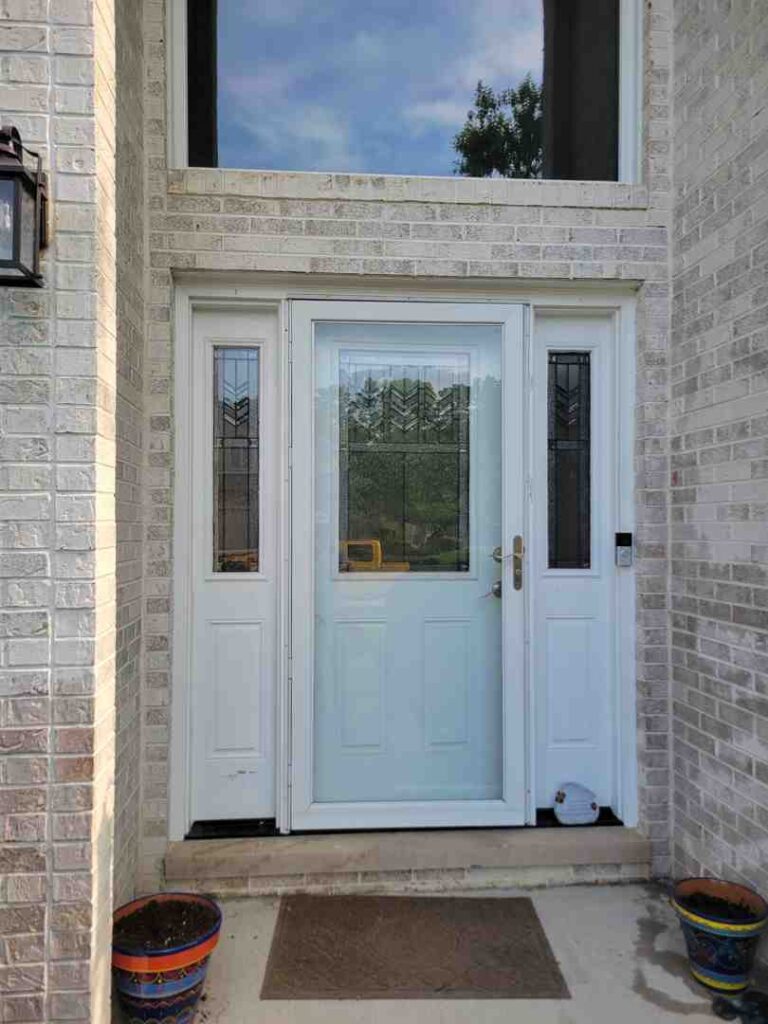
A storm door does something a screen door simply can’t — it forms a real barrier against rain, wind, and cold air, while also protecting the finish of your primary exterior door. For Chicago-area homeowners dealing with drafts and rising energy bills, that’s a meaningful difference.
I’m Steve Mlynek, CEO and founder of HomeBuild Windows, Doors & Siding, and over my 20+ years leading exterior home improvement projects across Chicagoland, I’ve seen how a properly installed storm door transforms both comfort and curb appeal. Whether you’re looking to hang a storm door yourself or want expert help, this guide walks you through everything you need to know.

Preparing to Hang a Storm Door: Tools and Measurements
Before we dive into the installation, we need to make sure we have the right gear. There is nothing worse than being halfway through a project and realizing you’re missing a drill bit. Installing a storm door is a manageable DIY project, but it requires precision.

The Tool Kit
To successfully hang a storm door, you will need:
- Power drill and driver (with a 1/8-inch or 3/32-inch drill bit for pilot holes)
- Tape measure
- Level (an 8-inch level is usually perfect)
- Hacksaw (if your Z-bars aren’t pre-cut to size)
- Screwdrivers (Phillips and flathead)
- Caulk gun with high-quality sealant
- Safety glasses and cut-resistant gloves
- Pencil
- Shims (for uneven frames)
Measuring for Your New Door
Accuracy is everything here. We recommend measuring the width of your door opening in three places: the top, the middle, and the bottom. Record the narrowest width. For the height, measure from the threshold (the bottom sill) to the underside of the top exterior trim (the brickmould). Use the shortest height measurement.
Most standard storm doors fit openings 30, 32, 34, or 36 inches wide. If your frame is slightly wider than a standard size (for example, by 3/8 of an inch), you may need to use shims or Z-bar extenders to ensure a snug fit. According to How to Install a Storm Door | Lowe’s , checking that your diagonal measurements are within 1/8 inch of each other will tell you if your frame is square.
Determining the Correct Handing to Hang a Storm Door
“Handing” simply refers to which side the hinges are on. From the exterior, if the hinges are on the left, it’s a left-handed door. Most homeowners choose to hang a storm door so the hinges are on the same side as the primary entry door. This prevents the doors from swinging in opposite directions and getting in each other’s way. However, you should also check for “handle interference”—ensure the storm door handle won’t bump into your entry door handle.
The 5-Step Installation Process
Now that we have our measurements and tools, it’s time to get to work. Modern kits, like those from Pella or Andersen, often come with “Express Install” features that simplify the process.

Step 1: Install the Hinge Rail and Drip Cap
The hinge rail is the vertical piece that holds the door. First, determine your hinge side. Many pros suggest installing a “placeholder screw” in the door frame at the top of the hinge side. You can then hang the hinge rail on this screw to hold the weight while you level it.
Before attaching the top horizontal piece—the drip cap—apply a bead of sealant to the back of it. This prevents water from seeping behind the frame and rotting your wood trim. Once the drip cap is positioned, secure it with screws, ensuring it is level.
Step 2: Hang a Storm Door and Secure the Frame
With the hinge rail attached to the door slab (usually done on sawhorses first), lift the door into the opening. If you used a placeholder screw, slide the rail over it. Open the door and drive screws through the pre-drilled holes in the hinge rail into the brickmould.
We always check for “hinge bind.” If the door springs open when you try to close it, your screws might be too tight, causing the rail to twist. Back them off a quarter turn if needed. Ensure the door is plumb (perfectly vertical) using your level.
Step 3: Attach the Latch Rail and Handle Set
The latch rail is the vertical piece on the handle side. Close the door and position the latch rail so there is a consistent 1/8-inch to 3/16-inch gap between the rail and the door. Secure it with screws.
Next, install the handle set. Most doors come with a template. We recommend using a center punch or a nail to mark exactly where to drill. Follow the manufacturer’s instructions to install the spindle and locking mechanism. If you’re using a mortise lock, ensure the lock case is oriented correctly so the latch catches the rail properly.
Step 4: Install the Bottom Expander and Sweep
The expander is the U-shaped piece that slides over the bottom of the door. It usually features a vinyl “sweep” (the rubber fins) that keeps out drafts and insects. Slide the expander onto the bottom of the door, close the door, and let the expander drop until the sweep lightly touches the sill. Don’t push it down too hard, or the door will be difficult to open. Secure it with the provided screws.
Step 5: Mount and Adjust the Door Closer
The closer is the “arm” that prevents the door from slamming. Mount the jamb bracket to the hinge side of the frame (usually about 2 inches in from the edge) and attach the closer to the door bracket.
To adjust the speed, find the adjustment screw at the end of the pneumatic cylinder. Turning it clockwise will slow the door down (perfect for preventing slams), while counterclockwise will speed it up. In Chicago, we often have to adjust these seasonally as the air density changes!
Ensuring a Weather-Tight Seal for Chicago Winters
In the Midwest, a storm door isn’t just for looks; it’s a vital part of your home’s thermal envelope. To maximize energy efficiency, ensure you’ve used weatherstripping along the hinge and latch rails. This creates a protective seal against the “Hawk”—that famous Chicago wind.
If you are working on an older home, specifically one built before 1978, you must be mindful of the EPA RRP Rule regarding lead-safe practices. Disturbing old paint on the door trim can release lead dust. We always follow strict safety protocols to ensure your family’s health is protected during any New Exterior Door Installation Complete Guide.
For more tips on sealing your home, check out our Exterior Door Installation 101 guide.
Troubleshooting and Maintenance Tips
Even a perfect installation can occasionally run into hiccups.
Fixing a Sagging Storm Door
If your door starts to scrape against the frame, it has likely “sagged.” This often happens if the mounting screws have loosened over time. You can often fix this by replacing the top hinge screws with longer, 3-inch stainless steel screws that reach all the way into the wall studs. For older doors, a turnbuckle (a metal rod with a tensioner) can be installed diagonally to pull the door back into a square shape.
Routine Maintenance for Longevity
- Clean the Glass: Use a mixture of one part vinegar to four parts water to remove the protective shipping film on new glass.
- Lubricate Hinges: A quick spray of silicone lubricant once a year keeps things moving silently.
- Check the Sweep: Over time, the bottom vinyl sweep can tear. These are easily replaced and are essential for keeping out snow and slush.
DIY vs. Professional Installation
While many homeowners feel comfortable learning how to hang a storm door, there are times when calling in the experts at HomeBuild Windows, Doors & Siding is the smarter move.
When to Call a Contractor
- Uneven Frames: If your house has settled and the door frame is “out of rack,” a standard door won’t fit without significant structural adjustment.
- Brick or Stone Mounting: Drilling into masonry requires specialized bits and anchors; if done wrong, it can crack your home’s exterior.
- Custom Sizes: If your entry door is an unusual height or width, you’ll need a custom-ordered door and professional alignment.
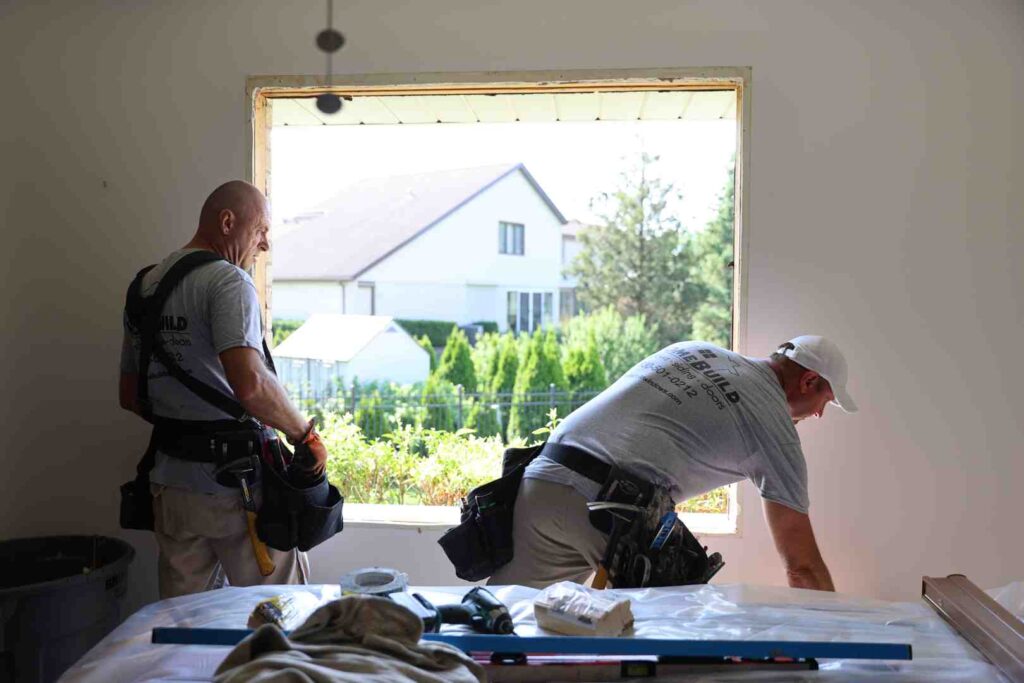
Benefits of Professional Workmanship
As a locally owned contractor with over 20 years of experience, we take the guesswork out of the process. Every project we do is owner-supervised, ensuring that our high standards are met every time. We are an Elite Platinum Pella® Certified Contractor and an Andersen Certified Contractor, meaning we have specialized training that most general handymen lack.
When we hang a storm door, we aren’t just putting up a piece of glass; we are ensuring a lifetime of durability and energy efficiency. Plus, our professional installation often protects your manufacturer warranty in ways a DIY job might not.
Frequently Asked Questions about Storm Doors
How long does it take to hang a storm door?
For a skilled DIYer, it typically takes 2 to 4 hours. If you choose a “Rapid Install” or “Express Install” kit, you might even get it done in about 90 minutes. Professional installers can usually finish the job in under an hour.
What is the difference between a storm door and a screen door?
A screen door is strictly for ventilation and keeping bugs out. A storm door features glass panels (often interchangeable with screens) that provide a thermal barrier. Storm doors are much heavier and offer significantly better protection against the elements.
How do I fix a door that won’t close properly?
Usually, this is an issue with the door closer. Try adjusting the screw at the end of the cylinder. If the door is hitting the latch rail, you may need to loosen the latch rail screws and shift it slightly to the left or right to give the door more clearance.
Conclusion
Hanging a storm door is a fantastic way to boost your home’s curb appeal and save on energy costs. By following these five steps, you can enjoy a more comfortable home and a better-protected entry door.
However, if you find that your door frame is rotting, uneven, or you simply want the peace of mind that comes with professional expertise, we are here to help. At HomeBuild Windows, Doors & Siding, we serve Chicago and the surrounding North-West Suburbs—from Arlington Heights to Lake Zurich and everywhere in between.
With over 200 positive Google reviews and awards from Angi and Nextdoor, we’ve built our reputation on quality workmanship and exceptional customer service. We work with the brands you trust, like Pella, Andersen, and James Hardie, to ensure your home looks and performs its best.
Ready to upgrade your home’s exterior? Professional Storm Door Experts Are the Key to Your Happiness and we are ready to show you why. For more information on getting the perfect fit, check out our guide on storm door installation cost.