So, you’ve got a cracked or broken window pane and you’re wondering how to fix it yourself. It happens, right? Maybe a rogue baseball or just old age, but a damaged window doesn’t have to mean a huge expense or a call to the pros right away. This guide is going to walk you through the steps to tackle this common home repair. We’ll cover everything from checking out the damage to getting that new pane in place and looking good as new. You can totally do this!
Key Takeaways
- Before you start, check the damage carefully to see if it’s a simple pane replacement or if the whole window needs more work.
- Measure your window opening precisely for the new glass, and gather all your tools like a putty knife, gloves, and safety glasses.
- Remove the old, broken glass safely, then prep the window frame by cleaning out old putty and sanding.
- Install the new glass pane, secure it with glazier’s points, and then apply glazing compound (putty) to seal and finish it.
- Once the putty is dry, prime and paint the area for a clean, finished look that protects your repair.
Assessing Window Damage and Repair Needs
Identifying Signs of Window Wear and Tear
Before you even think about grabbing a putty knife, it’s smart to take a good, hard look at your windows. Sometimes, the damage isn’t as obvious as a shattered pane. You might notice condensation building up between the glass layers, which is a clear sign that the seal has failed. This means your window isn’t insulating like it should. Also, check the window frames themselves. Are they soft to the touch, or do you see any signs of wood rot? These issues can compromise the whole window structure. Catching these problems early can save you a lot of hassle and money down the road.
Understanding When to Repair vs. Replace
So, you’ve found some damage. Now what? It’s not always a clear-cut decision between fixing it yourself or calling in the pros for a full replacement. Generally, windows have a lifespan of about 15 to 25 years. If you’re seeing minor issues, like a single cracked pane or a small bit of rot on the frame, a repair might be perfectly fine. However, if the glass is constantly foggy, the rot is widespread, or you’re dealing with significant drafts that make your home uncomfortable, it’s probably time to consider a replacement. Replacing old windows can really make a difference in your home’s comfort and energy bills. Windows typically last 15-25 years, so if yours are older, it’s worth thinking about.
Recognizing Drafts and Comfort Issues
One of the most common complaints homeowners have is about drafts. If you can feel a cool breeze coming in around your window frames, especially when it’s cold outside, that’s a big clue. This not only makes your home feel less cozy but also means your heating or cooling system is working overtime to compensate. You might notice this more on the first floor of your house, or in rooms that just never seem to get warm enough in the winter. Another sign is condensation that you can’t wipe away, especially if it’s between the panes of glass. This usually means the window’s seal has broken, and it’s losing its ability to insulate properly. These comfort issues are often directly linked to the window’s condition.
Don’t ignore those little signs of wear and tear. A small problem now can become a much bigger, more expensive one later if left unaddressed. Paying attention to your windows can help you stay ahead of costly repairs and keep your home comfortable.
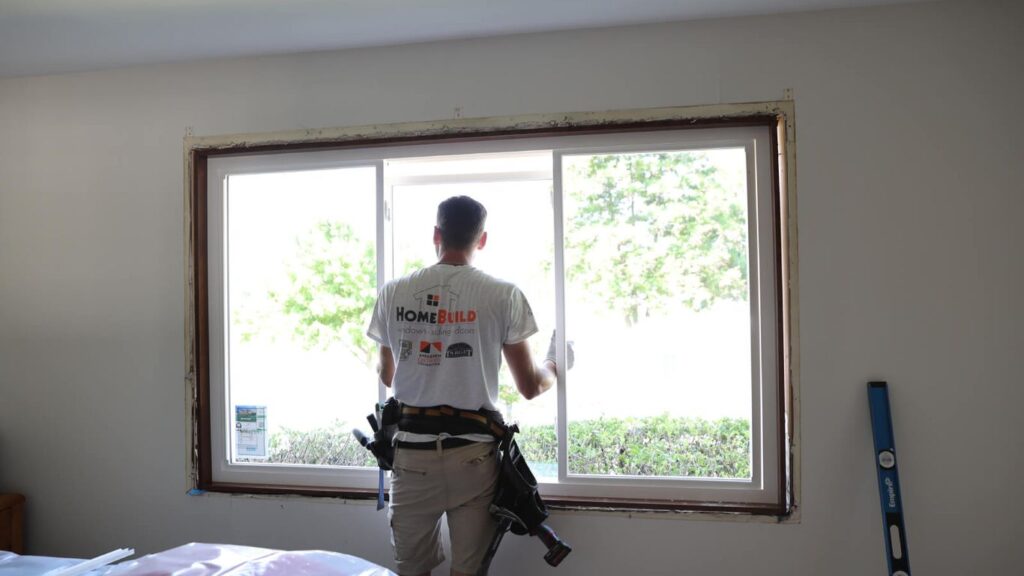
Preparing for Window Pane Replacement
Before you can get that new pane of glass in place, there’s a bit of prep work to do. It might not be the most exciting part, but getting this right makes the actual replacement go so much smoother. Think of it like getting all your ingredients ready before you start cooking.
Measuring for Your Replacement Pane
This is super important. Get this wrong, and you’ll be making a second trip to the glass shop. You need to measure the opening where the glass will sit. Don’t measure right up to the very edge of the frame where the old putty or stops are. Instead, measure the width and height of the opening itself. It’s a good idea to subtract about 1/8th of an inch from both your width and height measurements. This little bit of wiggle room accounts for expansion and contraction due to temperature changes, and it makes fitting the new pane much easier. Always double-check your measurements before ordering.
Gathering Essential Tools and Materials
Having everything ready beforehand saves a lot of hassle. You’ll want to have:
- Safety Gear: Always wear sturdy gloves and safety glasses. Broken glass can be sharp!
- Putty Knife or Scraper: For removing old putty and applying new.
- Chisel: Sometimes needed to gently pry away stubborn old putty or wood.
- Replacement Glass Pane: Measured precisely, as we just talked about.
- Glazing Compound (Putty): This is what seals the glass to the frame.
- Glazier’s Points: Small metal triangles that help hold the glass in place before the putty sets.
- Primer and Paint: For finishing the job and protecting the wood.
- Optional: A heat gun can help soften old putty, and sandpaper can smooth the frame.
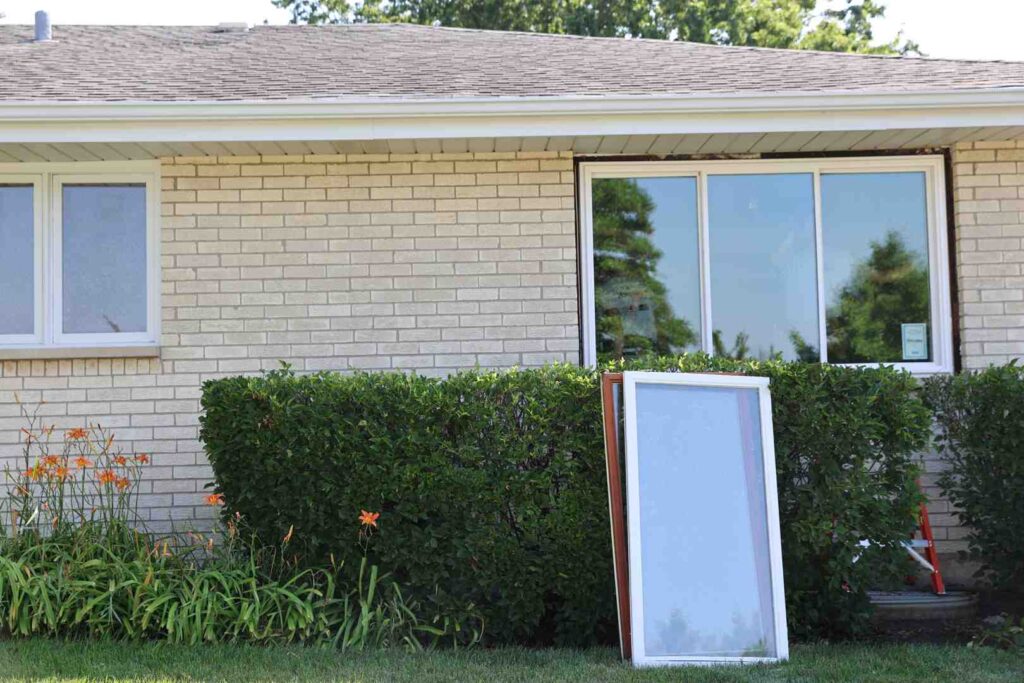
Safely Removing Broken Glass
This is where safety really comes into play. If the glass is already broken, carefully remove any large, loose pieces first. You can use painter’s tape on the glass to help hold shattered pieces together, reducing the chance of them falling out unexpectedly. Work from the top down. If there are stubborn bits of glass or old putty stuck in the frame, a chisel or putty knife can help, but be gentle so you don’t damage the wood frame itself. Once all the glass is out, you’ll need to clean out all the old putty and any remaining glazier’s points from the groove, also known as the rabbet. A clean surface is key for the new pane to seal properly. Understanding when to repair vs. replace can help you decide if this is a job you want to tackle.
Remember, patience is key here. Rushing can lead to cuts or damage to the window frame. Take your time, work methodically, and always prioritize your safety.
The Process of Replacing a Window Pane
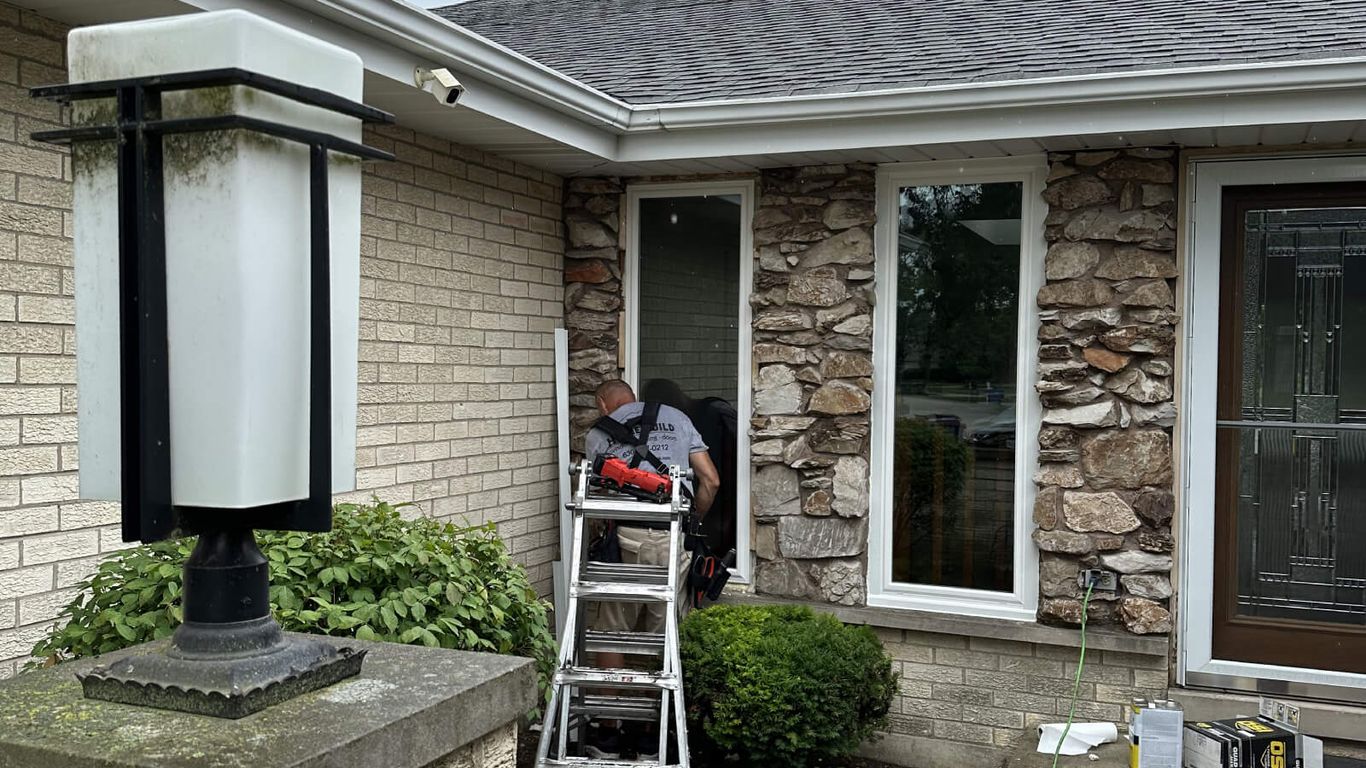
Alright, so you’ve got a cracked or broken window pane and you’re ready to tackle the fix. It’s not as scary as it sounds, honestly. Just take your time and follow these steps. First things first, you need to get that old, broken glass out of there safely. Wear thick gloves and eye protection – seriously, don’t skip this part. You can use a putty knife or a chisel to gently pry out any remaining shards. If the glass is really shattered, you might want to put some tape over it first to keep the pieces from flying everywhere.
Preparing the Window Frame and Rabbets
Once all the loose glass is gone, you’ll need to clean up the frame. Scrape out all the old putty and glazier’s points. The rabbet, which is the little groove where the glass sits, needs to be clean and smooth. You might need to sand it down a bit to get to bare wood. This gives the new putty a good surface to stick to. If you’re dealing with really stubborn old putty, a heat gun can help soften it up, making it easier to scrape away. Make sure you get every last bit out.
Setting the New Glass Pane
Now for the new glass. Before you put it in, double-check your measurements. You want it to fit snugly but not be forced. Carefully place the new pane into the frame, pressing gently. You want a small, even bead of putty – about 1/8 inch – to squeeze out around the edges when you press the glass in. This is called "bedding" the glass and it helps create a good seal. If it doesn’t look right, just pull the glass out, add a bit more putty, and try again. It’s better to get it right now than deal with drafts later.
Securing the Glass with Glazier’s Points
Next up are the glazier’s points. These are small metal triangles that help hold the glass in place while the putty cures. You’ll use a putty knife or a special tool to press them into the wooden frame, right against the glass. Space them out evenly around the pane, usually one in the middle of each side. They don’t need to be hammered in; just a firm press is usually enough to seat them securely. This step is pretty important for making sure the glass stays put.
Don’t rush the process. Taking your time with each step, especially cleaning the frame and setting the glass, will make a big difference in the final result. A little extra care now means a window that looks good and lasts longer.
Here’s a quick rundown of the tools you’ll likely need:
- Safety glasses and gloves
- Putty knife or scraper
- Chisel
- Sandpaper or sanding block
- Heat gun (optional, for stubborn putty)
- Measuring tape
- Replacement glass pane
- Glazing compound (putty)
- Glazier’s points
- Primer and paint (for finishing)
Applying Glazing Compound and Finishing Touches
Kneading and Applying the Putty Rope
Alright, so you’ve got your new glass pane sitting pretty in the frame. Now comes the part that seals the deal, literally: the glazing compound, or putty. This stuff is what keeps the weather out and your new pane secure. First things first, you need to get the putty ready. It usually comes pretty stiff, so you’ll want to warm it up by kneading it with your hands. Think of it like working with play-doh – you want it to be soft and pliable, not crumbly. This might take a few minutes and some elbow grease. Once it feels good and workable, you’re going to roll it into a rope. Aim for something about three-quarters of an inch thick. This rope will be applied around the edge of the glass, right where it meets the frame. Press it in firmly, making sure it fills the gap completely. Don’t worry too much about it looking perfect at this stage; the main goal is to create a good seal.
Smoothing and Shaping the Glazing
Now that the putty rope is in place, it’s time to make it look neat. You’ll use a putty knife or a glazing tool for this. Hold the knife at about a 45-degree angle to the glass and the frame. Then, carefully draw the knife along the putty, smoothing it out and creating a clean, angled edge. This step is important for both looks and function. A well-shaped bead of putty will shed water effectively and give your window a professional finish. You want to remove any excess putty that squeezes out, but be careful not to pull too much away from the seal. Take your time and look at it from different angles to make sure it’s even. If you notice any gaps or thin spots underneath, you might need to add a little more putty and smooth it again. It’s a bit of an art, and watching a quick video on YouTube can really help visualize this part.
Priming and Painting for a Finished Look
After you’ve applied and smoothed the glazing compound, you need to let it cure. This can take anywhere from a few days to a week, depending on the type of putty and the weather. Don’t rush this part! Once it’s hardened up nicely, you’ll want to prime and paint. Use an oil-based primer first, as this helps the paint adhere better and protects the wood. Apply it carefully, making sure to cover the putty and the surrounding frame. After the primer dries, you can apply your paint. Two coats are usually a good idea for a durable and attractive finish. This final step not only makes your window look great but also adds an extra layer of protection against the elements. It’s amazing how much difference a little paint can make to the whole window!
Exploring Different Window Styles and Options
When you’re looking at fixing or replacing a window pane, it’s also a good time to think about the bigger picture: the style of your windows. Not all windows are created equal, and picking the right type can really change how your home looks and feels. It’s not just about function anymore; it’s about making your house a bit more comfortable and maybe even saving some money on energy bills.
Understanding Double-Hung Window Benefits
Double-hung windows are super popular, and for good reason. They have two sashes that slide up and down, which is pretty handy. You can open just the top, just the bottom, or both. This gives you a lot of control over how much air comes in. Plus, cleaning them is usually a breeze because both sashes can often tilt inward. This makes them a solid choice for many homes.
Discovering the Advantages of Casement Windows
Casement windows are different; they crank open from the side, usually swinging outward. They’re great for getting a lot of fresh air into a room because they can catch the breeze. They also tend to seal up really well when closed, which is good for keeping drafts out and your energy bills down. They have a more modern look compared to double-hung windows, too.
Considering Picture Windows for Natural Light
Picture windows are basically big, fixed panes of glass. They don’t open, but that’s not their main job. Their purpose is to give you a clear, wide view of the outside and let in as much natural light as possible. If you want to make a room feel bigger and brighter, a picture window is a fantastic option. They’re perfect for living rooms or dining areas where you want to enjoy the scenery and sunlight. You can even combine them with other window types to get the best of both worlds – a great view with some ventilation.
Choosing the Right Window Contractor
Verifying Licensing and Insurance
When you’re looking to get new windows installed or have existing ones repaired, picking the right company to do the job is a big deal. It’s not just about the windows themselves, but who is putting them in. You want to make sure the company you hire is properly licensed and insured. This protects you in a few ways. First, a license means they’ve met certain standards and are legally allowed to do this kind of work in your area. Insurance is super important too. If something goes wrong on the job – like if a worker gets hurt or your property gets damaged – their insurance should cover it, not you. It’s always a good idea to ask for proof of their license and insurance documents. You can often find this information on their website, or just ask them directly. It’s a basic step, but it can save you a lot of headaches down the road.
Evaluating Experience and Specializations
Beyond just being licensed, you’ll want to know how long a company has been around and what kind of work they’re really good at. A contractor who has been doing window replacements for, say, 10 years or more in your specific area likely knows the ins and outs of local building codes and common issues. They’ve probably seen it all, from old homes with tricky window frames to modern installations. It’s also worth asking if they specialize in certain types of windows or repairs. For example, if you have historic windows, you’ll want someone experienced with that specific style. Some companies might be great with all types of windows, while others focus on, say, energy-efficient upgrades or specific brands like Pella or Andersen. Checking out their past projects, maybe even looking at their profile on sites like LinkedIn, can give you a good sense of their track record and what they excel at.
Understanding Project Timelines and Communication
Once you’ve found a few potential contractors, it’s time to talk about the actual work. How long will the project take from start to finish? A good contractor will give you a realistic timeline, breaking down the steps involved. They should also be clear about how they’ll communicate with you throughout the process. Will you get regular updates? Who is your main point of contact if you have questions or concerns? It’s helpful to have a clear plan for communication so you know what to expect. Sometimes, unexpected things can pop up during a renovation, and how a company handles those situations speaks volumes about their professionalism. A company that communicates well and sticks to a reasonable schedule is usually a sign of a job well done. Remember, a window replacement is an investment, and you want to feel confident and informed every step of the way.
Picking the right company for your window project can feel overwhelming. You want someone you can trust to do a great job. Think about their experience and what others say about their work. For expert advice and to see how we can help you find the perfect windows, visit our website today!
You Did It!
So there you have it. Fixing a broken window pane might seem like a big job at first, but with these steps, you can totally handle it. It’s pretty satisfying to know you can tackle these kinds of repairs yourself instead of calling someone right away. Plus, you saved yourself some cash. Give yourself a pat on the back – you just made your home a little bit better, one pane at a time.
Frequently Asked Questions
How do I know if my window needs repair or replacement?
Look for signs like drafts or cold air coming in, fog or moisture between glass panes, peeling paint, or visible rot on the frame. If your energy bills are also unusually high, it’s a strong indicator that your windows aren’t working as well as they should and might need attention.
What tools and materials do I need to replace a window pane?
You’ll need a tape measure, putty knife, glazier’s points, replacement glass, glazing compound (putty), a hammer, safety gloves, and safety glasses. Sandpaper and primer are also helpful for preparing the frame.
How do I measure for a new window pane?
Measure the width and height of the window opening from the rough frame. It’s best to subtract about 1/8 inch from both measurements to ensure the new glass fits properly, allowing for expansion. Always double-check your measurements before ordering.
What’s the difference between double-hung and casement windows?
Double-hung windows have two sashes that slide up and down, and both can open from the top or bottom. Casement windows are hinged on the side and crank open outwards, offering a clear view and good ventilation.
Why are energy-efficient windows important?
Energy-efficient windows help keep your home warmer in the winter and cooler in the summer. This means you’ll save money on your heating and cooling bills and make your home more comfortable year-round.
How do I choose the right window contractor?
Look for contractors who are licensed and insured, have good reviews and experience, and can clearly explain the project timeline and costs. Don’t hesitate to ask for references or see examples of their past work.