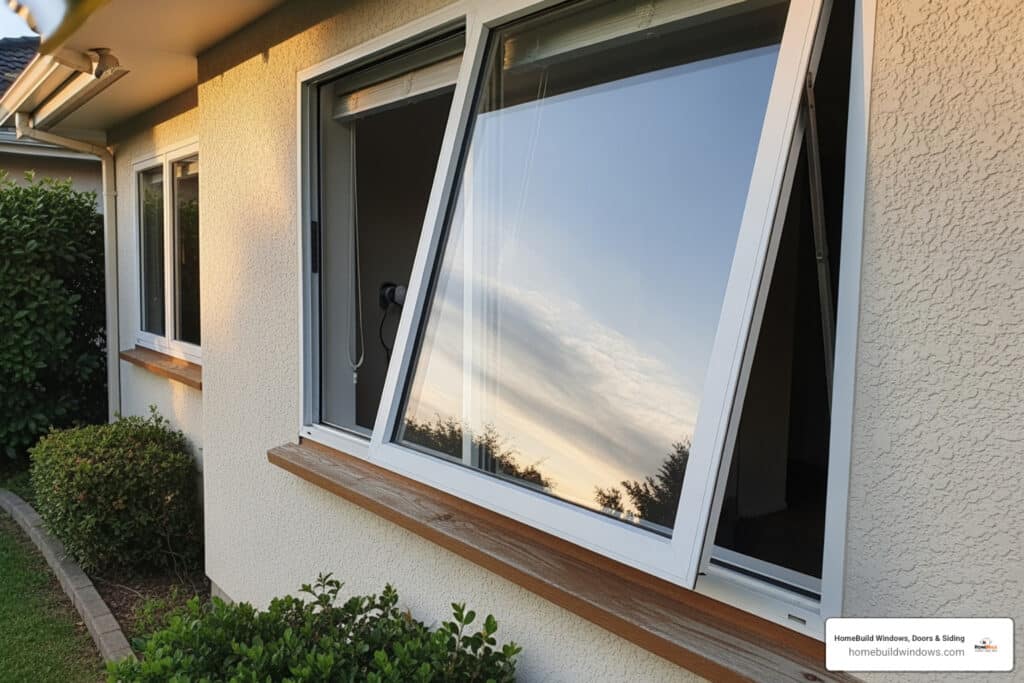
Why Awning Window Glass Replacement is a Smart DIY Project
Learning how to replace glass in awning window units can save you hundreds of dollars. Whether you have cracked glass from a stray baseball or a foggy double-pane window with a failed seal, this repair is more manageable than most homeowners think.
Quick Answer: How to Replace Glass in Awning Window
- Remove the sash – Disconnect the operator arm and detach the hinges.
- Remove old glass – Take out glazing beads and carefully lift out the damaged glass.
- Measure accurately – Get exact dimensions for the replacement glass.
- Install new glass – Apply sealant, place the glass, and secure it with beads.
- Reinstall sash – Reattach to the frame and test the operation.
Awning windows open outward, providing ventilation even in light rain. When the glass is damaged, many assume they need a complete window replacement. However, replacing just the glass pane costs 50-70% less than a new window and delivers the same energy efficiency benefits. Damaged glass leads to poor insulation and higher energy bills. A simple glass replacement can boost your window’s insulation R-level by up to 71%, making this project both cost-effective and energy-smart.
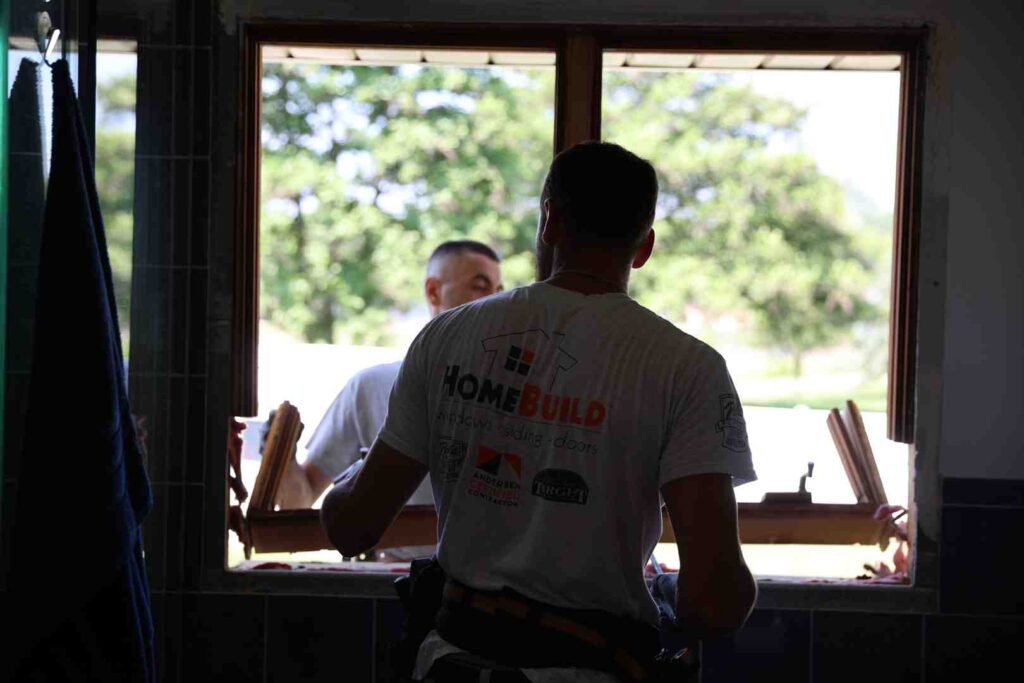
I’m Steve Mlynek from HomeBuild Windows. With over 20 years in the industry, I’ve helped thousands of Chicago homeowners learn how to replace glass in awning window units safely. This straightforward repair can transform your home’s comfort and energy bills.

Before You Begin: Key Considerations
Before you start, a little preparation will save you time and money. Understanding the problem, your glass options, and the tools you’ll need is the key to a smooth project.
Common Reasons for Awning Window Glass Replacement
Knowing why your glass failed helps you plan the repair.
- Cracked or shattered glass: This is an obvious safety hazard that needs immediate attention. The fix is usually straightforward.
- Foggy glass between double panes: A cloudy appearance means the window’s seal has failed. Insulating gas has escaped and moisture has entered, drastically reducing energy efficiency.
- Poor insulation: If you notice drafts or high energy bills, your old glass may not be insulating properly. Upgrading from single-pane to modern double-pane units can boost insulation by up to 71%.
- Energy efficiency upgrade: Even if your glass isn’t broken, upgrading to units with Low-E coatings or argon gas fill can significantly improve your home’s performance. Learn more in our guide to energy-efficient replacement windows.
Choosing the Right Replacement Glass
Here are your main options:
- Single-pane glass: The most basic and budget-friendly option, consisting of a single layer of glass.
- Double-pane windows (IGUs): The modern standard. These Insulated Glass Units have two pieces of glass sealed with a spacer, often filled with argon gas for better insulation.
- Triple-pane windows: Offer maximum insulation with three layers of glass, ideal for extreme climates.
- Safety Glass: Tempered glass is stronger and shatters into safer, smaller pieces. Laminated glass holds together when broken, enhancing security and sound reduction. Building codes may require these in certain locations.
- Coatings and Fills: Low-E coatings reflect heat while letting light in. Argon gas fill between panes provides superior insulation to air.
For a detailed comparison, see our double pane vs. triple pane windows guide.
Essential Tools and Materials
Gather everything before you start to avoid mid-project hardware store runs.
- Safety Gear: Safety glasses and heavy-duty gloves are non-negotiable.
- Tools: Putty knife, utility knife, heat gun (for old putty on wood frames), measuring tape, and a caulk gun.
- Materials: Glazing compound or silicone sealant, glazier’s points (for wood frames), duct tape (for cracked glass), and glass setting blocks.
The Complete Guide on How to Replace Glass in an Awning Window
Let’s walk through each step of how to replace glass in awning window units, from removing the sash to installing your new pane.

Step 1: Safely Removing the Awning Window Sash
First, get the sash out of the frame safely.
Safety First: Put on your safety glasses and gloves. If the glass is cracked, cover both sides with duct tape to hold shards in place.
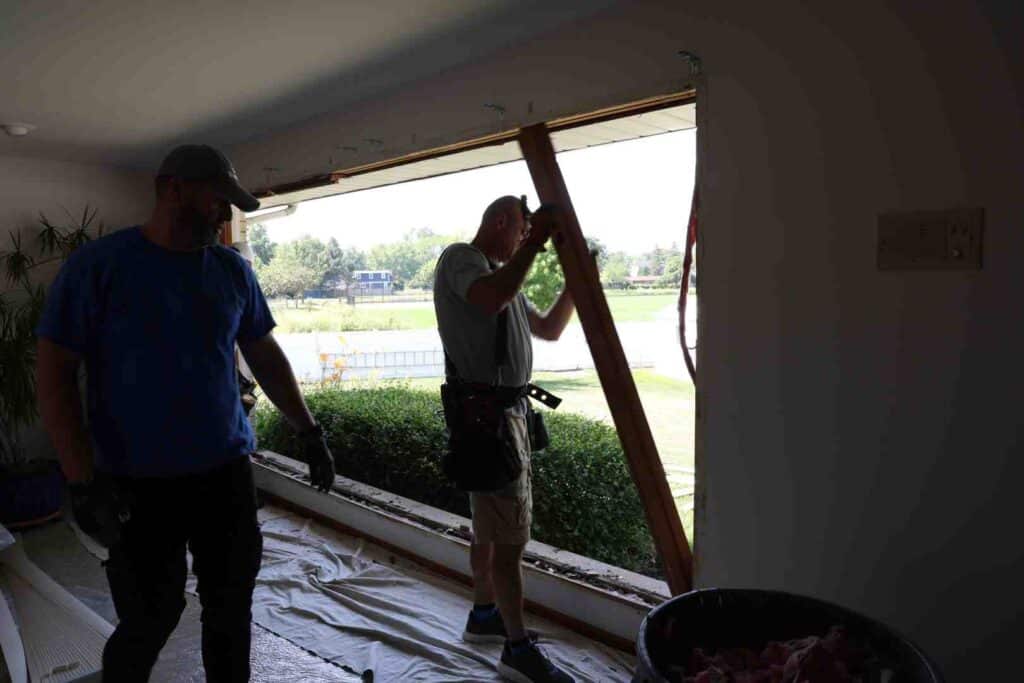
Crank the window fully open. Look for the clip or screw connecting the operator arm to the sash and disconnect the operator arm. Next, detach the hinges at the top of the window. You may need to gently pry the hinge bars off their posts or slide plastic guides out of their tracks.
With a helper for larger windows, carefully lift the sash out of the frame and place it on a stable, protected work surface like a blanket-covered workbench.
Step 2: Removing the Old Glass Pane
The process varies by frame type. Wood frames use glazing compound and points, while vinyl and aluminum frames use snap-in glazing beads.
- For Wood Frames: Use a putty knife to scrape away the old, hardened glazing compound. A heat gun can help soften stubborn putty. Once the compound is gone, use pliers or a putty knife to pry out the small, triangular metal glazier’s points holding the glass.
- For Vinyl/Aluminum Frames: Locate the glazing beads, usually on the interior side. Carefully pry them out, starting with the vertical pieces, then the bottom, and finally the top. Mark each bead’s position (top, left, etc.) to simplify reinstallation.
Use a utility knife to cut any remaining sealant between the glass and frame. With gloves on, carefully lift the old glass out, using a helper for larger panes. Dispose of broken glass safely by wrapping it in newspaper, taping it securely, and placing it in a sturdy box labeled “BROKEN GLASS.”
Finally, thoroughly clean the frame’s rabbet (the groove where the glass sits) to ensure a good seal for the new pane.
Step 3: How to Accurately Measure for Replacement Glass
Precision is critical here. An incorrect measurement is a costly mistake.
Measure the opening inside the sash frame where the glass sits. For both height and width, measure at three points (e.g., top, middle, bottom) and use the smallest measurement. This ensures the glass will fit even if the frame isn’t perfectly square.
As a double-check, measure the old glass pane if it’s intact. Subtract 1/8 inch from both the final height and width measurements. This small gap allows for thermal expansion and makes installation easier. Also, measure the glass thickness—for double-pane units (IGUs), this is the thickness of the entire sealed unit.
Order your custom glass from a local supplier, specifying the type you need (tempered, Low-E, etc.). You can also order custom glass through HomeBuild Windows.
Step 4: Installing the New Glass Pane
Time to install your new glass.

After a final cleaning of the frame rabbet, apply a continuous 1/4-inch bead of glazing silicone around the entire perimeter. This will be your primary weather seal.
Place setting blocks at the bottom of the sash to lift the glass off the frame, allowing for drainage. Wearing gloves, carefully set the new glass onto the blocks and gently push it into the silicone bead. Center the glass in the opening, using a nylon putty knife for minor adjustments.
Press gently but firmly around the perimeter to seat the glass in the sealant. To secure the glass, insert glazier’s points every six inches for wood frames. For vinyl or aluminum frames, snap the glazing beads back into place, starting with the top piece, then the bottom, and finally the sides.
Step 5: Sealing the Glass and Reinstalling the Sash
These final steps ensure a weather-tight, professional finish.
- For Wood Frames: Apply a final, smooth bead of glazing compound over the glazier’s points to create a clean seal. Slope the bead to shed water.
- For Vinyl/Aluminum Frames: The interior silicone bead and glazing beads complete the seal.
Clean up any excess sealant immediately with a damp cloth or mineral spirits, following the product’s instructions. Allow proper curing time—this is crucial for a lasting seal. Silicone typically needs 24 hours, while glazing compound can take up to a week. Check the manufacturer’s guidelines.
Once cured, reattach the sash to the window frame by reversing the removal process: connect the hinges and then the operator arm. Test the window’s operation by cranking it open and closed several times to ensure it moves smoothly and closes tightly.
Congratulations! You’ve mastered how to replace glass in awning window units, saving money and improving your home’s energy efficiency.
Safety First: Essential Precautions
When learning how to replace glass in awning window units, safety is everything. In my 20 years in the window industry, I’ve seen that taking a few extra minutes for precautions prevents injuries. Trust me, it’s worth it.
-
Protective Gear is Non-Negotiable. Always wear safety glasses or goggles and heavy-duty, cut-resistant gloves. Glass edges are sharp, and shards can fly in unexpected directions. For more on selecting the right gear, consult a guide on Personal Protective Equipment.
-
Handle Glass with Respect. Carry glass panes vertically with a firm grip using both hands. Never roll glass on its edges or corners, as this can cause it to shatter. If a pane is too large to handle alone, get a helper.
-
Tape Cracked Glass Before Removal. If the glass is cracked but still in the frame, apply duct tape in an “X” pattern across both sides. This holds the pieces together and prevents them from falling during removal.
-
Work with a Partner. A helper can support the sash, guide large panes into place, and hand you tools, making the job safer and easier.
-
Ensure a Stable Work Area. Use a sturdy, clutter-free workbench. A wobbly surface is an accident waiting to happen.
-
Dispose of Old Glass Properly. Never throw broken glass directly into a trash bag. Wrap sharp pieces securely in newspaper or cardboard, tape the bundle tightly, and place it in a sturdy box. Clearly label the box “BROKEN GLASS” to protect sanitation workers.
-
Use Quality Materials. Using the correct glazing products and techniques ensures your window’s structural integrity in all weather conditions. When in doubt, consult a professional.
DIY vs. Professional: When to Call for Help
Learning how to replace glass in awning window units is an achievable DIY project, but it’s also important to know when to call a professional.
Cost Considerations: DIY vs. Hiring a Pro
Replacing just the glass is almost always more cost-effective than replacing the entire window. Here’s a general cost comparison:
| Cost Factor | DIY Approach | Professional Service |
|---|---|---|
| Glass Pane (IGU) | $150 – $650 (non-tempered) | Included in total cost, similar material price |
| Tools & Materials | $50 – $150 (if not already owned) | Included in labor cost |
| Labor | Your time (free!) | $100 – $300 per pane |
| Total Estimated Cost | $200 – $800 (depending on glass type/size) | $250 – $850+ (depending on glass type/size/complexity) |
| Warranty | None | Often 10-year seal failure guarantee from pros |

DIY offers significant savings by eliminating labor costs. However, a professional service includes a warranty on the work and the glass, providing valuable peace of mind. For more on window expenses, our Window Replacement Cost guide offers a comprehensive overview.
When to Consider Professional Help for Awning Window Glass Replacement
While we encourage DIY, calling an expert is the best choice in these situations:
- Complex Window Mechanisms: Some awning windows have intricate hardware that complicates the standard process.
- High-Story Windows: Working on ladders with glass is extremely dangerous. Always prioritize safety.
- Structural Frame Damage: If the frame is warped, rotted, or damaged, replacing the glass won’t solve the underlying issue.
- Multiple Panes to Replace: Tackling several windows can be overwhelming. Professionals can handle large projects efficiently.
- Lack of Time or Tools: If you don’t have the time, tools, or patience for a detailed project, hiring a pro is a sensible choice.
- For a Guaranteed, Warrantied Job: Professionals provide warranties on their workmanship and the new glass unit.
- Uncertainty About Glass Type or Measurements: A pro ensures you get the right product and fit, especially if you’re unsure about building code requirements.
At HomeBuild Windows, we specialize in expert installation and repair in Chicagoland and surrounding areas like Arlington Heights and Barrington. Learn How to Find the Perfect Window Repair and Installation Company on our blog.
Frequently Asked Questions about Awning Window Glass Replacement
Here are answers to common questions about how to replace glass in awning window units.
Can I just replace the glass in my awning window, or do I need a whole new window?
Yes, you can absolutely replace just the glass unit. In most cases, this is the smartest and most cost-effective solution. For double-pane windows, you’ll replace the sealed Insulated Glass Unit (IGU). This approach typically saves 50-70% compared to a full window replacement while providing the same energy efficiency.
Full window replacement is only necessary when the frame itself is severely damaged—think rotting wood, a warped frame that won’t close, or seized hardware. If your frame is sound, just replace the glass.
How do I know if I have a single-pane or double-pane (IGU) window?
It’s easy to tell. First, look for a metal or plastic spacer bar running around the edge of the glass between two panes. If you see one, you have a double-pane window.
Alternatively, try the flame test. Hold a lit match or a phone flashlight at an angle to the glass. A single-pane window will show one reflection, while a double-pane window will show two distinct reflections.
Can a foggy double-pane window be repaired or resealed?
Unfortunately, no, a foggy window indicates a failed seal that cannot be effectively repaired. The cloudy appearance means the insulating argon gas has escaped and moisture has entered, destroying the window’s energy efficiency.
The entire Insulated Glass Unit (IGU) must be replaced to restore both clarity and performance. While some companies claim they can “defog” windows by drilling holes, these are temporary fixes that don’t restore the insulating properties. Replacement is the only reliable, long-term solution.
Conclusion
You’ve now learned how to replace glass in awning window units. This project, which may seem intimidating, is manageable with the right approach and a focus on safety.

The benefits go beyond fixing a broken window. You’ve saved hundreds of dollars compared to a full replacement and given your home a significant energy efficiency boost. Your new pane is now working for you, not against your energy bills.
The improved insulation means your HVAC system works less, leading to lower utility bills. Plus, you’ve kept a perfectly good window frame out of a landfill—a win for your wallet and the environment.
Of course, not every situation is ideal for DIY. High-story windows, complex hardware, or extensive damage are jobs best left to professionals. At HomeBuild Windows, we’ve helped countless Chicago-area homeowners with both DIY guidance and full professional installations.
Ready to tackle another window, or think it might be time for a professional touch? Learn more about our Awning Windows Replacement services. We’re here to ensure your windows perform beautifully for years to come.